Super Purchasing for Poly-crystalline Solar Panel 200W Factory for Montpellier
Short Description:
We always think and practice corresponding to the change of circumstance, and grow up. We aim at the achievement of a richer mind and body and the living for Super Purchasing for Poly-crystalline Solar Panel 200W Factory for Montpellier, If you are interested in any of our items, please don't hesitate to contact us and take the first step to build up a successful business relationship.
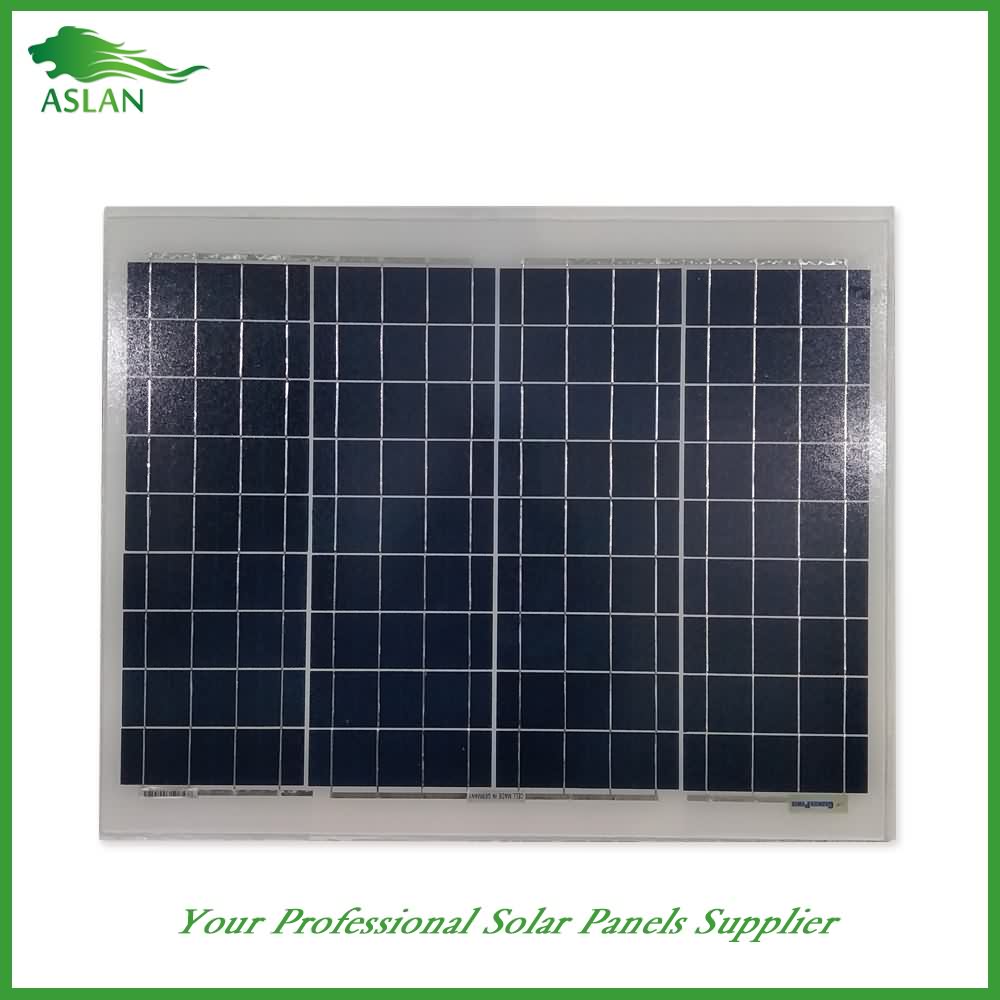
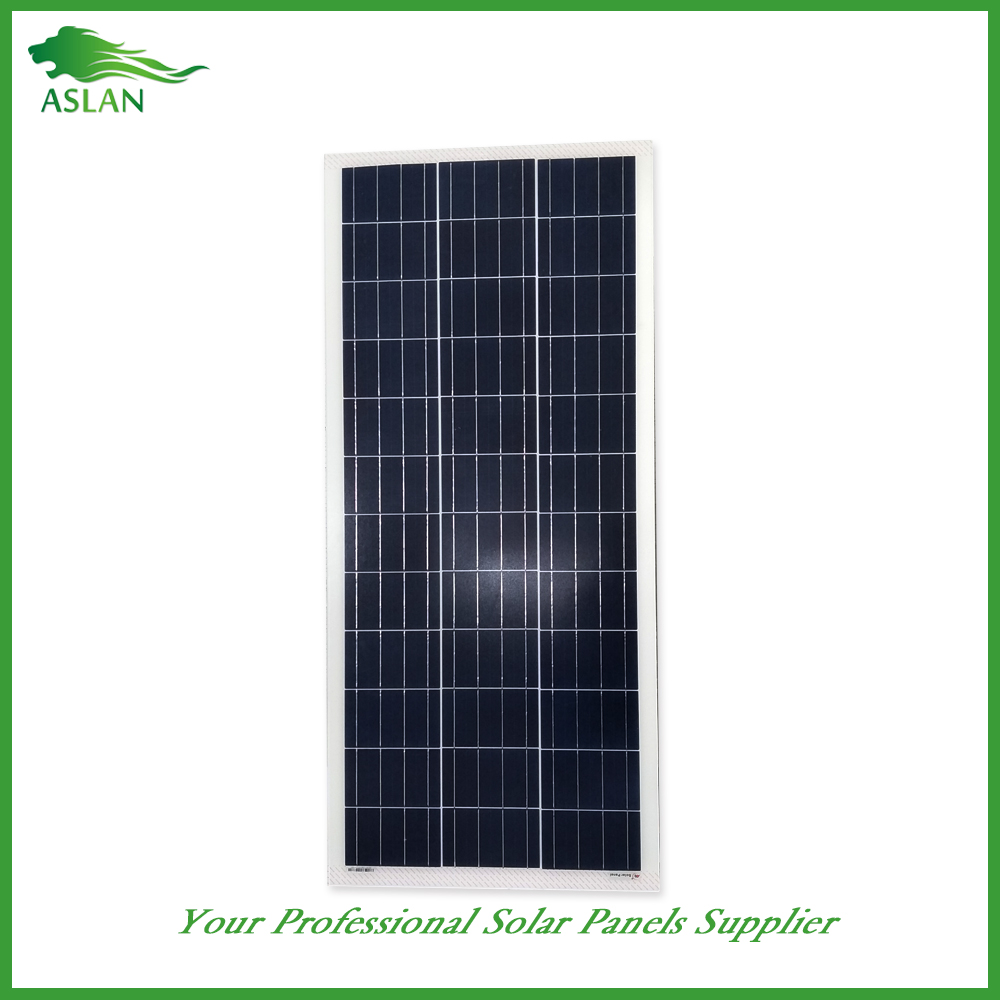
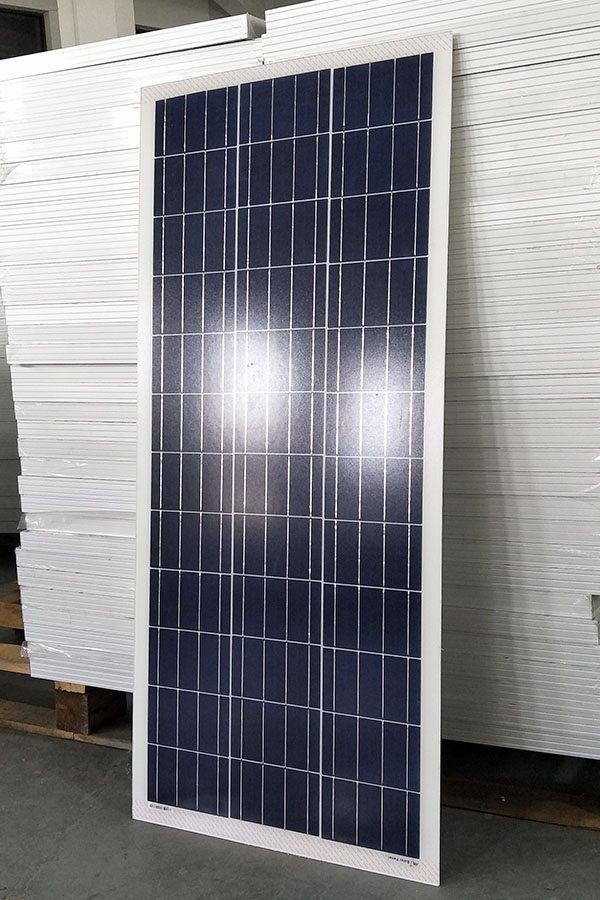
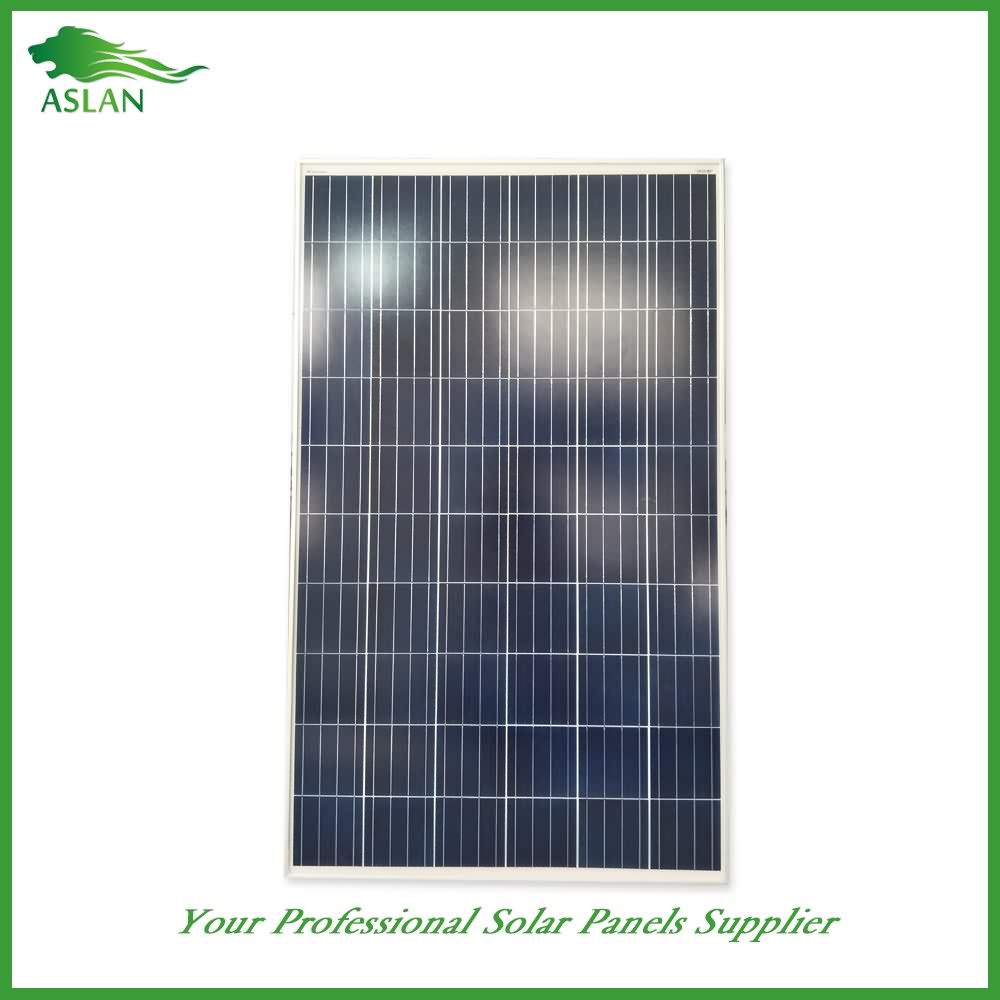
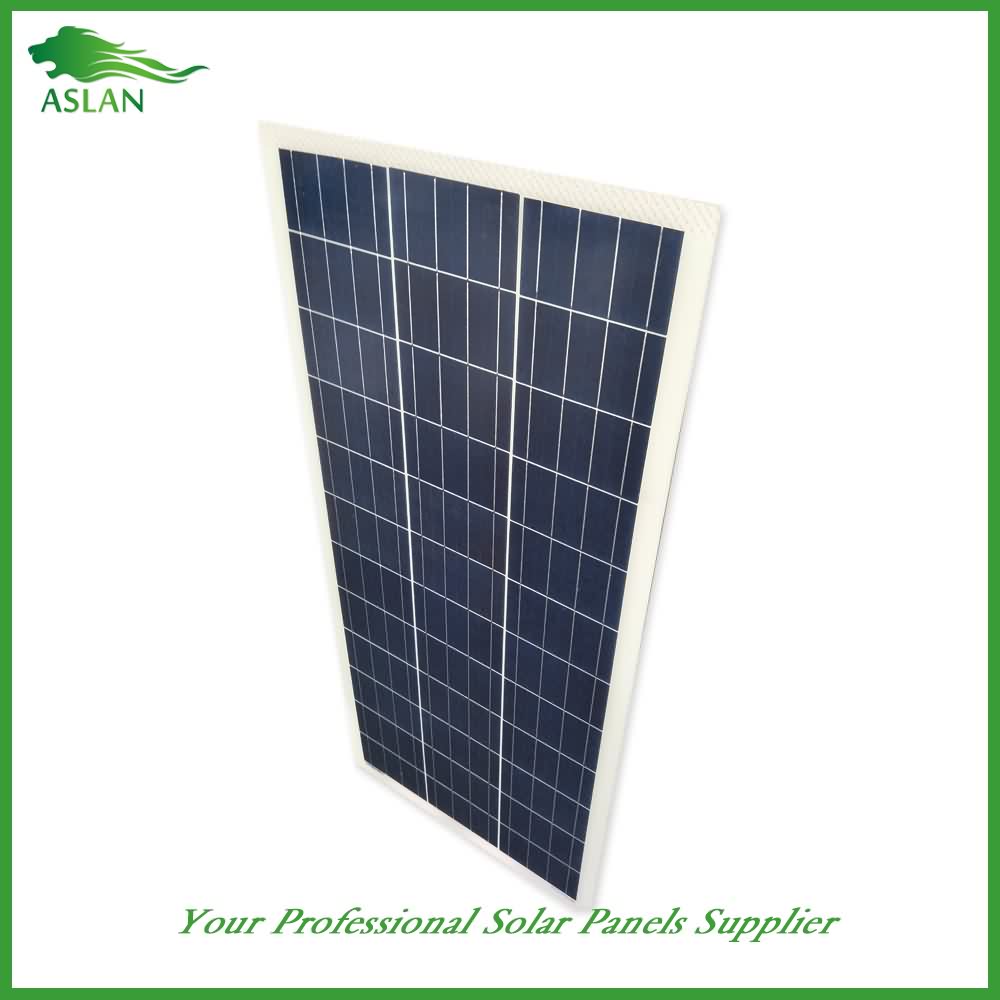
Poly-crystalline Solar Panel 200W
Technical parameter
Maximum Power(W) 200W
Optimum Power Voltage(Vmp) 26.78V
Optimum Operating Current(Imp) 7.47A
Open Circuit Voltage(Voc) 32.66V
Short Circuit Current(Isc) 8.21A
Mechanical Characteristics
Cell Type Polycrystalline 156x156mm (6 inch)
No of Cell 54 (6x9pcs)
Dimensions 1482x990x40mm
Weight 17.6Kg
Front Glass 3.2mm,High Transmission, Low Iron,Tempered Glass
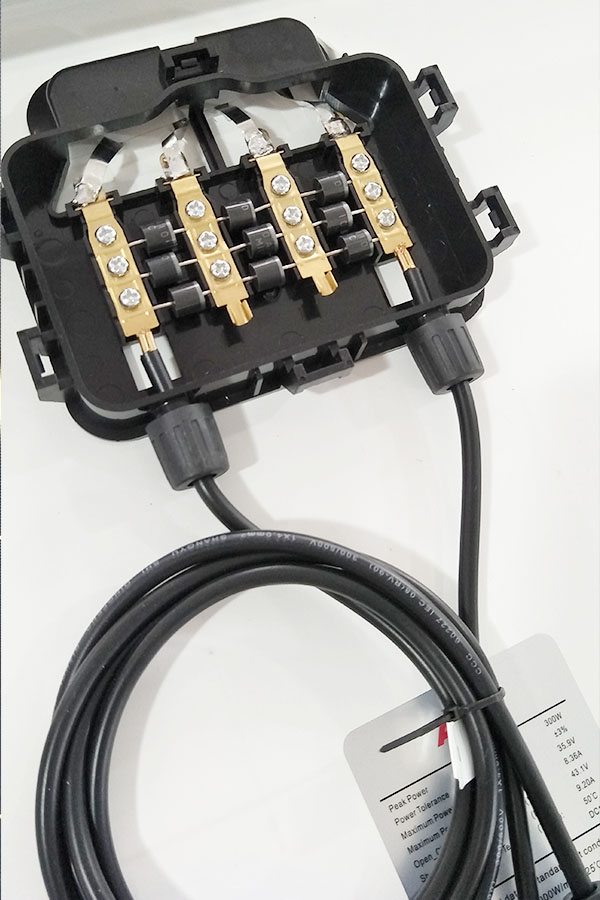
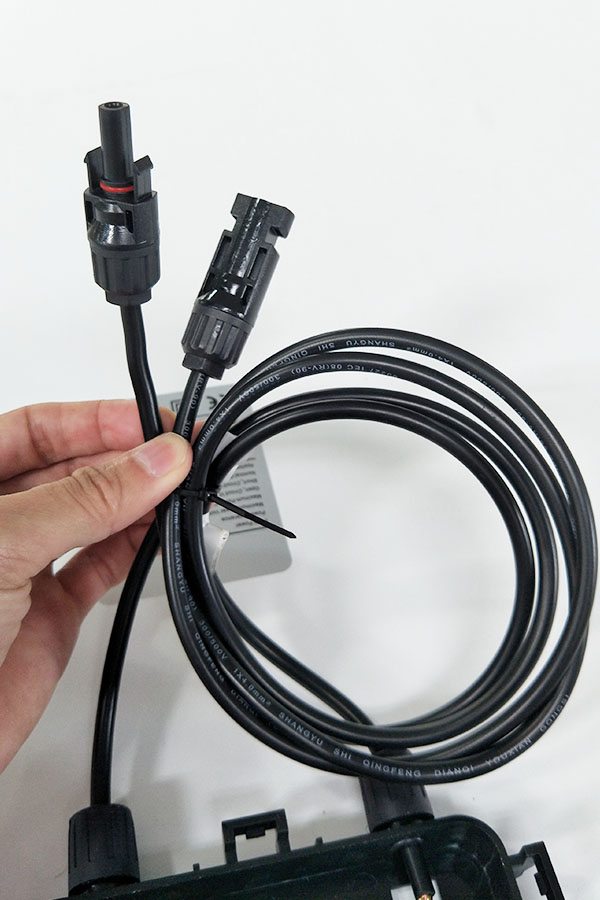
Junction box IP65 Rated
Output Cable TUV 1×4.0mm2/UL12AWG,Length:900mm
Temperature and Coefficients
Operating Temperature(°C): -40°C ~ + 85°C
Maximum System Voltage: 600V(UL)/1000V(IEC) DC
Maximum Rated Current Series: 15A
Temperature Coefficients of Pmax: -0.47%
Temperature Coefficients of Voc: -0.389%
Temperature Coefficients of Isc: 0.057%
Nominal Operationg Cell Temperature (NOCT): 47+/-2°C
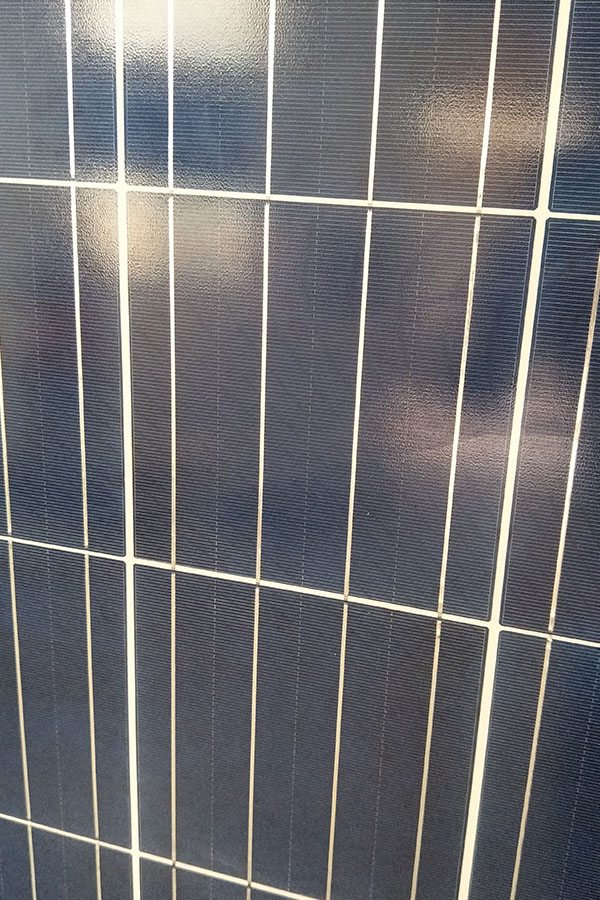
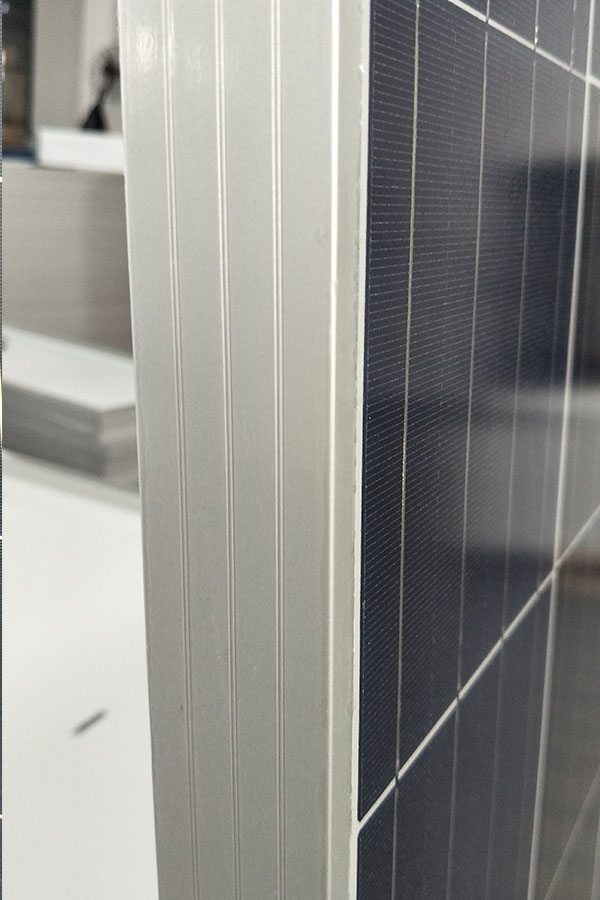
Materials of solar panel
1).Solar Cell——Polycrystalline solar cell 156*156mm
2).Front Glass——-3.2mm, high transmission, low iron, tempered glass
3).EVA——-excellent anti-aging EVA
4).TPT——-TPT hot seal made of flame resistance
5).Frame——anodized aluminum profile
6).Junction Box——-IP65 rated, high quality, with diode protection
Superiority: high quality anodized aluminum frame, high efficiency long life, easy installation, strong wind resistance, strong hail resistance.
Features
1. High cell efficiency with quality silicon materials for long term output stability
2. Strictly quality control ensure the stability and reliability, totally 23 QC procedures
3. High transmittance low iron tempered glass with enhanced stiffness and impact resistance
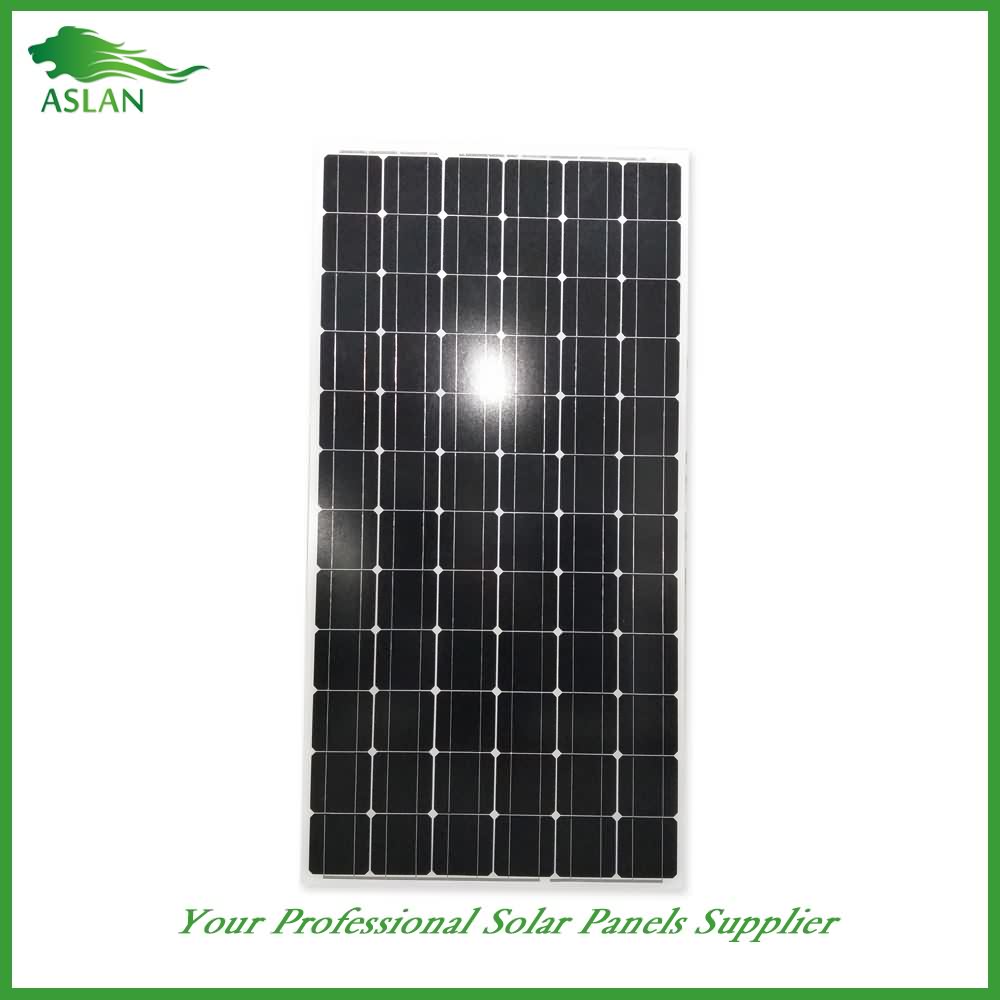
4. Both Poly-crystalline and Mono-crystalline
5. Excellent performance in harsh weather
6. Outstanding electrical performance under high temperature and low irradiance
Quality assurance testing
Thermal cycling test
Thermal shock test
Thermal/Freezing and high humidity cycling test
Electrical isolation test
Hail impact test
Mechanical, wind and twist loading test
Salt mist test
Light and water-exposure test
Moist carbon dioxide/sulphur dioxide
Two component epoxy encapsulant for applications that require hard protection and UL recognition. High RTI value. Room temperature cure applications
After lookin for quite awhile, with no luck, for a good video on how to mount a solar panel ON A VAN I decided to do one myself. I would have done it anyway as part of the chronicling of my journey but I decided to go ahead and make it a little more of a step by step video in case others were lookin for help in the process like I was.
Step 1 – Get the kit.
(solar panel, charge controller, battery, cables, hardware, other odds & ends)
Step 2 – Loosely place the 3 main components where you will want them (panel, charge controller, battery) and measure your cables.
Step 3 – Wire the charge controller to the battery.
(charge controller will power up)
Step 4 – Secure the panel in place.
(panel will start drawing power as soon as is exposed to the sun so keep it covered while working)
Step 5 – Wire the panel to the charge controller.
(nothing will happen till you remove the covering from the panel)
Step 6 – Verify all connections/mounts & hardware are secure.
Step 7 – Expose panel to sunlight.
Step 8 – Enjoy unlimited free power.
The kit I got can be found here — http://www.windynation.com/jzv/p/336/Solar/100+Watt+Polycrystalline+Solar+Panel+Complete+Kit+for+RV%27s%2C+Boats+and+Off-Grid?p=YzE9NDY=
All extra parts that were needed but not included in the kit can be found at any hardware or auto parts store.
Follow me on twitter @
https://twitter.com/VanHawk80