Super Purchasing for Mono-Crystalline 300W Solar Panel in Sao Paulo
Short Description:
We have advanced equipment. Our products are exported to the USA, the UK and so on, enjoying a good reputation among customers for Super Purchasing for Mono-Crystalline 300W Solar Panel in Sao Paulo, We are looking forward to establishing cooperative relationships with you. Please contact us for more information.
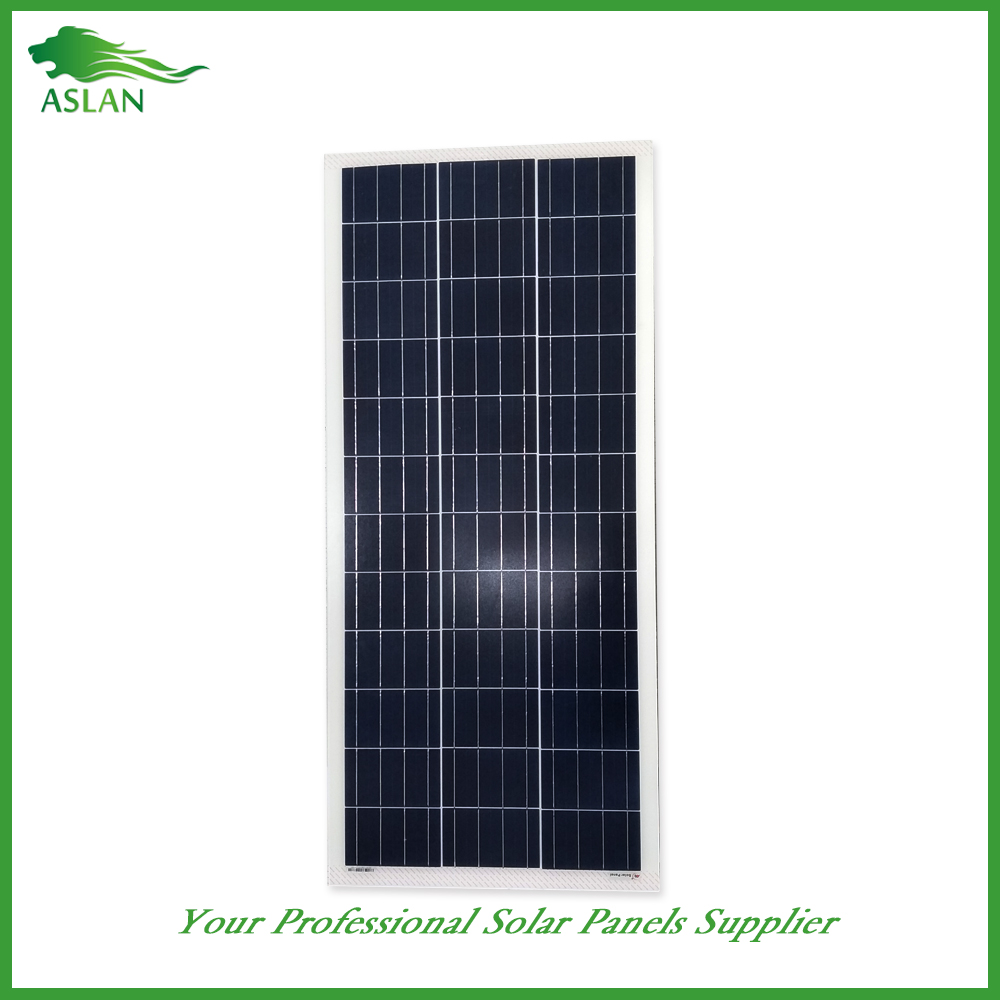
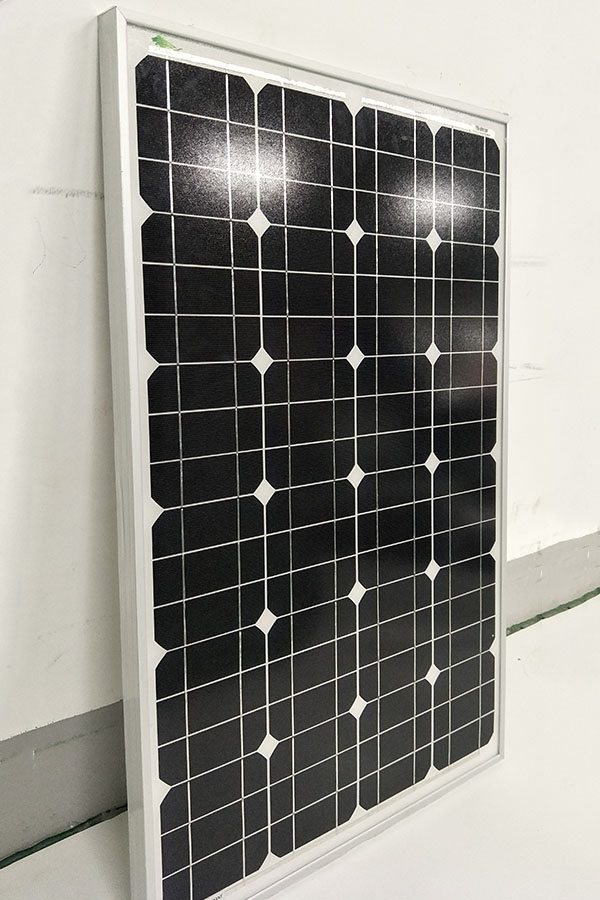
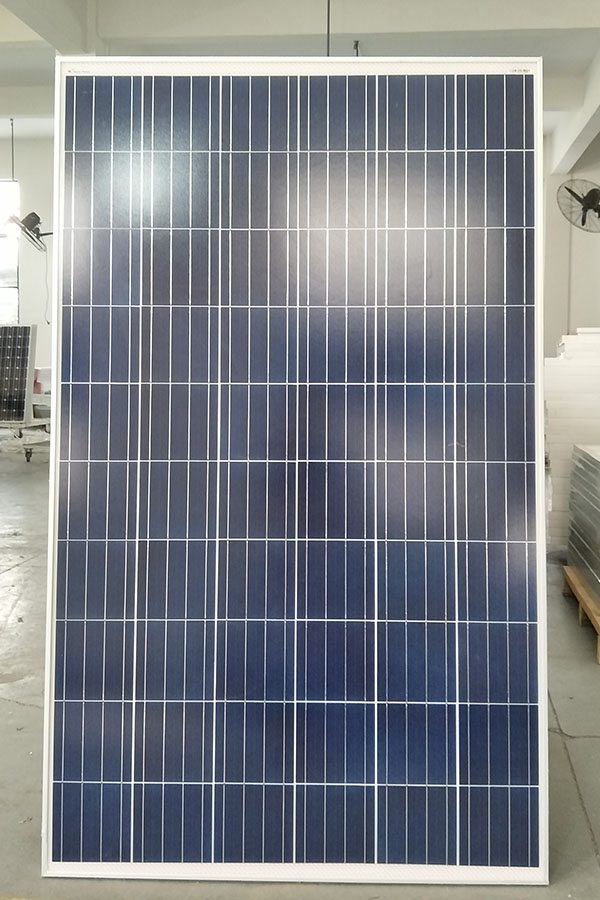
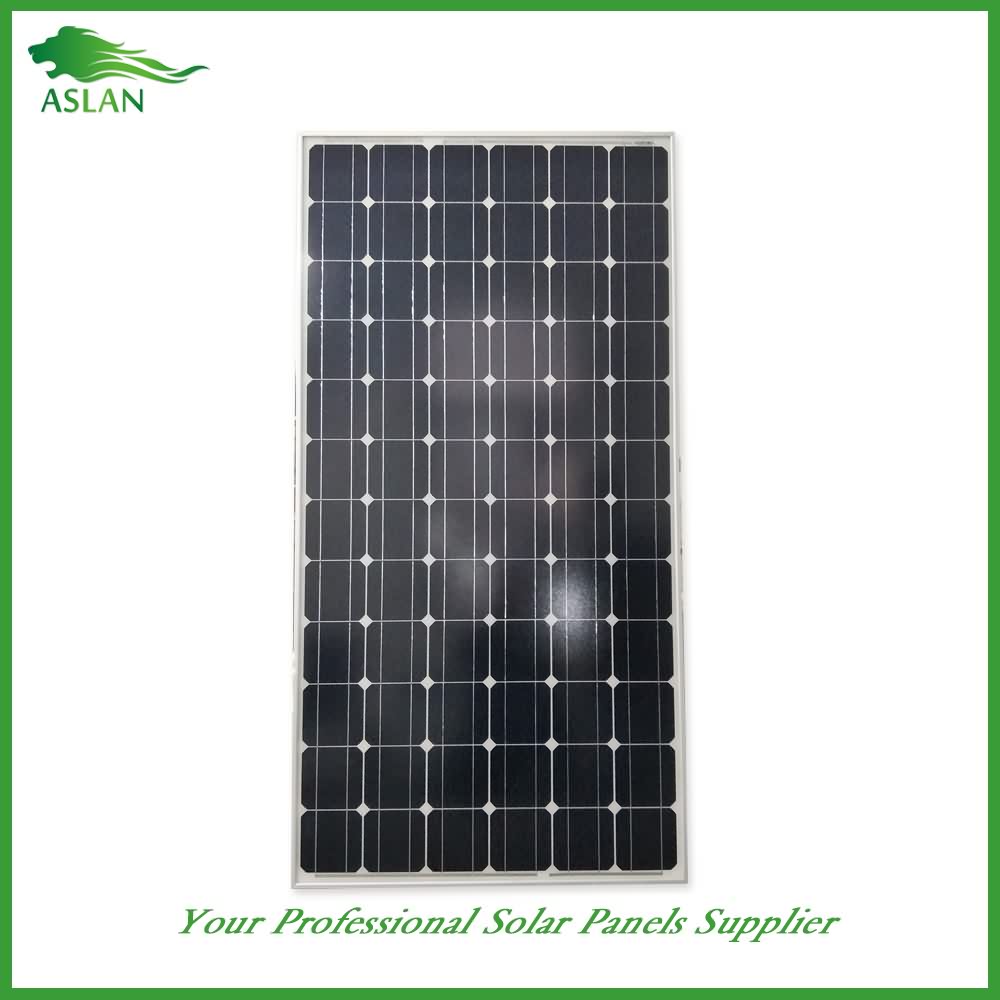
Mono-Crystalline 300W Solar Panel
Technical parameter
Maximum Power(W) 300W
Optimum Power Voltage(Vmp) 37.45V
Optimum Operating Current(Imp) 8.15A
Open Circuit Voltage(Voc) 45.60V
Short Circuit Current(Isc) 8.91A
Mechanical Characteristics
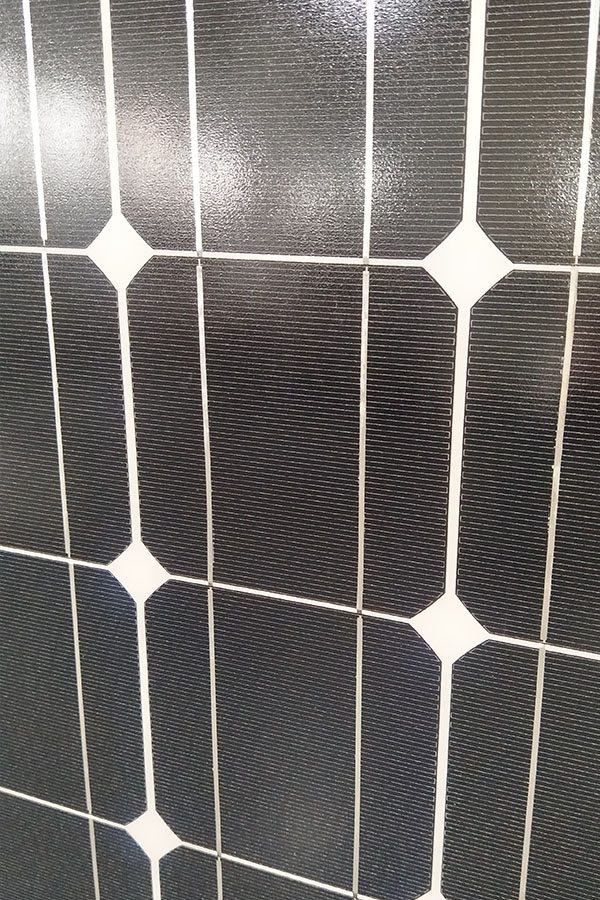
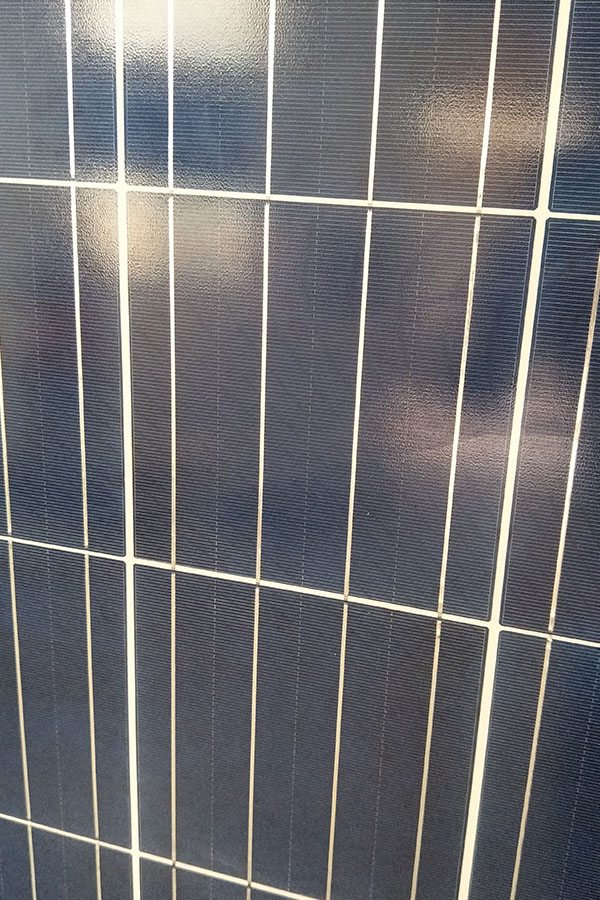
Cell Type Monocrystalline 156x156mm (6 inch)
No of Cell 72 (6x12pcs)
Dimensions 1950x990x50mm
Weight 22.1Kg
Front Glass 3.2mm,High Transmission, Low Iron,Tempered Glass
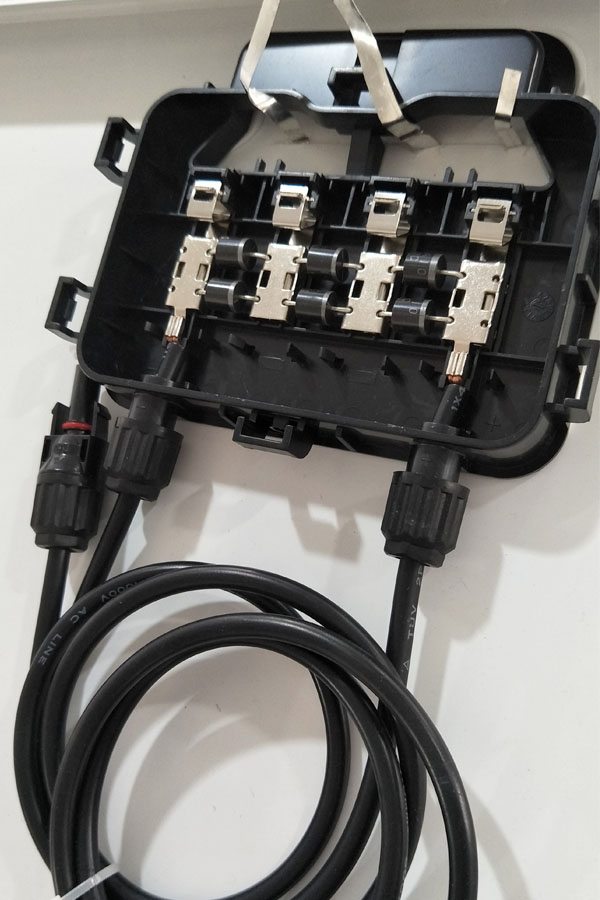
Junction box IP65 Rated
Output Cable TUV 1×4.0mm2/UL12AWG,Length:900mm
Temperature and Coefficients
Operating Temperature(°C): -40°C ~ + 85°C
Maximum System Voltage: 600V(UL)/1000V(IEC) DC
Maximum Rated Current Series: 15A
Temperature Coefficients of Pmax: -0.47%
Temperature Coefficients of Voc: -0.389%
Temperature Coefficients of Isc: 0.057%
Nominal Operationg Cell Temperature (NOCT): 47+/-2°C
Materials of solar panel
1).Solar Cell——Mono-crystalline solar cell 156*156mm
2).Front Glass——-3.2mm, high transmission, low iron, tempered glass
3).EVA——-excellent anti-aging EVA
4).TPT——-TPT hot seal made of flame resistance
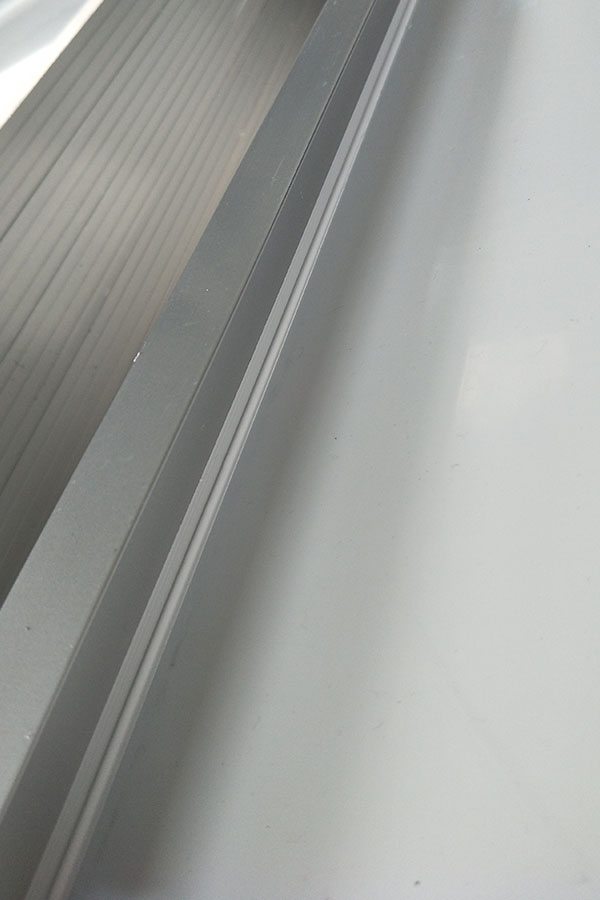
5).Frame——anodized aluminum profile
6).Junction Box——-IP65 rated, high quality, with diode protection
Superiority: high quality anodized aluminum frame, high efficiency long life, easy installation, strong wind resistance, strong hail resistance.
Features
1. High cell efficiency with quality silicon materials for long term output stability
2. Strictly quality control ensure the stability and reliability, totally 23 QC procedures
3. High transmittance low iron tempered glass with enhanced stiffness and impact resistance
4. Both Polycrystalline and Mono-crystalline
5. Excellent performance in harsh weather
6. Outstanding electrical performance under high temperature and low irradiance
Quality assurance testing
Thermal cycling test
Thermal shock test
Thermal/Freezing and high humidity cycling test
Electrical isolation test
Hail impact test
Mechanical, wind and twist loading test
Salt mist test
Light and water-exposure test
Moist carbon dioxide/sulphur dioxide
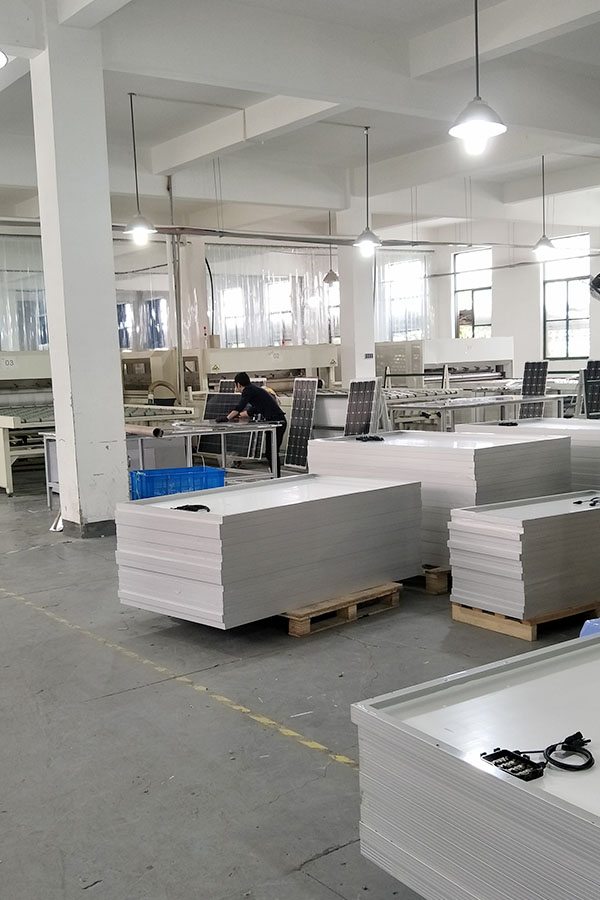
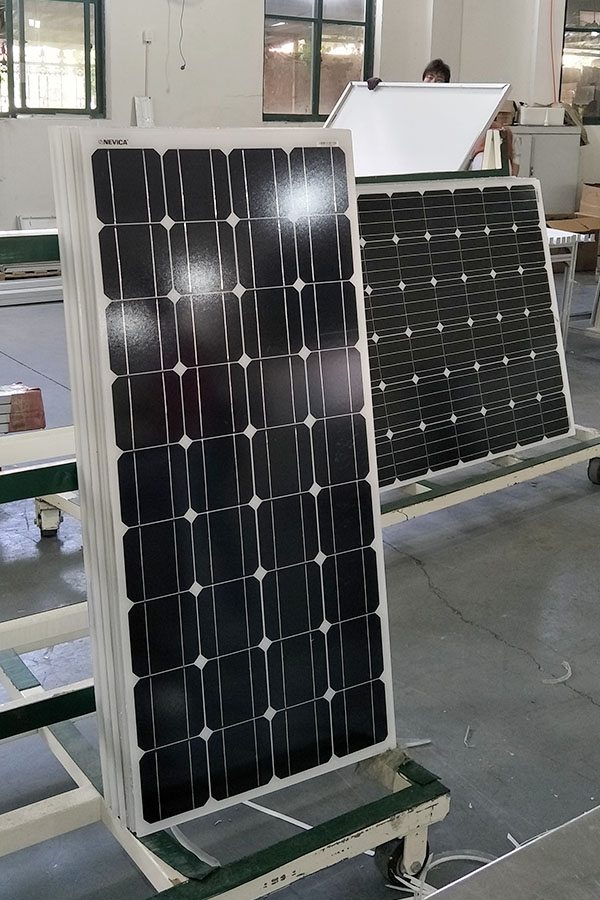
Laminating of 150w 250w 300w solar panel solar panel 250w, panel solar 1000w, solar panel 300w, 1000 watt solar panel, 250w solar panel, 200w solar panel price, 500 watt solar panel, solar panel 10kw, 500w solar panel, 300 watt solar panel, 300w solar panel, 10w solar panel, 100 watt solar panel, 150 watt solar panel
Free trial versions:
http://www.valentin-software.com/services/fw/yt-tut-en/dl-pvsolprem-en
Excerpt of transcript:
This tutorial shows how quickly and easily you can create simple standard buildings and configure a photovoltaic system in PV*SOL premium 2016 without a costly local meeting. In this release, many time-consuming steps have been simplified, considerably accelerating the design process. This is achieved mainly through the new features “Map Import” and “Extrusion Of 3D Objects”
Missing dimensions can be measured with Google Earth Pro. High-resolution screenshot of the roof can be made with it too.
First, start Google Earth Pro.
The installation file and the license key: http://www.google.com/earth/download/gep/agree.html
Enter the approximate address of the future location of the PV system and click the button “Search”. The software automatically zooms into the vicinity of the site.
We are interested in this object.
You can move the 3D model with the left mouse button and you can zoom in or out of the map section using the scroll wheel.
Alternatively you can use these buttons.
Now move the target object to the center of the editor so that you can measure it properly.
Click on the button with the ruler icon to open the dialog “Ruler”.
Now click on the tab “3D path”. With this function you can create three-dimensional distance lines to the outer surfaces of the “Auto-Generated Meshes”.
First, we want to determine the object’s height and we focus on a visible line of the complex.
Click with the left mouse button on the bottom edge of the object and then on the top edge.
The length of the resulting path can be read here. Write down this length. You will need it later.
Now bring yourself in a good position to measure out one length of the roof, and make a note of this as well. You will need it later for determining the scale in PV*SOL premium.
If there are superstructures on the complex, these can also be measured.
Finally, we also need a high resolution screen shot of the complex from the exact bird’s eye view.
Click on the “N” icon on the navigation menu. For PV*SOL the map section should be facing north.
After that, make the screenshot and save it as a file in one of the following formats: *.jpg, *.png or *.bmp.
Now start PV*SOL premium 2016 or a later version.
You are now on the “Welcome Page” of the application.
Please begin a new project and enter your climate data location.
Now click on the button “3D Design” and then on the overview screen to get into the “3D Visualization”.
In the dialog “New 3D System” click on the button “Coverable Object” and select the menu item “Map Section” in the drop down menu.
Now you see an expanded view of the dialog. Click on the button with the label “Load From Hard Drive”.
Load the custom built screenshot from the folder where you have saved it.
Now click on the button with the gear icon.
It opens the dialog “Determine Scale”. Here we have to reproduce the path that we measured in Google Earth. Therefore we re-trace the path between the right and left edges of the building again.
Enter the dimension we noted down before in this field.
In our example, this results in a scale of 8,42 pixels per meter.
The map section is now fully defined. Click on “Start” to begin the project.
Full transcript you get at:
http://www.valentin-software.com/services/fw/yt-channel-si/forum
Description tags:
Type of video: Tutorial, Lesson, Exercise, Practice, Presentation, Demonstration
Type of featured software:
Google Earth Pro:
Geodata Software, Virtual Globe, Map and geographical information program,
Relevant Features for PVSOL:
3D Maps, Capability to show 3D buildings and structures, Satellite Images, Address Finder,
PV-SOL premium:
Photovoltaic Application, Solar Calculator, 3D-Visualization, CAD-Tool, 3D-Sketchup-Tool, Shading Generator, Time-Step Simulation Program, Planning Software, Calculation Program, Spreadsheet Program, Economy Software
Features:
(Virtual) Photovoltaic System, PV Module, Solar Module, Solar Panel, Solar Cells, PV Array, Free Standing, Rack Mounted Arrays, Inverter, Inverter Configuration, PV Array Configuration, Grid-connected System, Stand-alone PV Systems, Planning, Sizing, Commissioning, System Concept, Inverter Concept, Electricity Consumption, Yield Calculation, Storage, MPP Tracking, 3D-Visualization, Shading Analysis, Shading Animation, Profit Calculation, Profitability Assessment
Business Field:
Renewable Energy, Sustainable Energy, New Energies, Environmental Engineering, Climate Change, Climate Protection, Decentralized Energy Supply, Solar Energies, Photovoltaics, Power Grid, Market Incentive Program, Solar Market,
Customers:
PV Planer, Plant Engineers, Craftsmen, Experts, Specialists, Plumbers, Consultants, Installation Firms, Commercial Customers, Manufacturers, System Developers, Universities, Students, Trainees
