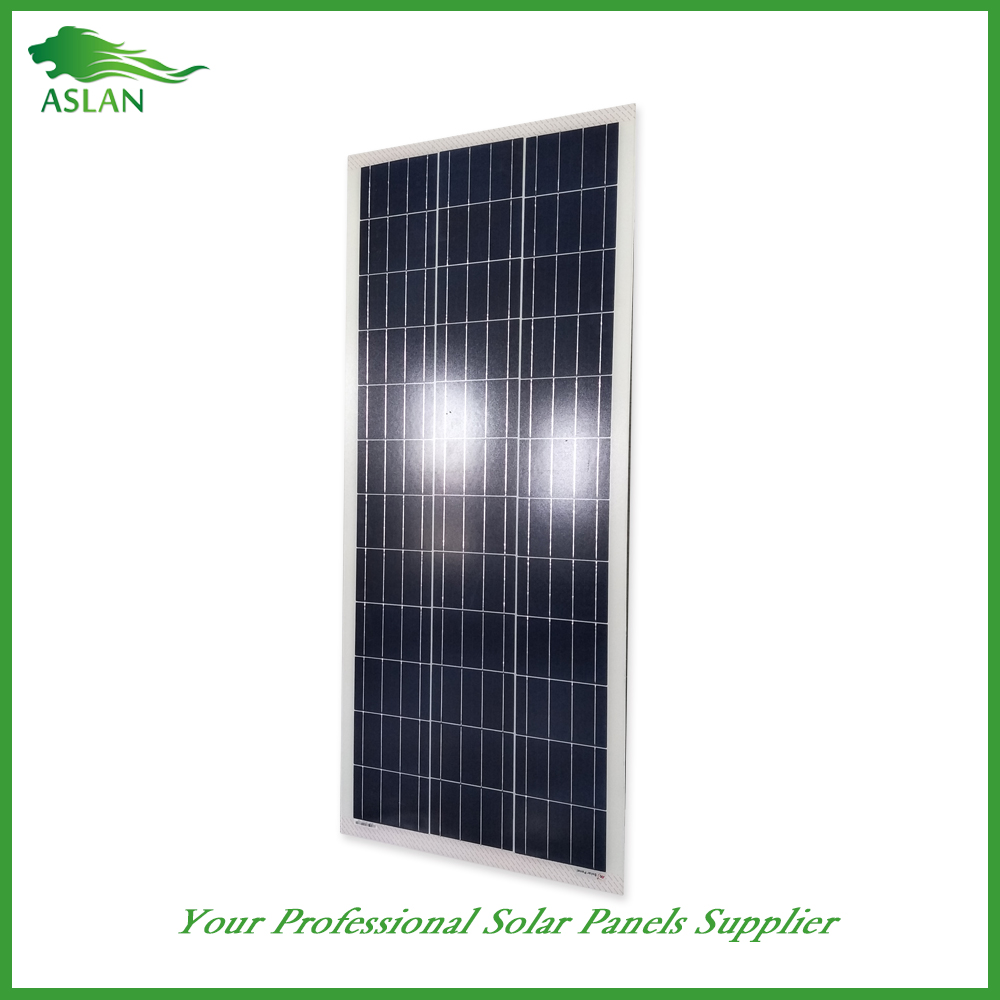
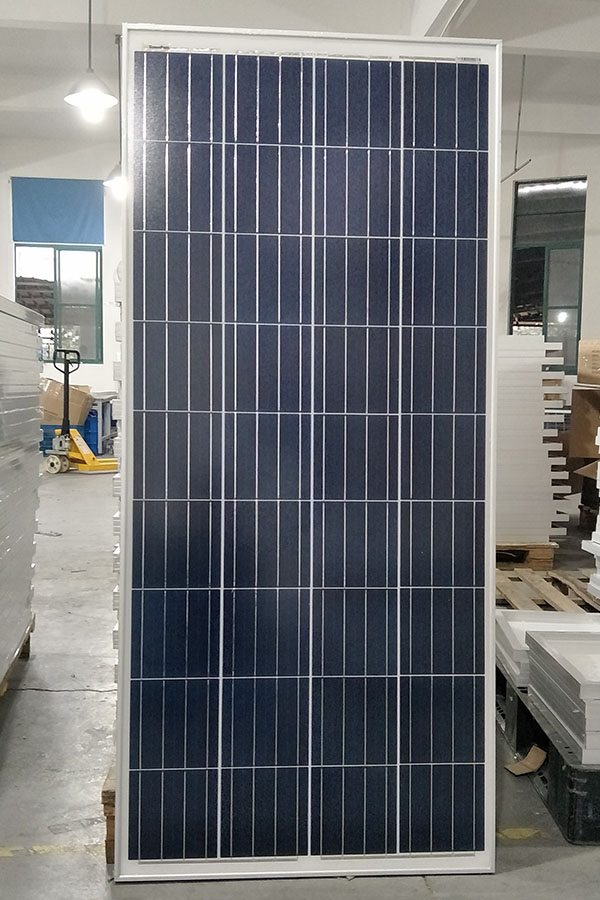
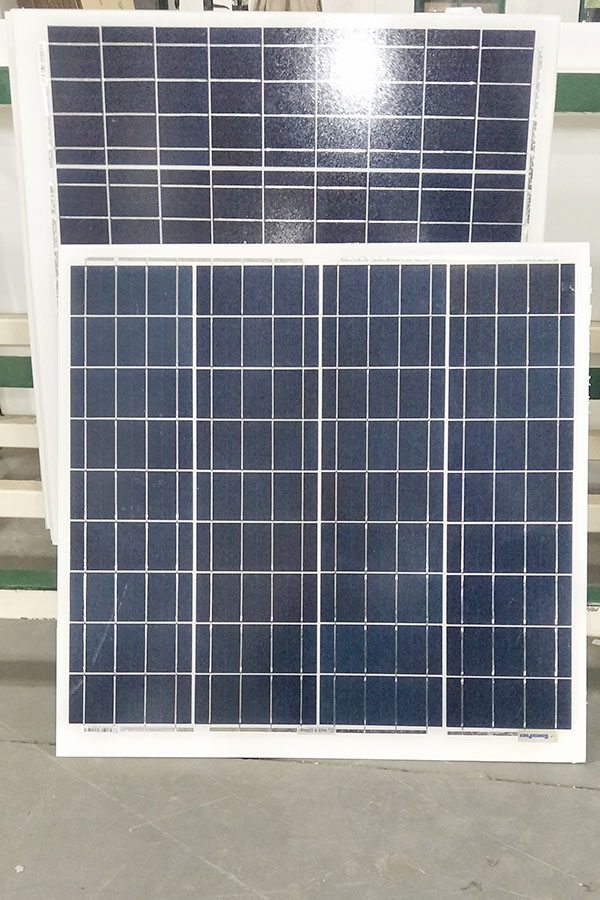
Online Manufacturer for Poly-crystalline Solar Panel 100W Supply to Saudi Arabia
Short Description:
We aim to find out quality disfigurement from the production and supply the best service to domestic and overseas customers wholeheartedly for Online Manufacturer for Poly-crystalline Solar Panel 100W Supply to Saudi Arabia, We believe that a passionate, innovative and well-trained team will be able to establish good and mutually beneficial business relationships with you soon. Please feel free to contact us for more details.
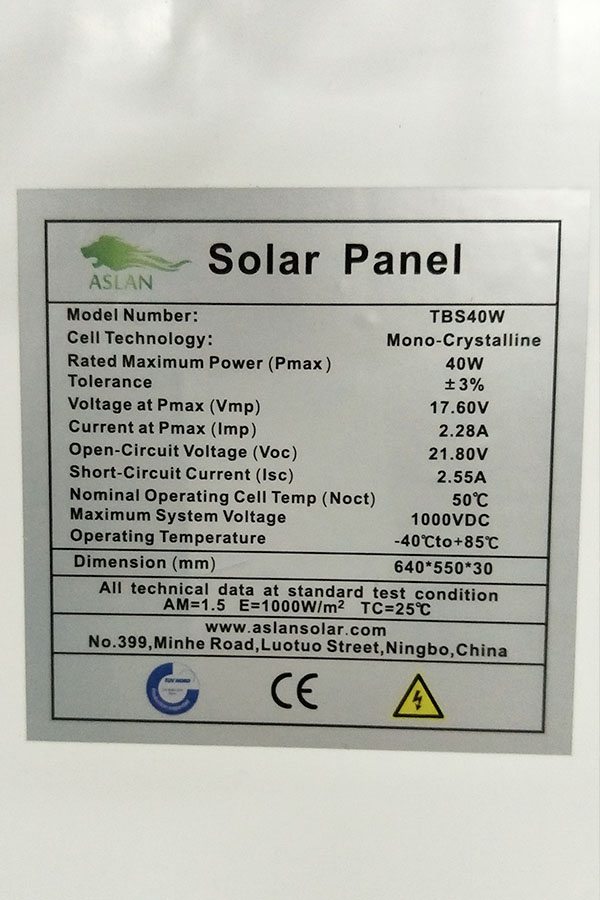
Technical parameter
Maximum Power(W) 100W
Optimum Power Voltage(Vmp) 17.87V
Optimum Operating Current(Imp) 5.60A
Open Circuit Voltage(Voc) 21.45V
Short Circuit Current(Isc) 6.17A
Mechanical Characteristics
Cell Type Polycrystalline 156x104mm (6 inch)
No of Cell 36 (4x9pcs)
Dimensions 1120x678x35mm
Weight 9.7KGS
Front Glass 3.2mm,High Transmission, Low Iron,Tempered Glass
Junction box IP65 Rated
Output Cable TUV 1×4.0mm2/UL12AWG,Length:900mm
Temperature and Coefficients
Operating Temperature(°C): -40°C ~ + 85°C
Maximum System Voltage: 600V(UL)/1000V(IEC) DC
Maximum Rated Current Series: 15A
Temperature Coefficients of Pmax: -0.435%
Temperature Coefficients of Voc: -0.35%
Temperature Coefficients of Isc: 0.043%
Nominal Operationg Cell Temperature (NOCT): 47+/-2°C
Materials of solar panel
1).Solar Cell——Polycrystalline solar cell 156*52mm
2).Front Glass——-3.2mm, high transmission, low iron, tempered glass
3).EVA——-excellent anti-aging EVA
4).TPT——-TPT hot seal made of flame resistance
5).Frame——anodized aluminum profile
6).Junction Box——-IP65 rated, high quality, with diode protection
Superiority: high quality anodized aluminum frame, high efficiency long life, easy installation, strong wind resistance, strong hail resistance.
Features
1. High cell efficiency with quality silicon materials for long term output stability
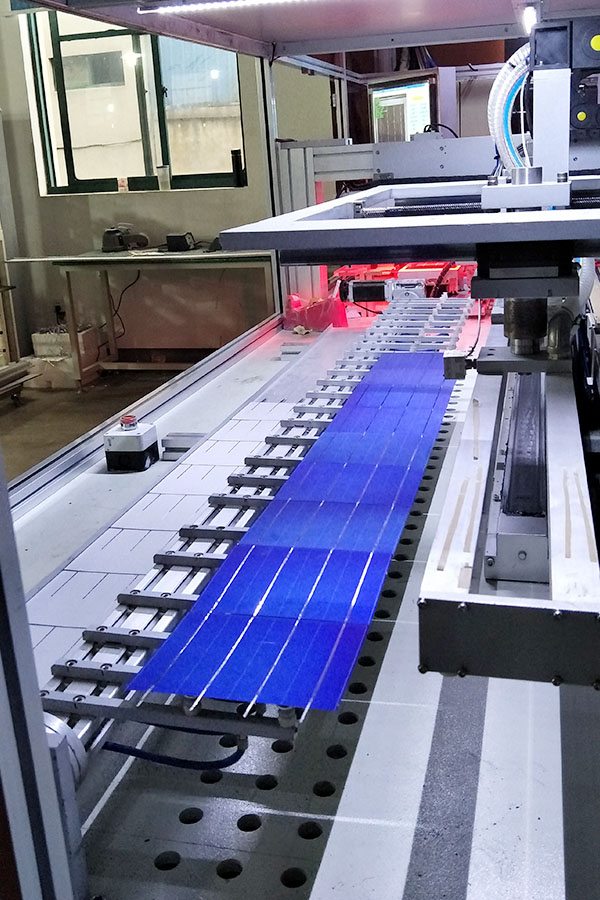
2. Strictly quality control ensure the stability and reliability, totally 23 QC procedures
3. High transmittance low iron tempered glass with enhanced stiffness and impact resistance
4. Both Poly-crystalline and Mono-crystalline
5. Excellent performance in harsh weather
6. Outstanding electrical performance under high temperature and low irradiance
Quality assurance testing
Thermal cycling test
Thermal shock test
Thermal/Freezing and high humidity cycling test
Electrical isolation test
Hail impact test
Mechanical, wind and twist loading test
Salt mist test
Light and water-exposure test
Moist carbon dioxide/sulphur dioxide
This video shows how easy the Solar Whiz is to install on a tile roof.
If you find yourself in the need of roof ventilation, reducing your cooling bills, minimising carbon emissions, removal of moisture, and improved overall comfort of your home, then the Solar Whiz just may be your solution.
The Solar Whiz works the same way as an attic fans or whirlybird, however is many times more effective and powerful.
It is powered by the simple idea that by using the sun as the energy source for this ventilation fan, this is the time you will need it most. Unlike whirlybirds it will wait till your roof is already hot, and doesn’t require wind (useful on stagnant days!). And with no electricity the power savings and reduced carbon emissions can put your mind at ease.
To find out more about the Solar Whiz:
http://www.solarwhiz.com.au
Telephone: 1300 655 118
Or contact:
sales@ges.com.au to discuss your personal requirements.
business.development@ges.com.au for dealership enquiries.
In diesem Video zeigen wir Ihnen, wie Sie die Biard Halterungen korrekt an Ihr Biard Solarpanel anbringen, um es anschließend an einem Ort Ihrer Wahl zu platzieren. Dies kann z.B. auf dem Dach eines Bootes, Gartenschuppens, oder Wohnwagens sein.
Hier finden Sie Schritt-für-Schritt Anleitung:
SCHRITT 1 – Messen Sie die Halterungen, um eine mittige Position am Paneel zu finden.
SCHRITT 2 – Markieren Sie nun, wo die Halterungen am Paneel sitzen sollen.
SCHRITT 3 – Markieren Sie die Stellen, an denen die Löcher gebohrt werden müssen.
SCHRITT 4 – Bohren Sie nun an den marktierten Stellen die Löcher in den Rahmen des Paneels.
SCHRITT 5 – Sichern Sie die Halterungen mit Hilfe der mitgelieferten Schrauben und Bolzen nun an Ihrem Solarpanel.
Wir wünschen Ihnen viel Spaß beim Energiersparen!
