OEM/ODM Factory for Poly-crystalline Solar Panel 50W Supply to Seattle
Short Description:
owing to good service, a variety of high quality products, competitive prices and efficient delivery, we enjoy a good reputation among our customers. We are an energetic company with wide market for OEM/ODM Factory for Poly-crystalline Solar Panel 50W Supply to Seattle, Welcome to visit us at any time for business relationship established.
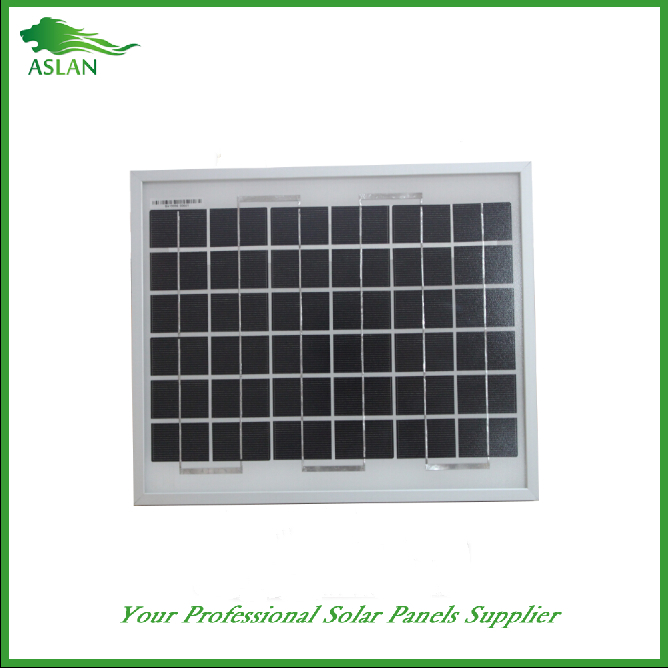
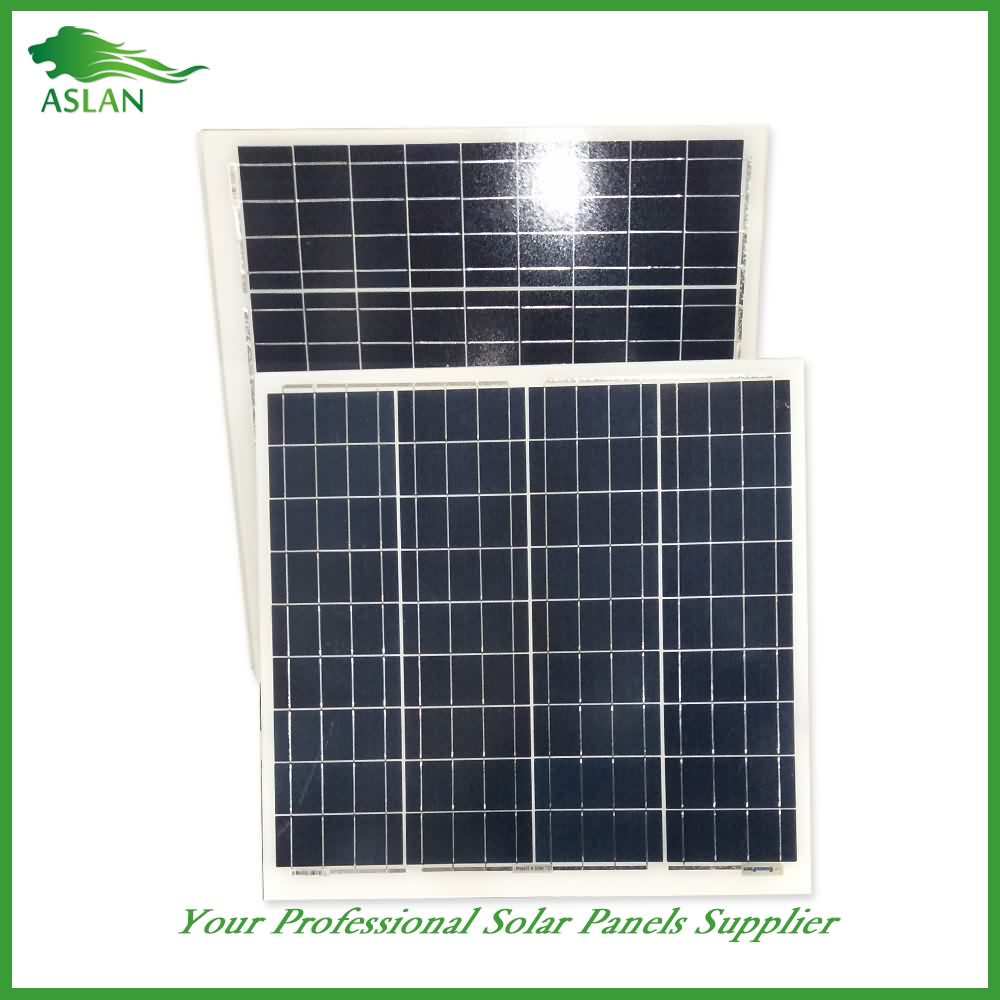
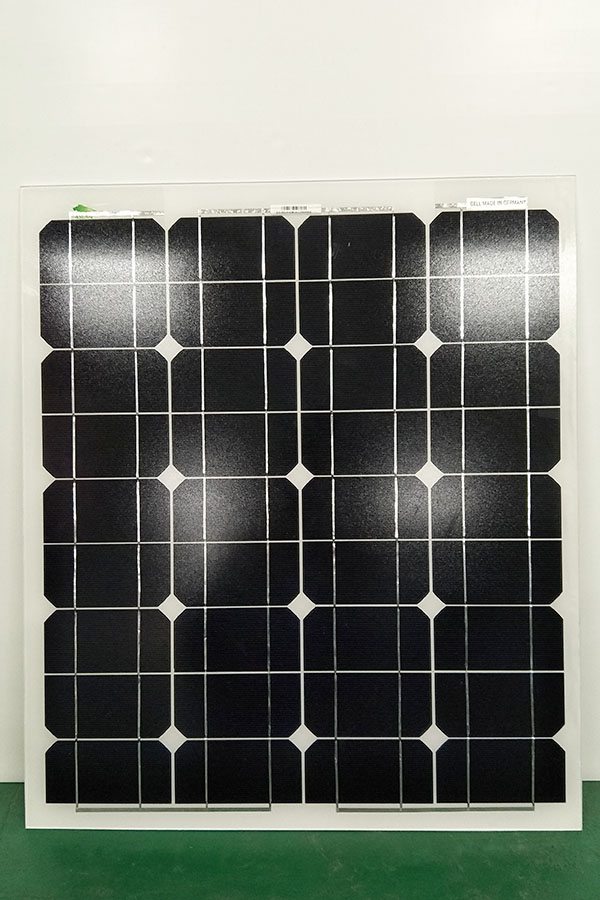
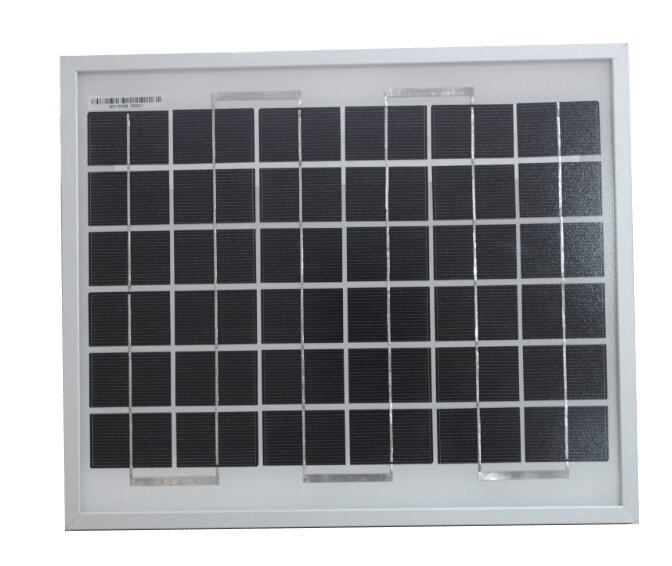
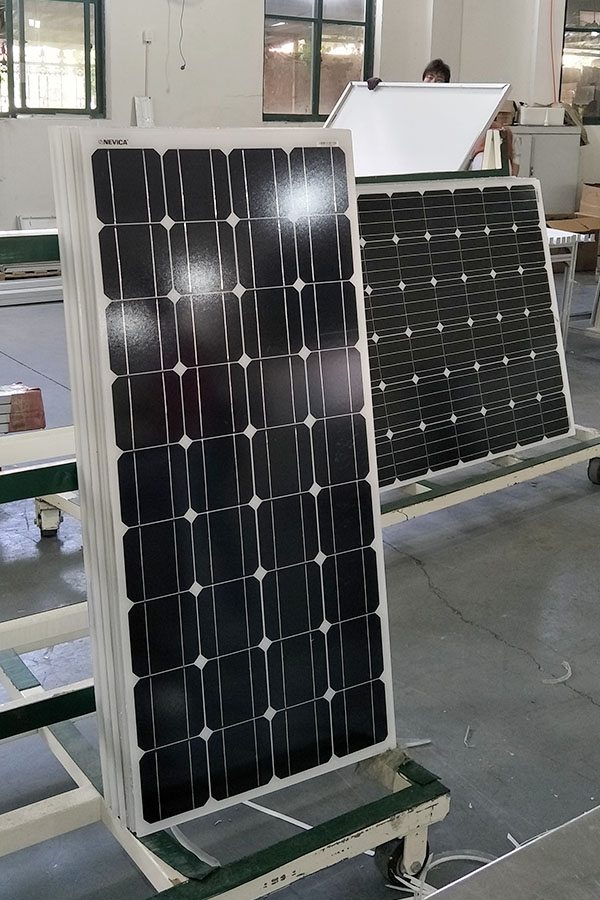
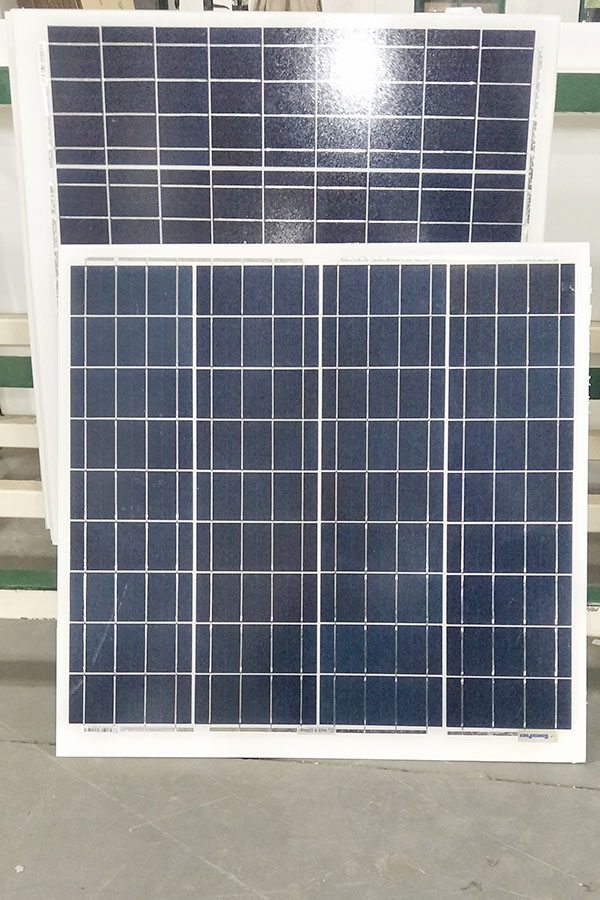
Poly-crystalline Solar Panel 50W
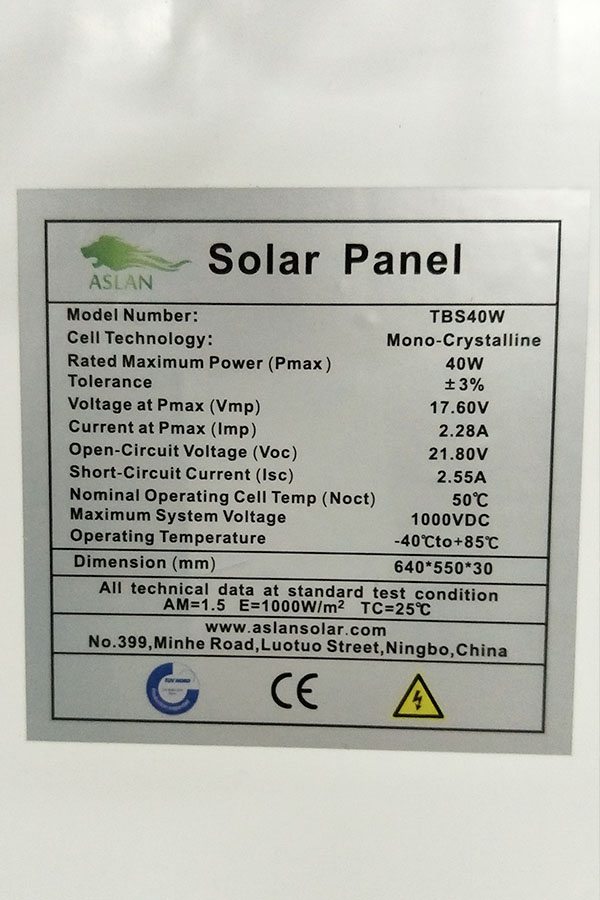
Technical parameter
Maximum Power(W) 50W
Optimum Power Voltage(Vmp) 18.43V
Optimum Operating Current(Imp) 2.71A
Open Circuit Voltage(Voc) 22.48V
Short Circuit Current(Isc) 2.98A
Mechanical Characteristics
Cell Type Poly-crystalline 156 x 52mm
No of Cell 36 (4x9pcs)
Dimensions 678x542x25mm
Weight 4.2Kg
Front Glass 3.5mm,High Transmission, Low Iron,Tempered Glass
Junction box IP65 Rated
Output Cable TUV 1×4.0mm2/UL12AWG,Length:900mm
Temperature and Coefficients
Operating Temperature(°C): -40°C ~ + 85°C
Maximum System Voltage: 600V(UL)/1000V(IEC) DC
Maximum Rated Current Series: 15A
Temperature Coefficients of Pmax: -0.47%
Temperature Coefficients of Voc: -0.389%
Temperature Coefficients of Isc: 0.057%
Nominal Operationg Cell Temperature (NOCT): 47+/-2°C
Materials of solar panel
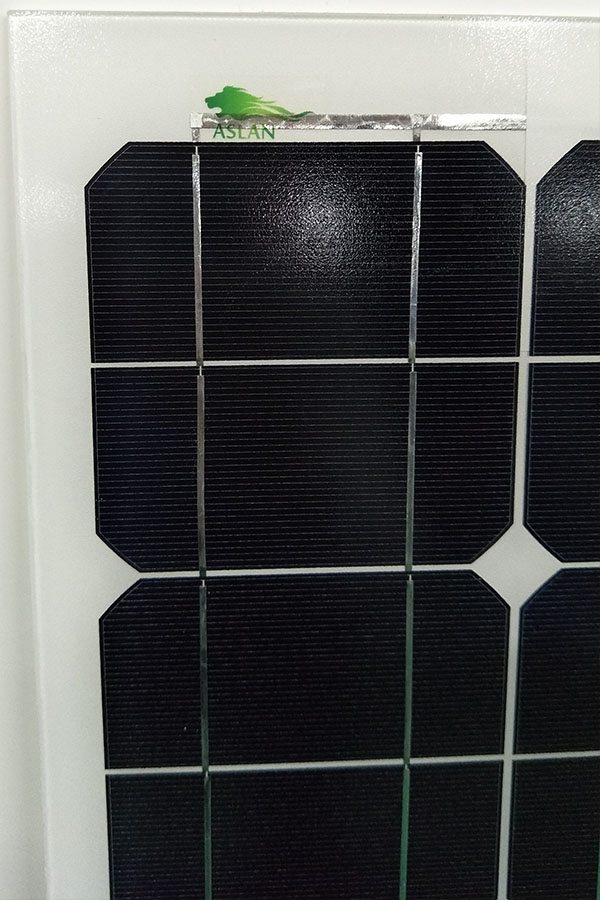
1).Solar Cell——Poly-crystalline solar cell 156*52mm
2).Front Glass——-3.2mm, high transmission, low iron, tempered glass
3).EVA——-excellent anti-aging EVA
4).TPT——-TPT hot seal made of flame resistance
5).Frame——anodized aluminum profile
6).Junction Box——-IP65 rated, high quality, with diode protection
Superiority: high quality anodized aluminum frame, high efficiency long life, easy installation, strong wind resistance, strong hail resistance.
Features
1. High cell efficiency with quality silicon materials for long term output stability
2. Strictly quality control ensure the stability and reliability, totally 23 QC procedures
3. High transmittance low iron tempered glass with enhanced stiffness and impact resistance
4. Both Poly-crystalline and Mono-crystalline
5. Excellent performance in harsh weather
6. Outstanding electrical performance under high temperature and low irradiance
Quality assurance testing
Thermal cycling test
Thermal shock test
Thermal/Freezing and high humidity cycling test
Electrical isolation test
Hail impact test
Mechanical, wind and twist loading test
Salt mist test
Light and water-exposure test
Moist carbon dioxide/sulphur dioxide
Whole Body Regeneration ☮ Cell Regeneration & DNA Stimulation & Repair ☮ Delta Binaural Beats Meditation by Binaural Beats Meditation (Good Vibes)
Beat Frequency: 3.5 Hz Delta Binaural Beats
Carrier Frequency: 111 Hz
Purpose:
- Whole Body Regeneration / Full Body Healing.
- DNA Stimulation & Repair.
- Cell Regeneration.
- Beta Endorphin Release.
- Feeling of Unity with Everything.
- Accelerated Emotional & Physical Healing.
- Enhancement of Receptivity.
How to use binaural beats:
Find a comfortable place free of distractions. It’s important not to listen to binaural beats when you need to do something that requires your full attention like driving. Avoid any tasks that are mentally demanding because the meditative state is not conducive to quick, action-oriented critical thinking.
Listen to binaural beats when you want to relax, clear your mind, get your creative juices flowing, engage your intuition to help solve problems and for personal development work such as repeating affirmations and doing visualization.
Be sure to give yourself enough listening time! The brain requires about 7 minutes to entrain, or fall in sync, with the audio stimulus. Give yourself at least 15-30 minutes of listening time to experience the benefits.
You must use stereo headphones for binaural beats to work. Why? Because the ‘beats’ themselves are created in your brain The word binaural means “having or relating to two ears.” It works like this: each ear receives a slightly different frequency at the same time, and the brain perceives the tone that is the difference of the two. If 400Hz pulses into one ear and 410 into the other, the brain will process the two sounds into a 10 Hz frequency, which happens to be the same frequency produced by the brain during meditation.
All of these frequencies, and the effects they have on the brain have been studied by scientists over the past 40 years, mainly accredited to Robert Monroe of The Monroe Institute. From the extensive research done and on the strength of Monroes’ findings, he concluded that inducing brainwave frequencies through the use of binaural beats causes a wide range of effects. But Monroe is definitely not alone in his findings. There are lots of other scientists that have also noted that these lower brainwave frequencies are accompanied by deep tranquility, flashes of creative insight, euphoria, intensely focused attention, enhanced learning abilities, spiritual awareness, and so much more.
Please Subscribe us for Daily Updates and more Music:
https://www.youtube.com/channel/UCIauBb6cmot_0cYlYeEb8Mw
Find Us on social Media:
- https://www.facebook.com/GoodVibesChannel
- https://plus.google.com/u/0/b/113648737650154472818/
- https://twitter.com/GoodVibesTube
whole body regeneration, cell regeneration, dna stimulation, dna repair, delta binaural beats, binaural beats, whole being regeneration, full body healing, whole body regeneration pain remover, healing binaural beats, healing frequency, body healing, whole body healing, total body wellness, binaural beats meditation, full body healing frequency, cure all, delta waves, sound therapy, whole body healing meditation, whole body healing frequency, 3.5 hz
© Good Vibes all rights reserved.
Flexible Solar Panel install on the rooftop of my 13′ Casita Patriot fiberglass RV. At first I was considering doing a “no hole” install, but decided that in order to do that, I would have longer wire runs on the outside of my Casita than I would like. I decided to drill.
In order to prevent any rooftop leakage, though, I used a cable gland to cover the hole and used Eternabond to attach both my solar panel and my the cable gland. By using Eternabond, this allowed me to attach the panel directly to the roof of my Casita without making additional screw holes.
LINKS:
- HQST Flexible Solar Panel: http://gripandclip.com/hqst-100-watt-panel
- Eternabond tape: http://amzn.to/2noi5w8
- Link Solar Cable Entry Gland: http://amzn.to/2objV2u
- RENOGY 5 Pair MC4 Male/ Female Solar Panel Cable Connectors Double Seal Rings for Better Waterproof Effect: http://amzn.to/2oSrhGc
1″ hole saw: http://amzn.to/2nNg1cy
Related Videos:
Solar Panel installation (From Start to Finish): https://youtu.be/VGgMF1EeEJI
TRANSCRIPT:
Flexible Solar Panel Rooftop Installation on my Casita!
First I placed the HQST Flexible Solar Panel centered on the roof of my 13’ Casita Patriot. Once positioned I marked the edges with a sharpie. I’m not worried about marks as I will be covering the edges with Eternabond tape anyway. I then stuck some industrial strength velcro with a sticky backing in order to hold the position of the panel on the roof so it would’t move while I applied the Eternabond tape.
I then placed the cable entry gland. The cable entry gland will provide cover for the hole that I am about to drill through the roof of my Casita. The wires get fed through the nipples of the gland. The edges are then covered with Eternabond tape as well.
I mark the place where I am going to drill. Time to drill!
Once drilled I feed the charge control cables through the hole in the roof. Here’s the view from inside the Casita looking up at the roof. Make sure you know which end is positive and which end is negative. I even used red tape to mark the Positive end so that there was no doubt.
I decided to hook the panels together in Parallel rather than series. One reason is that they have similar power specs, and 2, I can just run the roof panel by itself. If I did it in series, I would forever have to run both my rooftop and portable solar panel at the same time, as they would have to be connected in order for the series connection to work.
I then downloaded the PDF for the Adventurer PWM Charge Controller to figure out again where the Panel wires go, and which entry was for which polarity.
I then connected everything first to ensure that it was working correctly before I pasted everything down.
Once I could see that the panels were delivering a charge it was time to tape everything down.
Eternabond was originally used for rooftop repairs. I was going to use VHB tape, but decided that the eternabond would be sufficient. I then cut the tape to fit, peeled back the edges, and pressed the tape to seal.
I then had to strip the panel wires of their connectors in order to fit through the cable gland. Once through I tightened the nipple to create a watertight seal. Once the wires were through the nipples I then sealed the perimeter of the cable gland, then connected both panels in Parallel and tested the setup.
As you can see, the Panels, represented by “PV” are drawing a charge. Over time, the battery should top off.
From start to finish, this project took me under 2 hours. It took me a lot less time as I already had the Casita wired for a single panel – adding a second panel was not as big of a deal. Hope this is helpful for you, please subscribe, comment and give me a thumbs up if you liked the video!