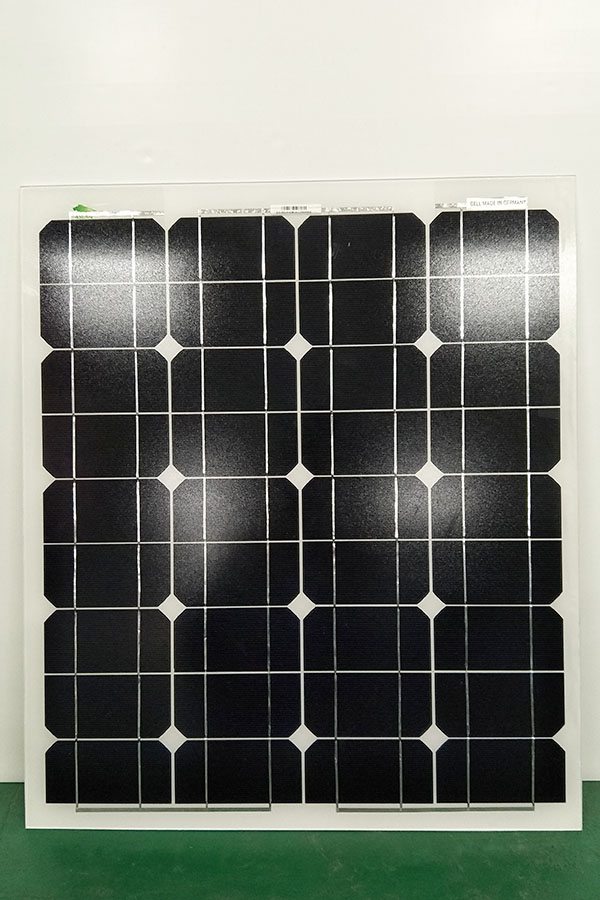
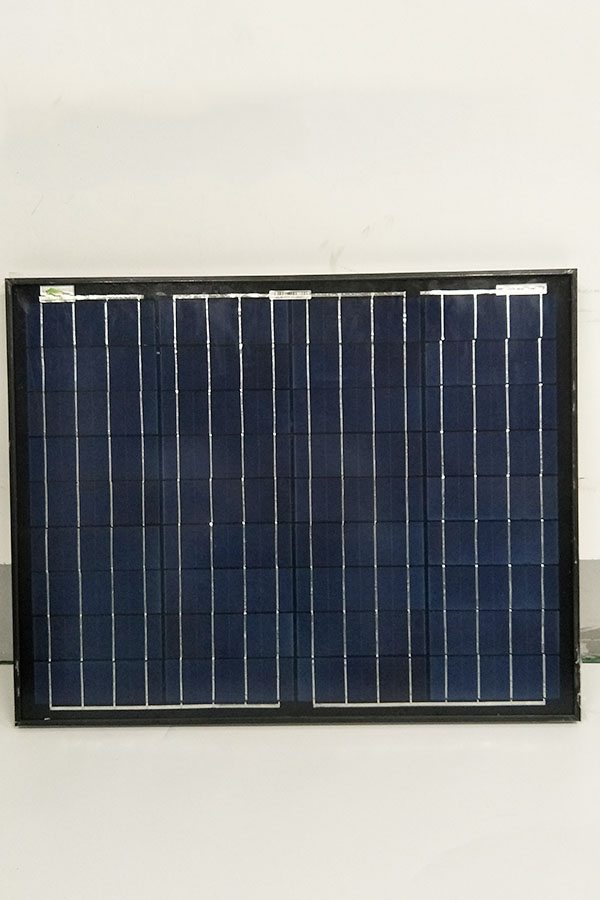
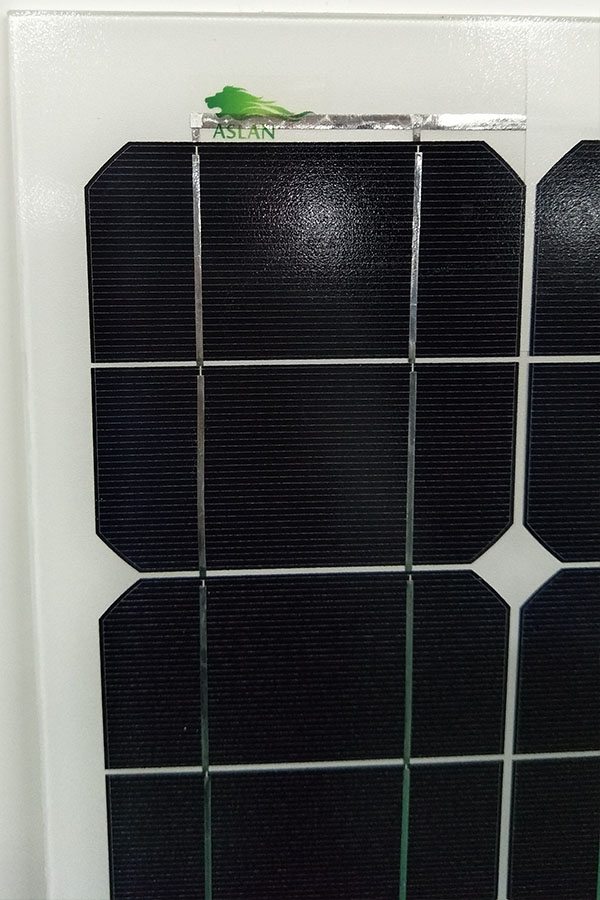
OEM manufacturer custom Mono-Crystalline 40W Solar Panel Supply to Islamabad
Short Description:
We are committed to providing easy,time-saving and money-saving one-stop purchasing service of consumer for OEM manufacturer custom Mono-Crystalline 40W Solar Panel Supply to Islamabad, We welcome new and old customers from all walks of life to contact us for future business relationships and achieving mutual success!
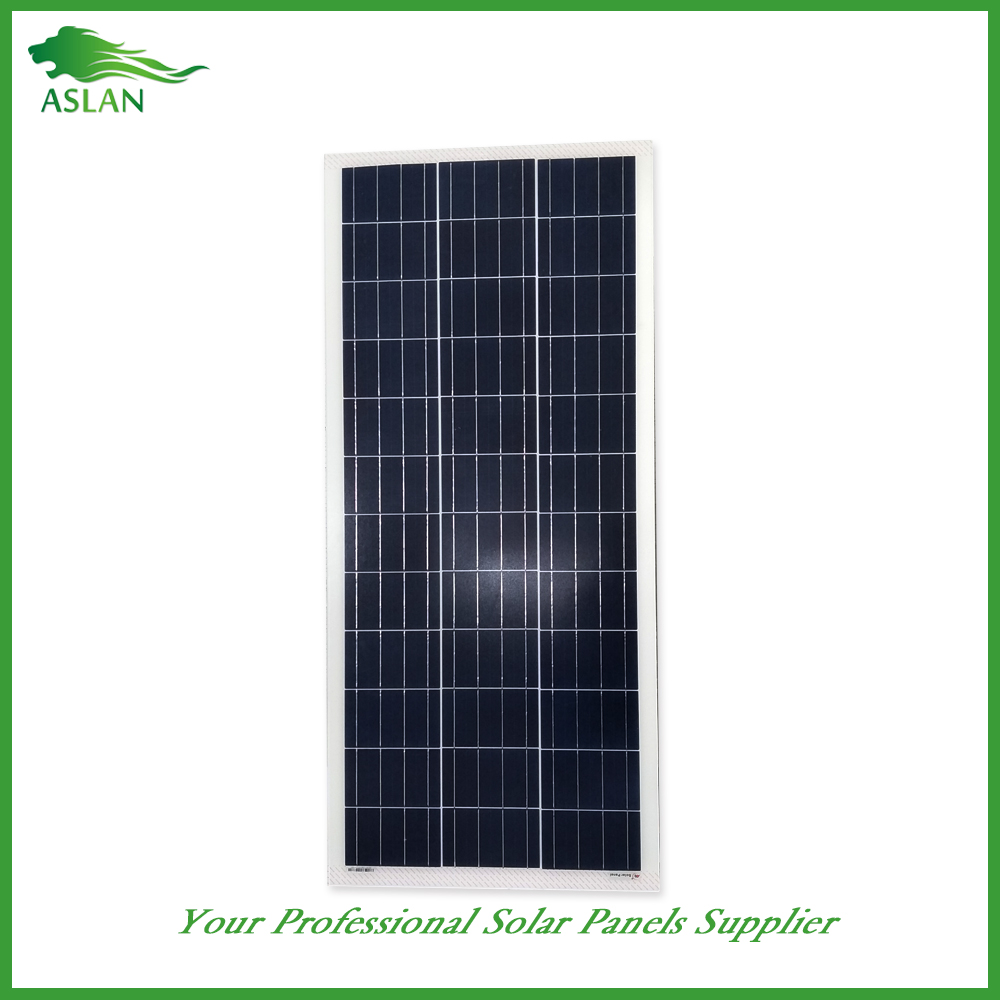
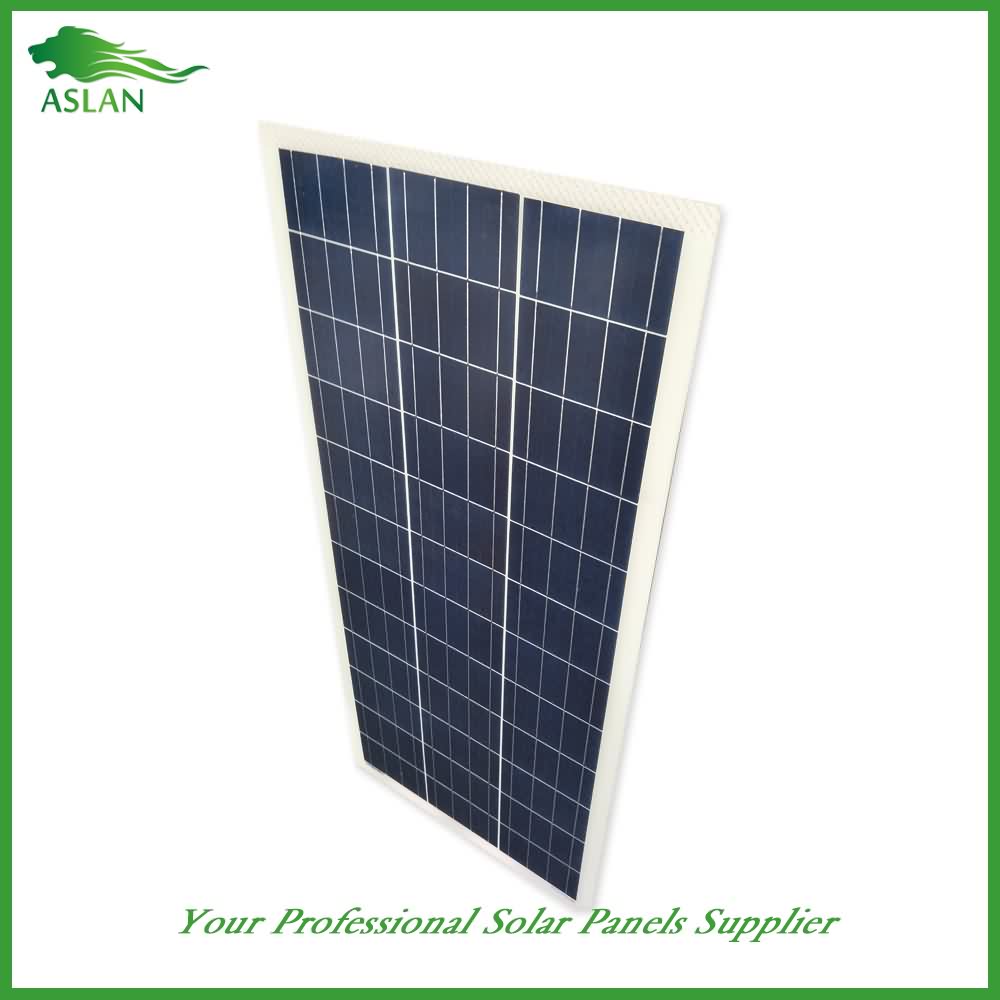
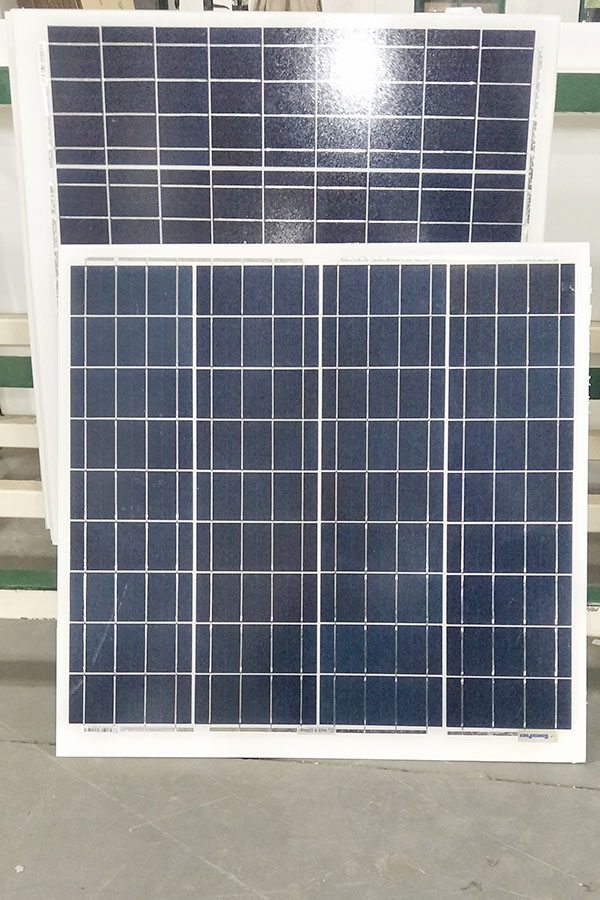
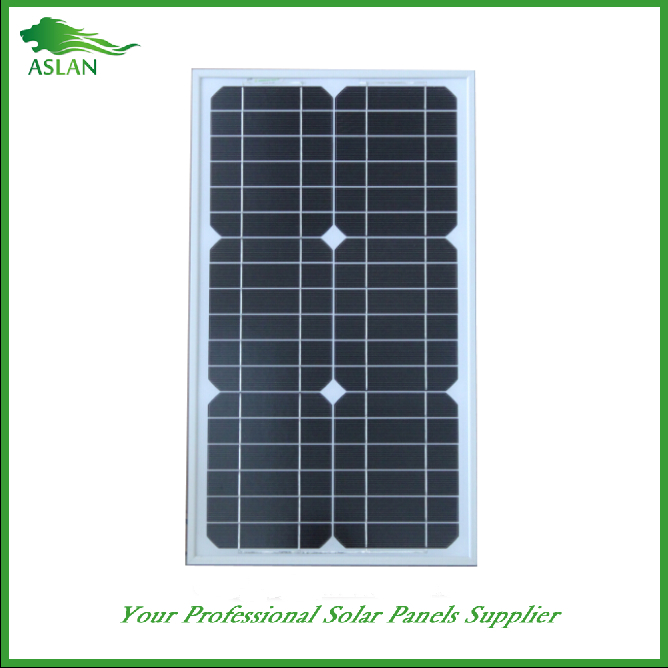
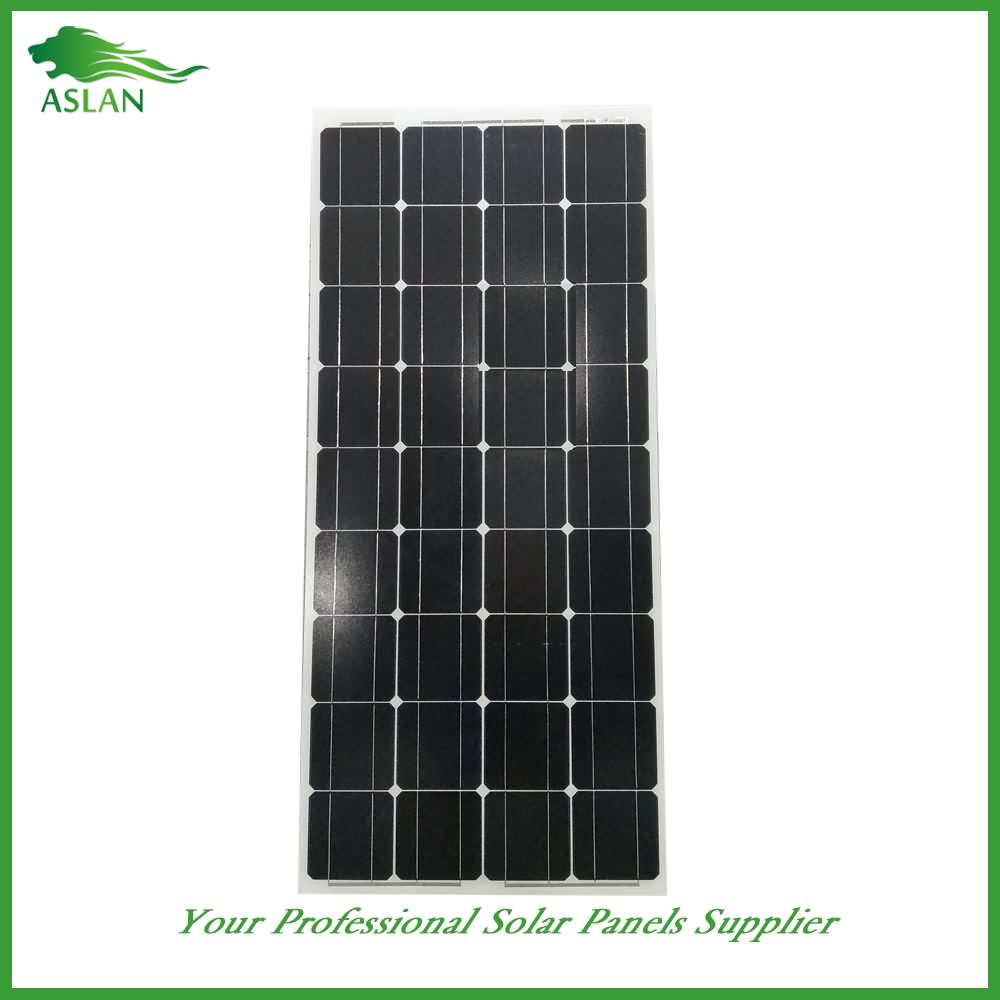
Mono-Crystalline 40W Solar Panel
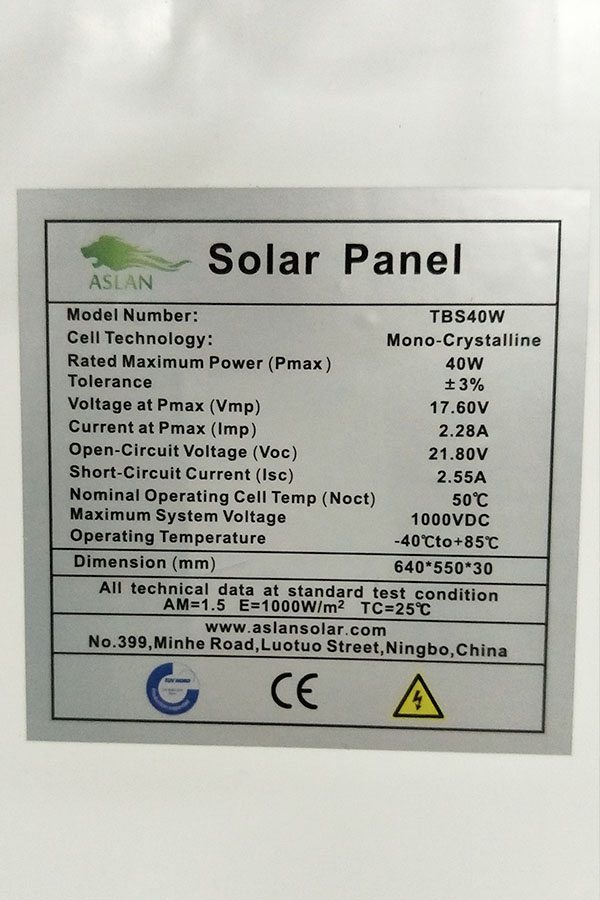
Technical parameter
Maximum Power(W) 40W
Optimum Power Voltage(Vmp) 18.21V
Optimum Operating Current(Imp) 2.20A
Open Circuit Voltage(Voc) 21.83V
Short Circuit Current(Isc) 2.40A
Mechanical Characteristics
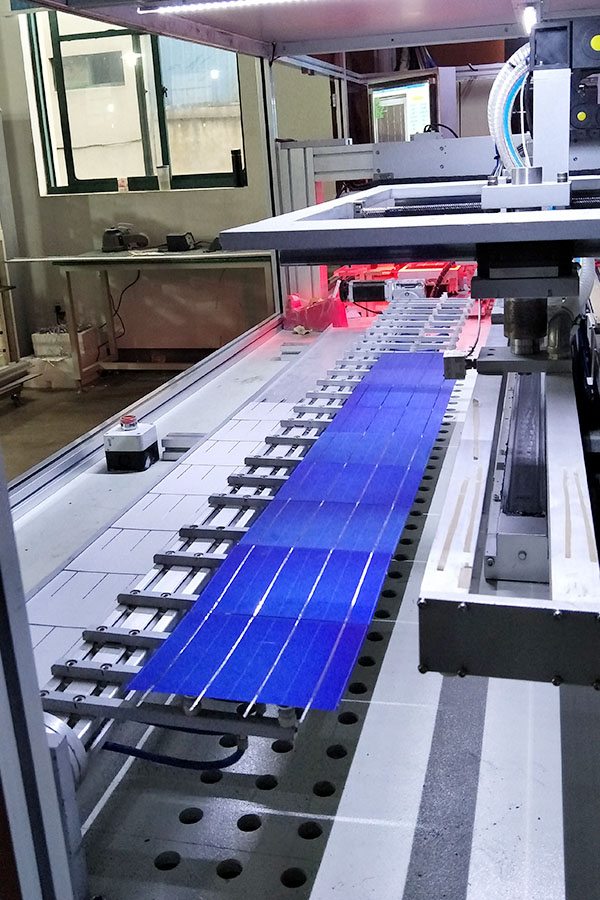
Cell Type Mono-crystalline 125×62.5mm
No of Cell 36 (4x9pcs)
Dimensions 636x554x25mm
Weight 4.2Kg
Front Glass 3.5mm,High Transmission, Low Iron,Tempered Glass
Junction box IP65 Rated
Output Cable TUV 1×4.0mm2/UL12AWG,Length:900mm
Temperature and Coefficients
Operating Temperature(°C): -40°C ~ + 85°C
Maximum System Voltage: 600V(UL)/1000V(IEC) DC
Maximum Rated Current Series: 15A
Temperature Coefficients of Pmax: -0.47%
Temperature Coefficients of Voc: -0.389%
Temperature Coefficients of Isc: 0.057%
Nominal Operationg Cell Temperature (NOCT): 47+/-2°C
Materials of solar panel
1).Solar Cell——Mono-crystalline solar cell 125*62.5mm
2).Front Glass——-3.2mm, high transmission, low iron, tempered glass
3).EVA——-excellent anti-aging EVA
4).TPT——-TPT hot seal made of flame resistance
5).Frame——anodized aluminum profile
6).Junction Box——-IP65 rated, high quality, with diode protection
Superiority: high quality anodized aluminum frame, high efficiency long life, easy installation, strong wind resistance, strong hail resistance.
Features
1. High cell efficiency with quality silicon materials for long term output stability
2. Strictly quality control ensure the stability and reliability, totally 23 QC procedures
3. High transmittance low iron tempered glass with enhanced stiffness and impact resistance
4. Both Poly-crystalline and Mono-crystalline
5. Excellent performance in harsh weather
6. Outstanding electrical performance under high temperature and low irradiance
Quality assurance testing
Thermal cycling test
Thermal shock test
Thermal/Freezing and high humidity cycling test
Electrical isolation test
Hail impact test
Mechanical, wind and twist loading test
Salt mist test
Light and water-exposure test
Moist carbon dioxide/sulphur dioxide
I set up solar a solar power system for my tiny house on wheels plus I have a helper working at the off grid homestead.
I have a pair of solar batteries that I got out of the scrap yard a couple years ago which I am now using for my tiny house for now. This is a temporary setup until I have time to build a proper insulated battery box for my RV golf cart batteries. Then I will move the golf cart batteries over to the tiny house and swap them out with the solar batteries.
I am using a harbor freight solar panel system for my tiny house for now. It is actually bringing in more power per day at only 45 watts than my entire 800 watt solar panel system for the RV. This is because the HF solar panels are amorphous and are producing power during cloudy and rainy days when the polycrystalline panels are not.
I am also using the HF solar charge controller for now. I plan to use a better solar charge controller soon though.
I cut a hole in the tiny house wall under the kitchen sink. I used a hole cutter to make the hole. This allows me to pass the wired into and out of the tiny house for the battery bank.
A set of wires enters the tiny house between the solar panels and the charge controller. Another set of wires is connected between the batteries and the charge controller. Yet another pair of wires comes from the batteries back into the tiny home. This is the main power line for the tiny house.
I have a helper who will be working on the souvenirs for The Off Grid Project since I have been too busy working on the house. Emre is a foreign student who is going go college locally. I am going to pay him per item made. He will be making The Off Grid Project coffee coasters and helping with various other souvenirs while I finish the tiny house.
I finished connecting the solar power system to my tiny home and started to connect some LED lighting to the house. I am using my homemade paneling to hold the LED spotlights above the kitchen counter.
A package arrived containing a tool belt and some saw blades. I do not know who sent it but thank you. This will help out a lot at the off grid homestead.
Follow my daily progress on the path to self sufficiency on my off grid solar homestead.
https://www.youtube.com/user/techman2015/playlists?view=50&shelf_id=10&sort=dd
Please donate to help keep The Off Grid Project going: https://www.paypal.com/cgi-bin/webscr?cmd=_s-xclick&hosted_button_id=3TQSWXLLRZ6HW
Join The Off Grid Project and The Do It Yourself World forum and share your ideas, tips and projects.
http://www.thediyworld.com/forum
The Off Grid Project is presented by The Do It Yourself World.
http://www.TheDIYworld.com
Homemade Evaporative Air Cooler. Easy DIY. This “large area” SUPER Cooler is capable of cooling multiple rooms (up to 30F lower than the initial “room temperature”). Designed to be used with a standard 20″ box fan. Run-time: 6-10 hours per fill-up (holds 3 gallons). all supplies are easily found at the home stores. notes on construction: wood used; one 10 foot 2×3 (99.75″ in total). twelve 2 1/2″ wood screws. one heavy duty “CoolPad Ice” all season cooler pad. one roll (2ft by 5ft) of metal screen, called “hardware cloth”. 5/8″ vinyl tubing (1/2″ internal diameter). 200GPH fountain pump (from harbor freight). one 2′ long piece of pvc pipe (1/2″ diameter). assorted pvc connectors. 1/8″ drill bit for water holes. 7/8″ spade bit to cut hole at top of wooden braces. one 24″ long window box (7″ high) from walmart. lastly, works best in semi-dry and dry climates *the drier the climate the better it performs – also, for best results, use a strong/powerful fan. tip: to dry out the cooler pad do not remove it. just shut off water pump and let fan run. it should be completely dry in 15 to 20 mins. only remove cooler pad when replacing it (once or twice a year – if you use heavy duty one). you may need to use some pvc pipe cement if there are any leaks (on non-threaded connections). it’s only about $4 a bottle. (i didn’t need to use it.) you may need to use teflon tape on any connector that is threaded and leaking. cooler is totally self-contained and area around cooler stays completely dry. (ran it all day for 3 days and observed no water at all outside of the air cooler). additional video footage w/extra info. (including closeups showing actual product labels w/specs. of several of the items) can be seen by viewing the “quickview” (shorter version) of the video.
