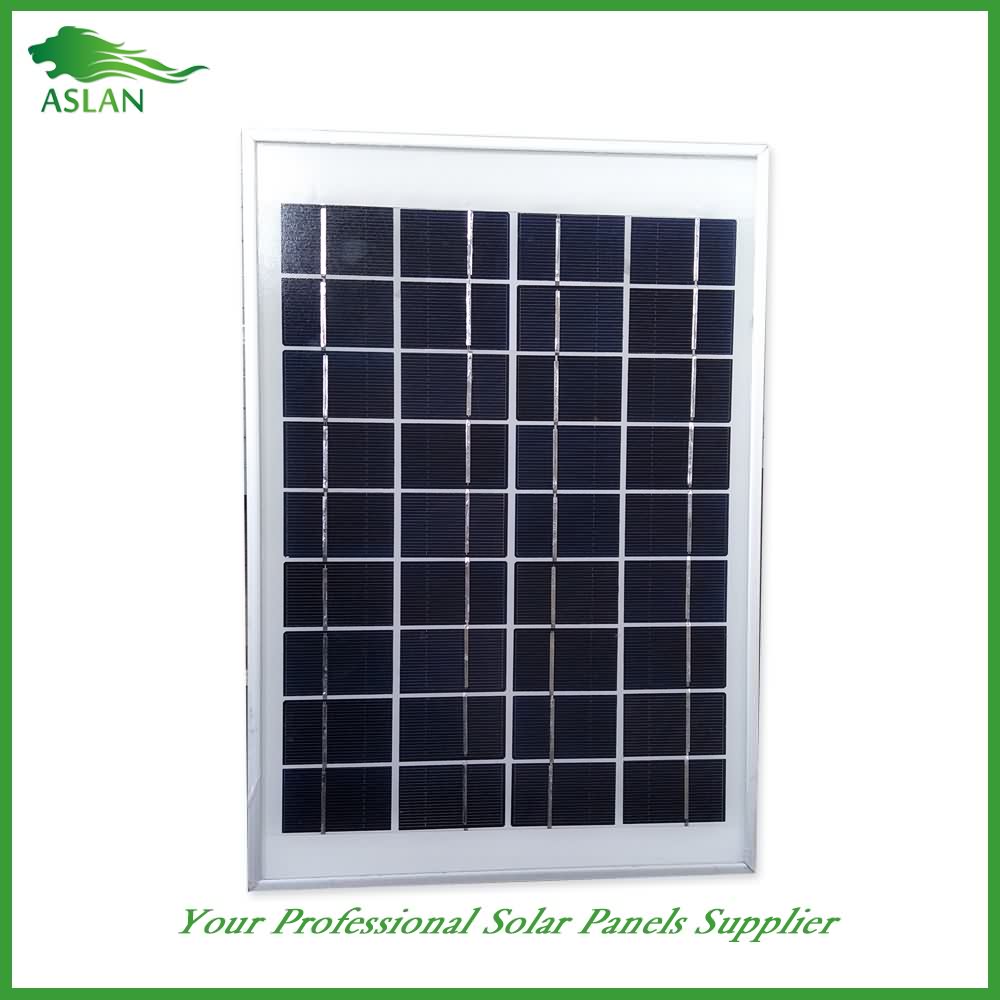
Low price for Mono-Crystalline 80W Solar Panel to Irish Manufacturer
Short Description:
In order to best meet client's needs, all of our operations are strictly performed in line with our motto " High Quality, Competitive Price, Fast Service " for Low price for Mono-Crystalline 80W Solar Panel to Irish Manufacturer, We are sincere and open. We look forward to your visit and establishing trustworthy and long-term standing relationship.
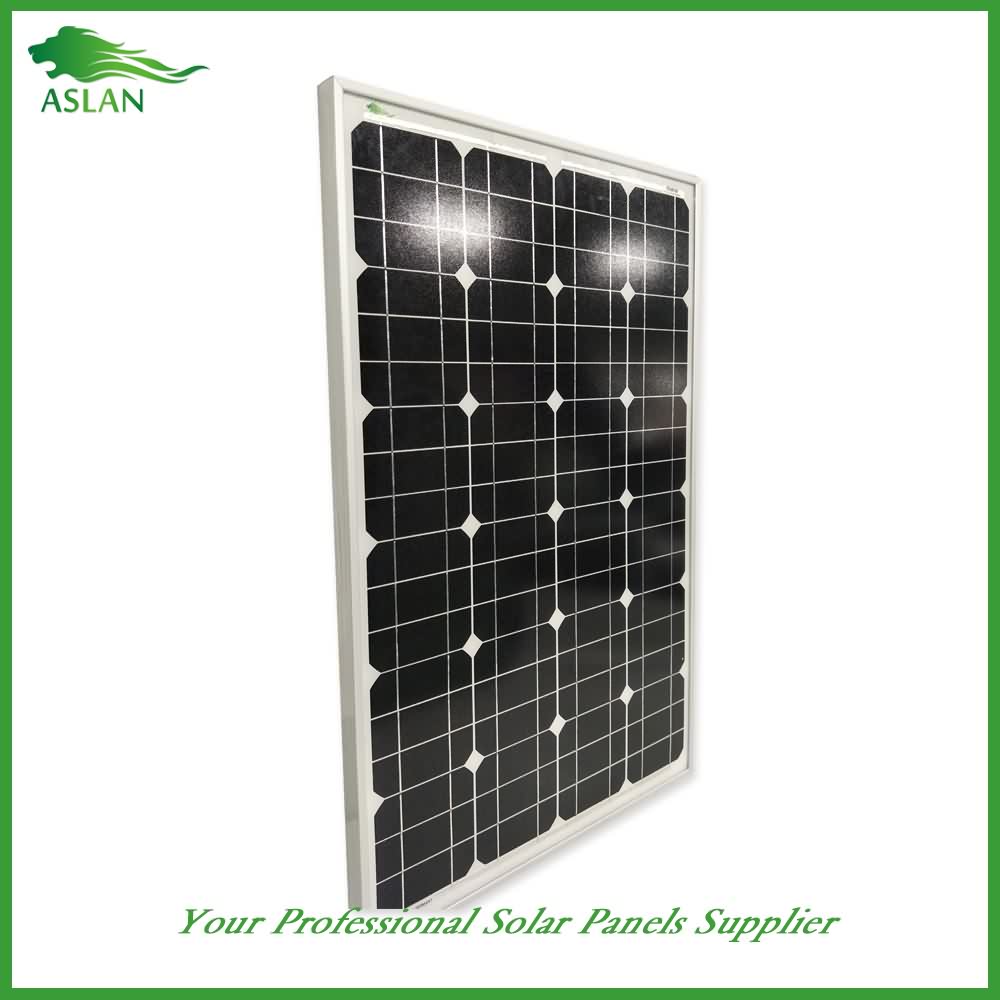
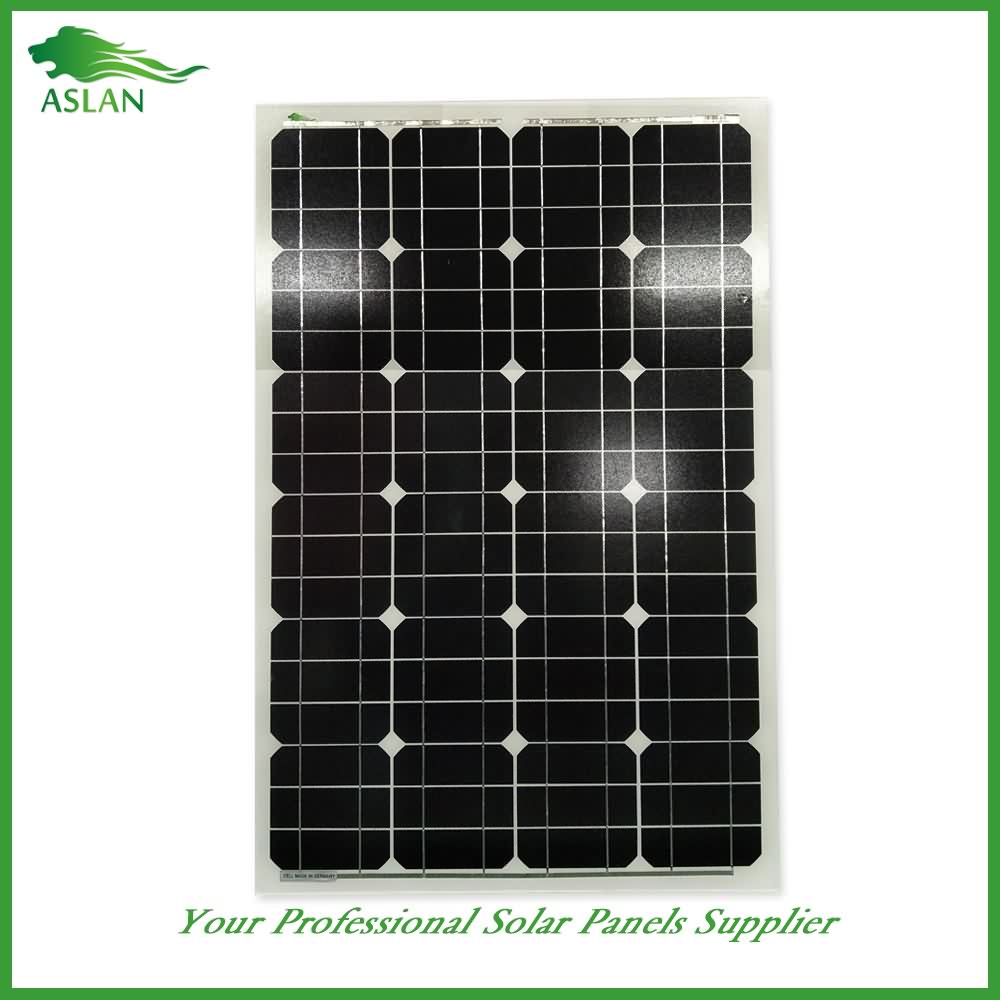
Mono-Crystalline 80W Solar Panel
Technical parameter
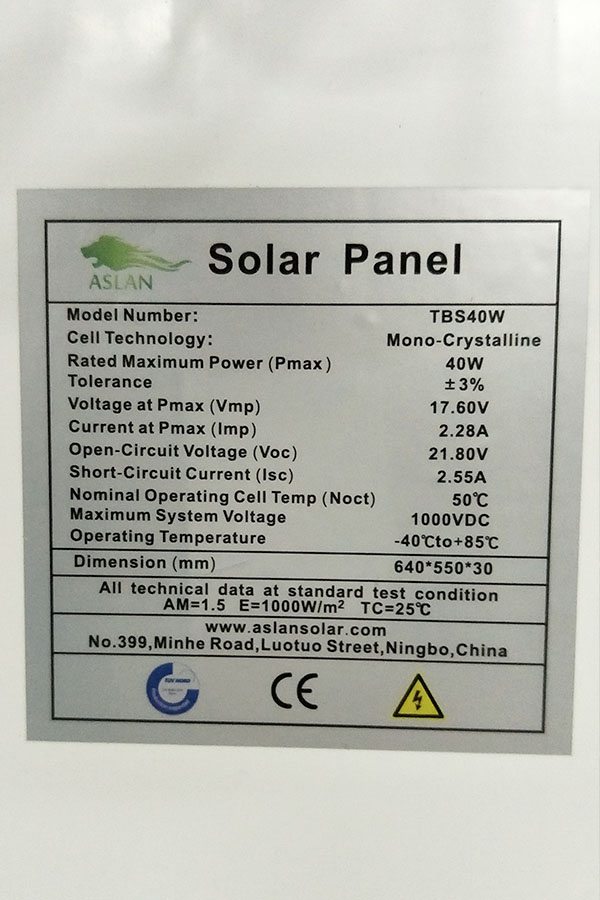
Maximum Power(W) 80W
Optimum Power Voltage(Vmp) 15.90V
Optimum Operating Current(Imp) 5.03A
Open Circuit Voltage(Voc) 18.58V
Short Circuit Current(Isc) 5.59A
Mechanical Characteristics
Cell Type Monocrystalline 125x125mm (5 inch)
No of Cell 36 (4x9pcs)
Dimensions 906x670x35mm
Weight 7.2KGS
Front Glass 3.2mm,High Transmission, Low iron, tempered Glass
Junction box IP65 Rated
Output Cable TUV 1×4.0mm2/UL12AWG,Length: 900mm
Temperature and Coefficients
Operating Temperature(°C): -40°C ~ + 85°C
Maximum System Voltage: 600V(UL)/1000V(IEC) DC
Maximum Rated Current Series: 15A
Temperature Coefficients of Pmax: -0.435%
Temperature Coefficients of Voc: -0.35%
Temperature Coefficients of Isc: 0.043%
Nominal Operating Cell Temperature (NOCT): 47+/-2°C
Materials of solar panel
1).Solar Cell——Mono-crystalline solar cell 125*125mm
2).Front Glass——-3.2mm, high transmission, low iron, tempered glass
3).EVA——-excellent anti-aging EVA
4).TPT——-TPT hot seal made of flame resistance
5).Frame——anodized aluminum profile
6).Junction Box——-IP65 rated, high quality, with diode protection
Superiority: high quality anodized aluminum frame, high efficiency long life, easy installation, strong wind resistance, strong hail resistance.
Features
1. High cell efficiency with quality silicon materials for long term output stability
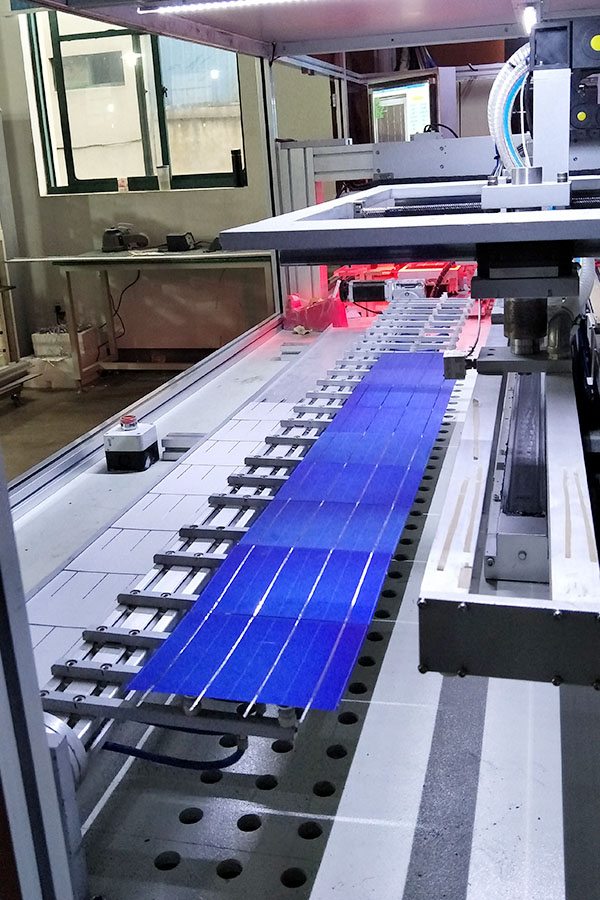
2. Strictly quality control ensure the stability and reliability, totally 23 QC procedures
3. High transmittance low iron tempered glass with enhanced stiffness and impact resistance
4. Both Polycrystalline and Mono-crystalline
5. Excellent performance in harsh weather
6. Outstanding electrical performance under high temperature and low irradiance
Quality assurance testing
Thermal cycling test
Thermal shock test
Thermal/Freezing and high humidity cycling test
Electrical isolation test
Hail impact test
Mechanical, wind and twist loading test
Salt mist test
Light and water-exposure test
Moist carbon dioxide/sulphur dioxide
Hello YouTuber’s in this How To video I show you how to use uni-strut to mount your solar panels.
As you watch the video you see what I have used to lock the panels down and how I had them attached before. now you can also use the end clamps and mid clamps that you can buy with the Uni-rack systems. and still just the spring nuts and 1/4 bolts. I will later upgrade to those due to the fact that will make for a much cleaner install. washers work fine when panels are of the same height and size but on the ends and were solar panels are of different thickness it don’t work to well. What I have done you don’t to see it in the video on the ends were the panels start were the washer was tilted. I went and got a piece of Aluminum stock the same thickness as the solar panel and that fixed the end problem. as for the thinner panels I just put a small piece of metal to bring those panels up to the same height and it all worked out fine using just rubber and steal washers. so in the end it all worked out.
Also in this video there is a link to Missouri Wind and Solar Video were they install 920 watts of solar panels and hook them to a Solar/wind hybrid Grid Tie system. In this video he used the Uni-rack system, and all mounting hardware. Defiantly a clean install. Thanks Jeff for sharing your video. Here is a link to that video if you chose to watch it.
I also have a give a way going on it ends on April 10th winners will be notified that day and video up loaded on winners on the 11th. so click link for your chance to wind one of two Tachometers
Thanks for watching YouTube.
Don’t forget to comment, like and subscribe if you haven’t already, there is more to come.
Learn how to replace the worn or broken back cover for Xperia Z2 by yourself. Recycle your old NFC. Follow the video step by step, and you can do DIY repair. Get original Xperia Z2 back cover at http://bit.ly/1aEMOts ; get custom Xperia Z2 back cover at http://bit.ly/1EhKeo3 ; get original Xperia Z2 Replacement Parts at: http://bit.ly/1DOQLmL .
Steps
1. Remove the back cover;
2. Peel off the old NFC from old back cover
3. Put your old NFC on the new back cover
4. Install new back cover.
Tools
1. Heat gun or hair dryer;
2. Suction cup – http://bit.ly/1Mbid2L;
3. Guitar picks – http://bit.ly/1E6tMWJ;
Tips: Don’t forget to clear the camera lens before you put back the back cover.
To learn to DIY repair other components or other phones, don’t forget to subscribe our Youtube and other channels:
Follow Us on Twitter: https://twitter.com/witrigs
Like Us on Facebook: http://www.facebook.com/witrigsgroup
Add Us on Google+: https://plus.google.com/+Witrigs-com/posts
Subscribe Us on Blog: http://www.witrigs.com/blog/
-~-~~-~~~-~~-~-
The expenditure of creating repair guide videos is trending up. Donate now if you feel our videos so helpful. https://www.paypal.me/witrigs/2
Like our Facebook Page https://business.facebook.com/Witrigs-1718915445072177/
-~-~~-~~~-~~-~-
