Factory Wholesale PriceList for Mono-Crystalline 100W Solar Panel Factory in Bangkok
Short Description:
We are proud of the high customer satisfaction and wide acceptance due to our persistent pursuit of high quality both on product and service for Factory Wholesale PriceList for Mono-Crystalline 100W Solar Panel Factory in Bangkok, We warmly welcome business partners from all walks of life, expect to establish friendly and cooperative business contact with you and achieve a win-win goal.
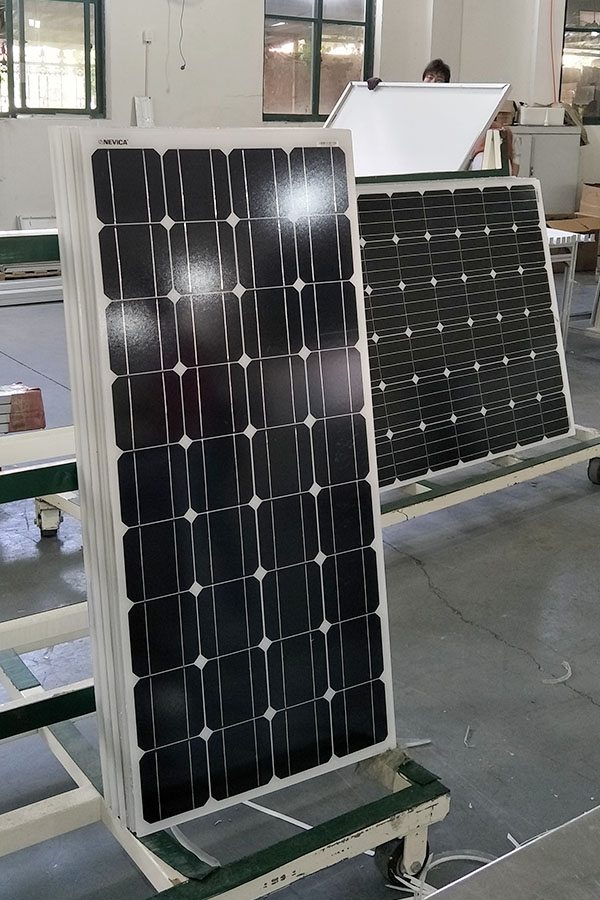
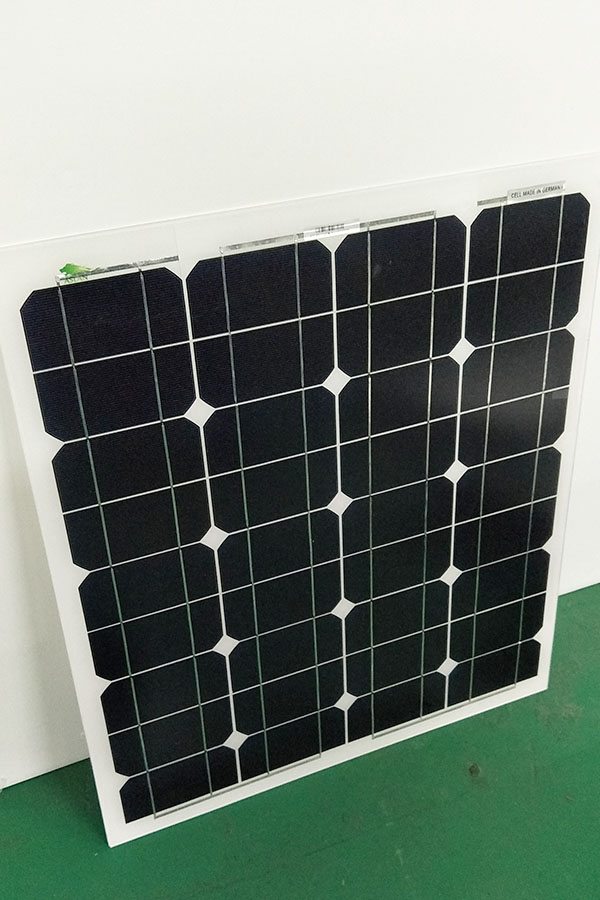
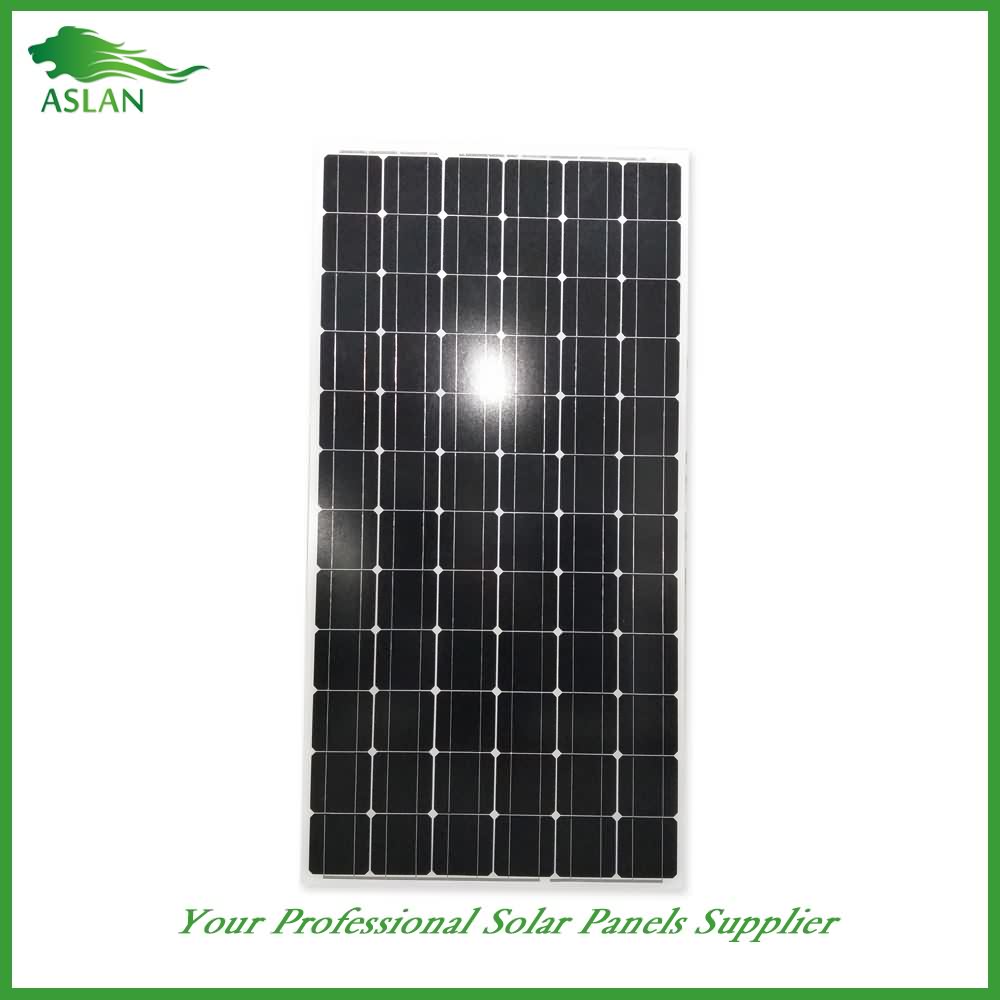
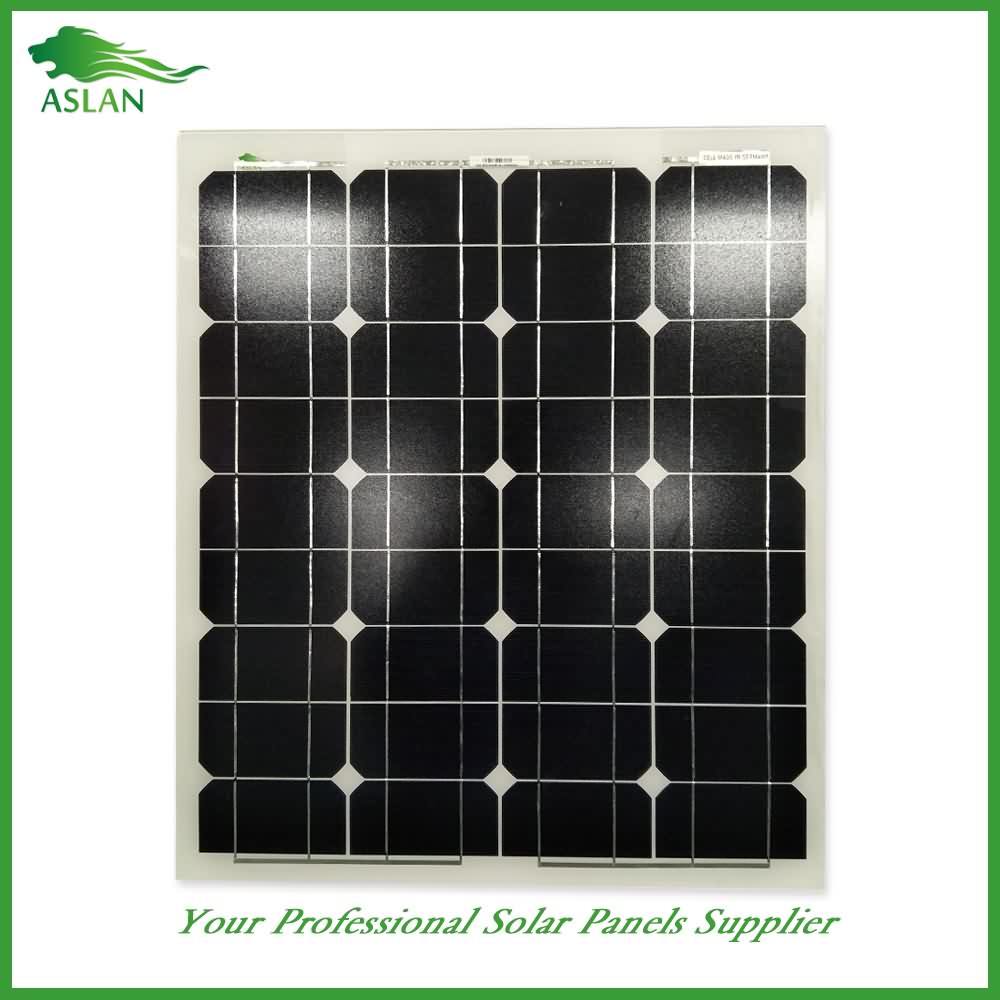
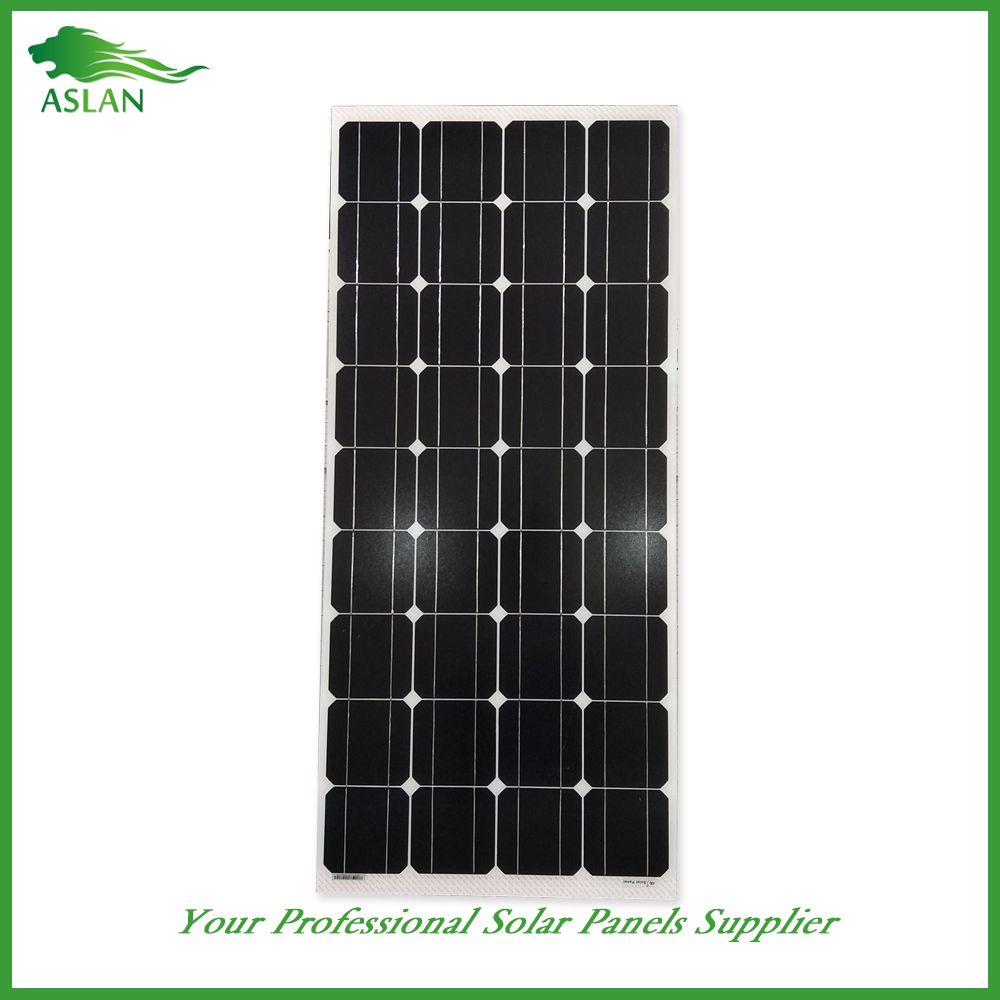
Mono-Crystalline 100W Solar Panel
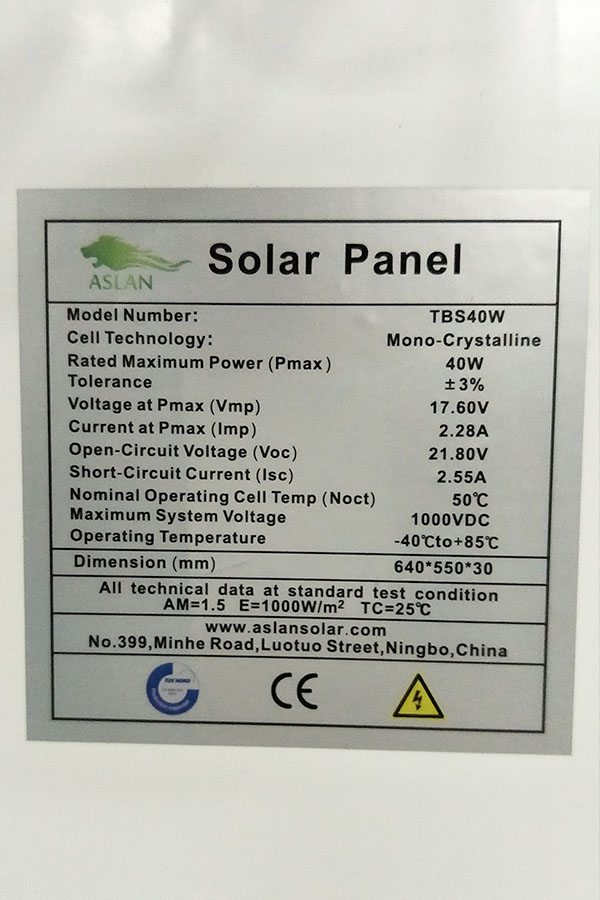
Technical parameter
Maximum Power(W) 100W
Optimum Power Voltage(Vmp) 18.66V
Optimum Operating Current(Imp) 5.36A
Open Circuit Voltage(Voc) 22.72V
Short Circuit Current(Isc) 5.92A
Mechanical Characteristics
Cell Type Monocrystalline 125x125mm(5 inch)
No of Cell 36 (4x9pcs)
Dimensions 1200x554x35mm
Weight 7.8Kg
Front Glass 3.5mm,High Transmission, Low Iron,Tempered Glass
Junction box IP65 Rated
Output Cable TUV 1×4.0mm2/UL12AWG,Length:900mm
Temperature and Coefficients
Operating Temperature(°C): -40°C ~ + 85°C
Maximum System Voltage: 600V(UL)/1000V(IEC) DC
Maximum Rated Current Series: 15A
Temperature Coefficients of Pmax: -0.47%
Temperature Coefficients of Voc: -0.389%
Temperature Coefficients of Isc: 0.057%
Nominal Operationg Cell Temperature (NOCT): 47+/-2°C
Materials of solar panel
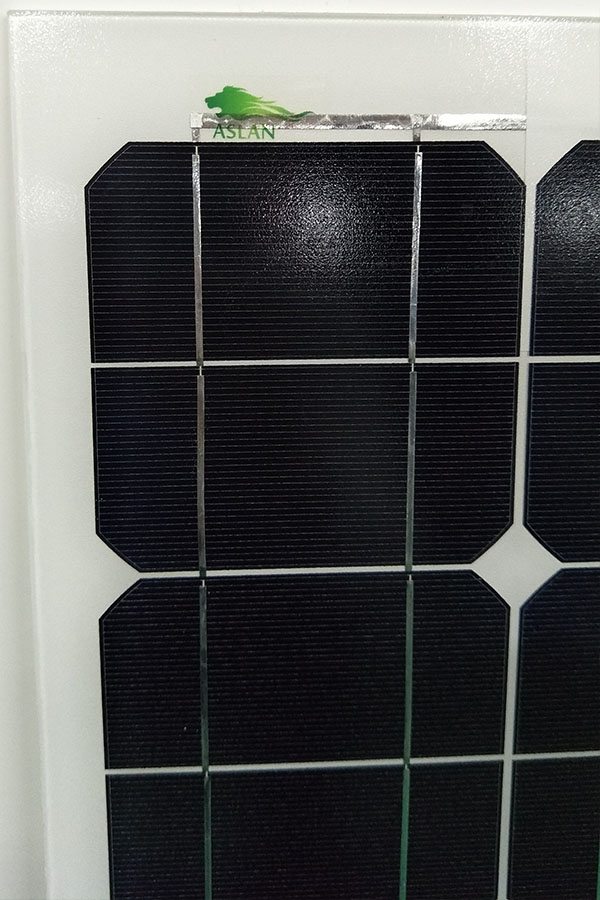
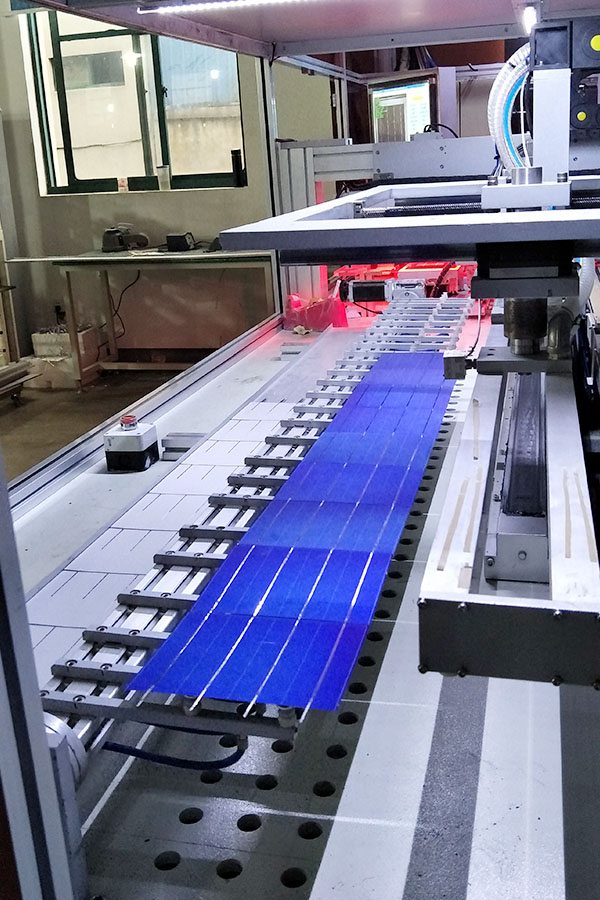
1).Solar Cell——Mono-crystalline solar cell 125*125mm
2).Front Glass——-3.2mm, high transmission, low iron, tempered glass
3).EVA——-excellent anti-aging EVA
4).TPT——-TPT hot seal made of flame resistance
5).Frame——anodized aluminum profile
6).Junction Box——-IP65 rated, high quality, with diode protection
Superiority: high quality anodized aluminum frame, high efficiency long life, easy installation, strong wind resistance, strong hail resistance.
Features
1. High cell efficiency with quality silicon materials for long term output stability
2. Strictly quality control ensure the stability and reliability, totally 23 QC procedures
3. High transmittance low iron tempered glass with enhanced stiffness and impact resistance
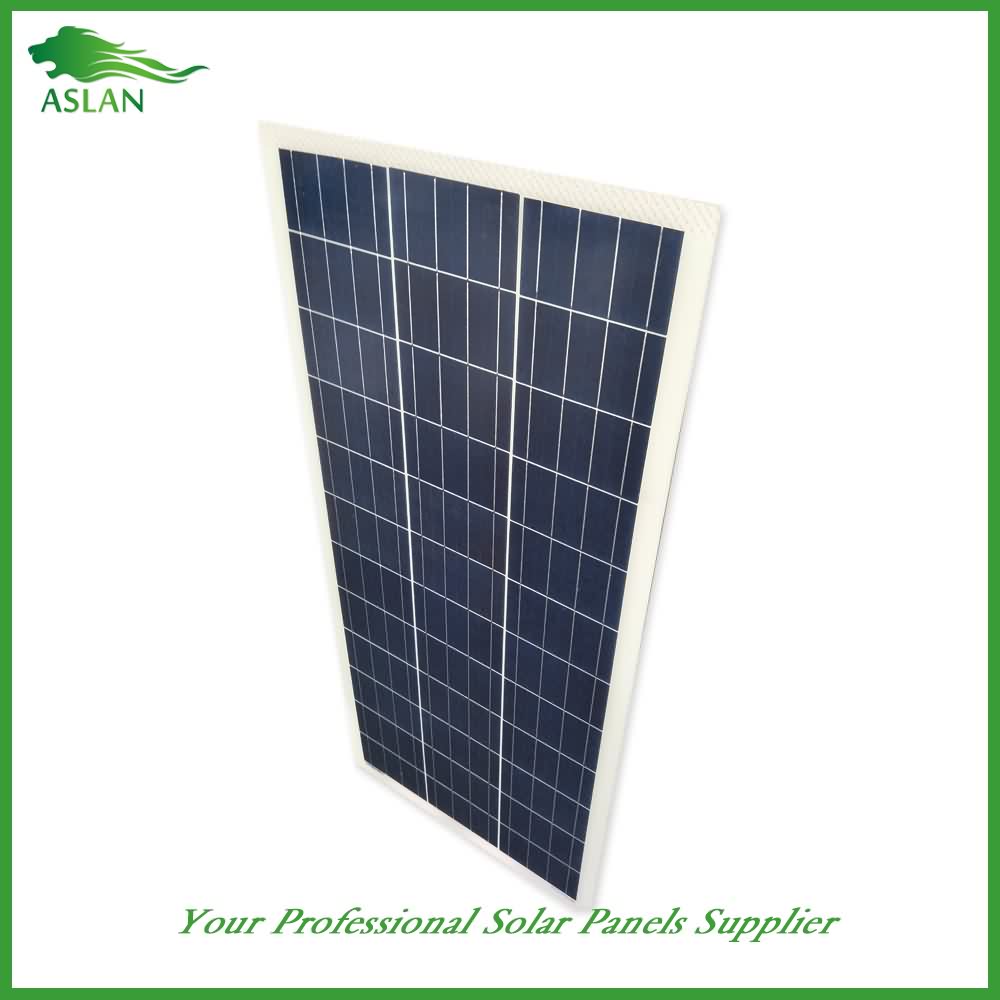
4. Both Polycrystalline and Mono-crystalline
5. Excellent performance in harsh weather
6. Outstanding electrical performance under high temperature and low irradiance
Quality assurance testing
Thermal cycling test
Thermal shock test
Thermal/Freezing and high humidity cycling test
Electrical isolation test
Hail impact test
Mechanical, wind and twist loading test
Salt mist test
Light and water-exposure test
Moist carbon dioxide/sulphur dioxide
Why use a large expensive power hungry inefficient inverter when you can use one or more small inexpensive efficient inverter?
Stanley FatMax 140W Power Inverter – http://amzn.to/2cXsUip
BESTEK 300W Power Inverter DC 12V to 110V AC Converter with 3.1A Dual USB Car Adapter – http://amzn.to/2cXrc0x
Renogy 200 Watt 12 Volt Monocrystalline Solar Starter Kit with Wanderer – http://amzn.to/2daMuts
My Etsy Store – https://www.etsy.com/shop/RufusAndDufus?ref=search_shop_redirect
Best RV Electronics http://www.amazon.com/gp/search?ie=UTF8&camp=1789&creative=9325&index=electronics&keywords=RV&linkCode=ur2&tag=ruf0e-20&linkId=L7S2B6C2VTSMCH4K
RV Camping & Cooking Supplies http://www.amazon.com/gp/search?ie=UTF8&camp=1789&creative=9325&index=aps&keywords=Camping%20cooking%20&linkCode=ur2&tag=ruf0e-20&linkId=EZJDLLYEN76SOIHW
Action Cameras http://www.amazon.com/gp/search?ie=UTF8&camp=1789&creative=9325&index=photo&keywords=Action%20Cameras&linkCode=ur2&tag=ruf0e-20&linkId=DEPBURZE53Y72MGP
Make a Solar Panel charger for your mobile phone (ein Handy in German), power bank etc.
Can be useful while camping or just lazing around home – just use the suns free energy!
NOTE: While this project is likely to be the easiest (two parts, two wires in and out), cheapest and quickest solar panel charger you could build using the parts listed, you are ultimately responsible for any issues.
Parts list:
Voltage regulator (keep in mind that the LED display will use some of the current that could be going to charge your device, but I like this regulator as it can be used in other projects and it is nice to be able to see the input and output voltages easily!) -
http://www.dx.com/p/hzdz-lm2596-power-step-down-voltage-regulator-module-voltmeter-display-deep-blue-307113?Utm_rid=38069427&Utm_source=affiliate
Solar panel -
http://www.dx.com/p/solar-power-cell-phone-charger-mobile-power-bank-dark-blue-434898?Utm_rid=38069427&Utm_source=affiliate
Optional – This solar panel may be better (larger, however you would need to source a USB cable and diode):
http://www.dx.com/p/sunwalk-5-5w-12v-output-polycrystalline-silicon-solar-panel-black-441470?Utm_rid=38069427&Utm_source=affiliate
as it can potentially charge camera rechargeable batteries, cordless shaver batteries etc. as well.
Optional – power bank if you want to charge a power bank:
http://www.dx.com/p/xiaomi-10400mah-usb-mobile-power-source-bank-w-4-led-indicators-silver-white-311565?Utm_rid=38069427&Utm_source=affiliate
Optional – getting hot in Summer? Get this portable fan that can plug into your solar recharged power bank:
http://www.dx.com/p/xiaomi-portable-usb-flexible-mini-fan-white-386792?Utm_rid=38069427&Utm_source=affiliate
Optional – sick of replacing torch batteries? Get this USB light that can plug into your solar recharged power bank:
http://www.dx.com/p/jiawen-1-2w-universal-bendable-portable-usb-led-mini-lamp-white-6500k-96lm-white-dc-5v-382254?Utm_rid=38069427&Utm_source=affiliate
Instructions:
If the solar panel has a USB cable going into a junction box glued onto the back, gently prise it off.
Either cut the USB cable close to the junction box or remove the glue to get the cable out.
Strip back the individual wires shielding from the USB cable.
Either obtain a small section amount (about 4 or 5 centimetres) of two wires or cut a small amount from the USB cable.
Solder the small section red wire to the +ve on the PCB on the back of the solar panel.
Solder the small section white (or black if it is black) wire to the -ve on the PCB on the back of the solar panel.
Connect the small section red wire other end to the input +ve connector on the regulator.
Connect the small section white other end (or black) wire to the input -ve connector on the regulator.
Strip back the shielding on the two wires on the USB cable.
Connect the USB red wire to the output +ve connector on the regulator.
Connect the USB white (or black) wire to the output -ve connector on the regulator.
On a sunny day, go outside.
Position solar panel to obtain maximum sunlight.
Check the regulator to see if the solar panel is generating electricity.
Press the out button on the regulator.
With a very small screwdriver, adjust the pot switch on the regulator to the OUTPUT voltage you require.
Get excited, you are about to charge your mobile phone, power bank or whatever you want.
Plug the device you want to charge in, check it’s charging.
Periodically check the solar panel is still facing the sun and that your device is charging!
