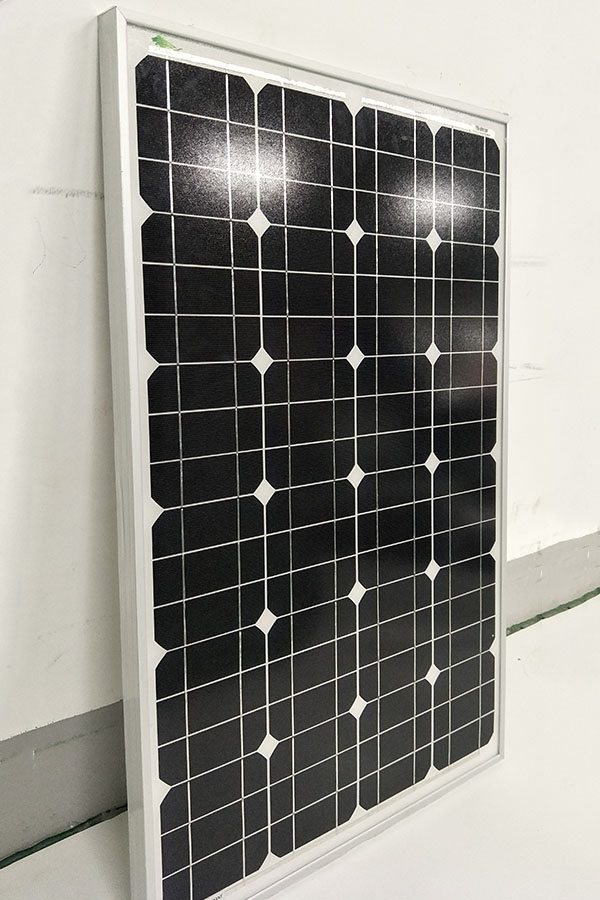
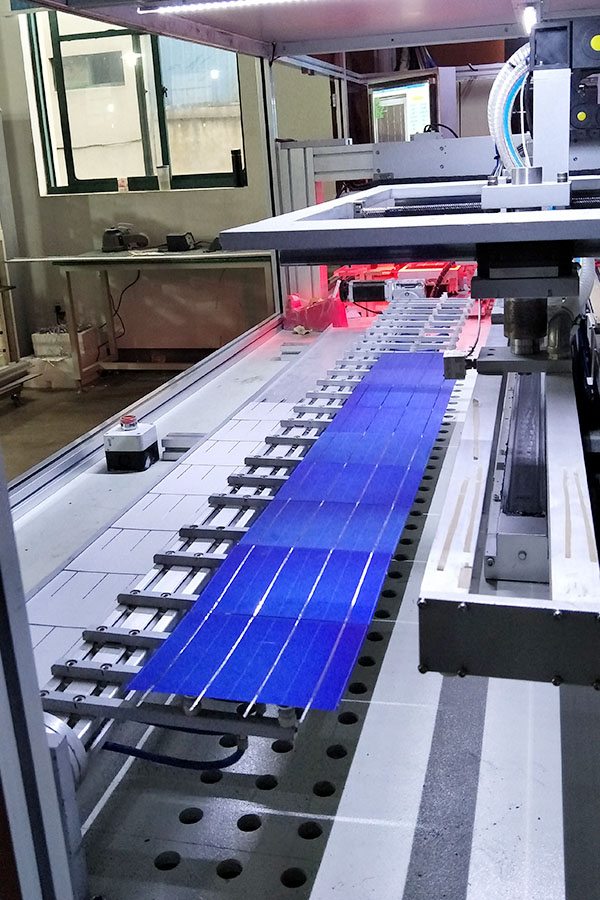
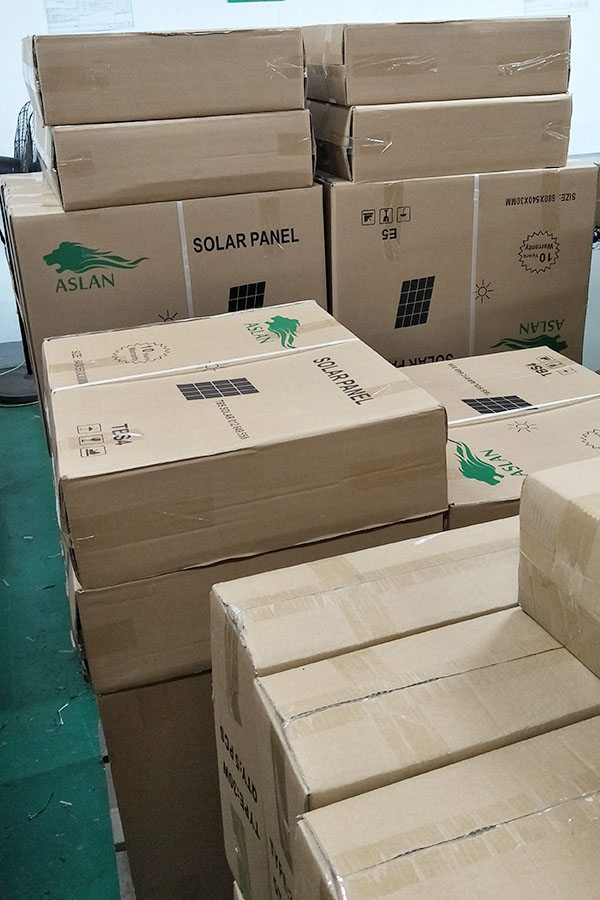
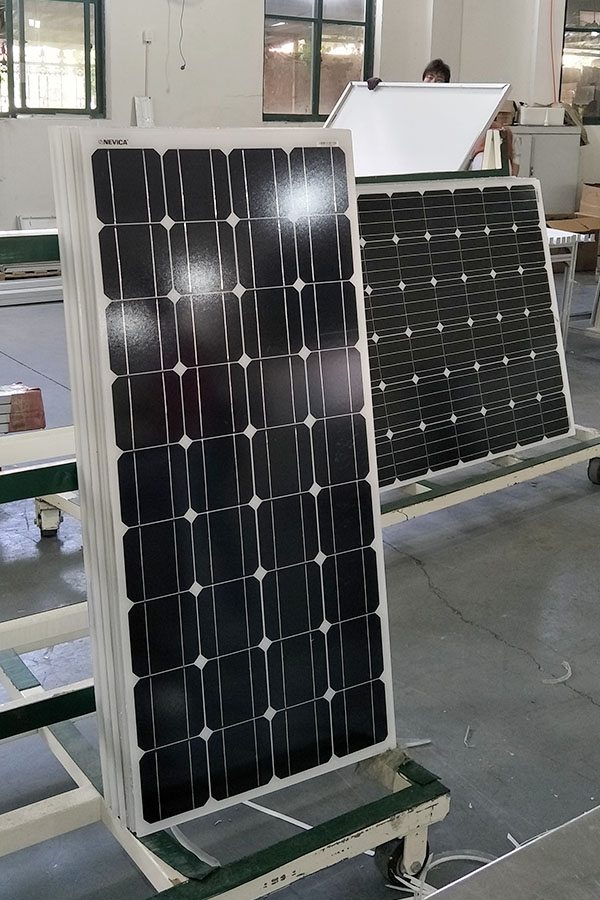
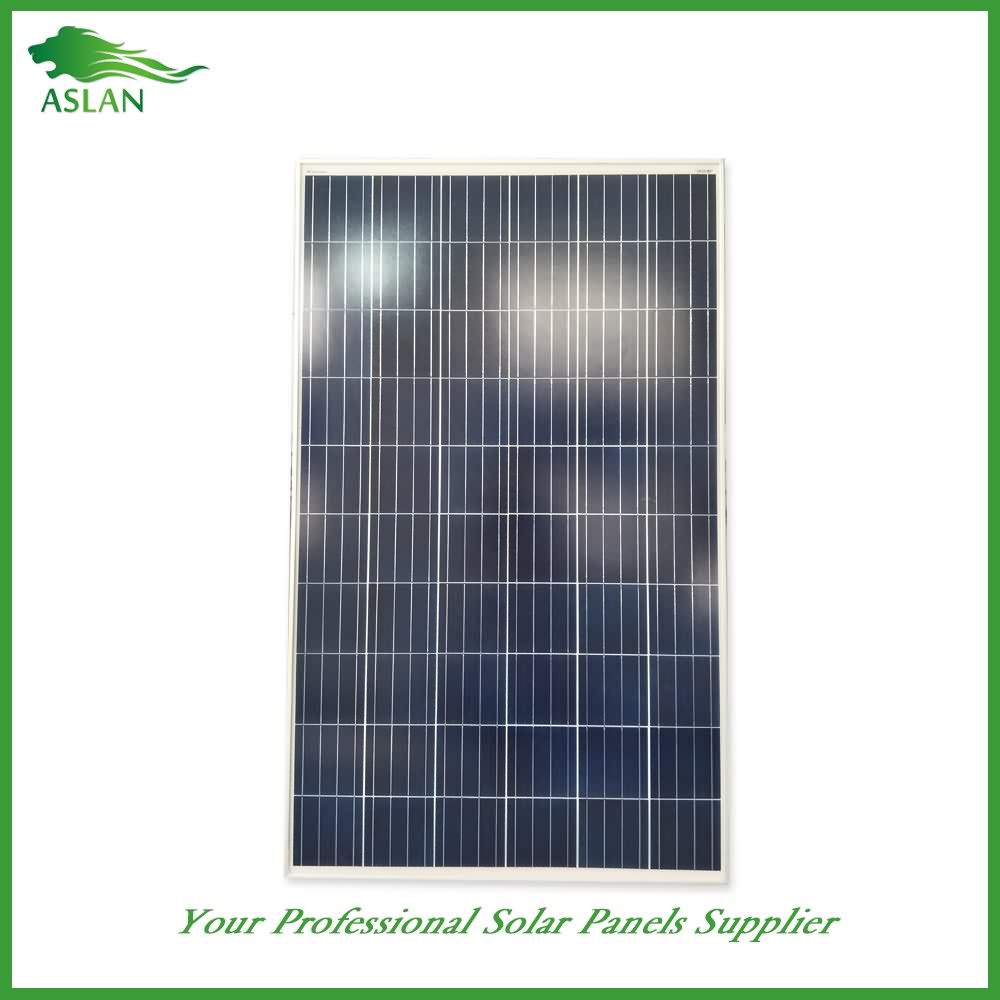
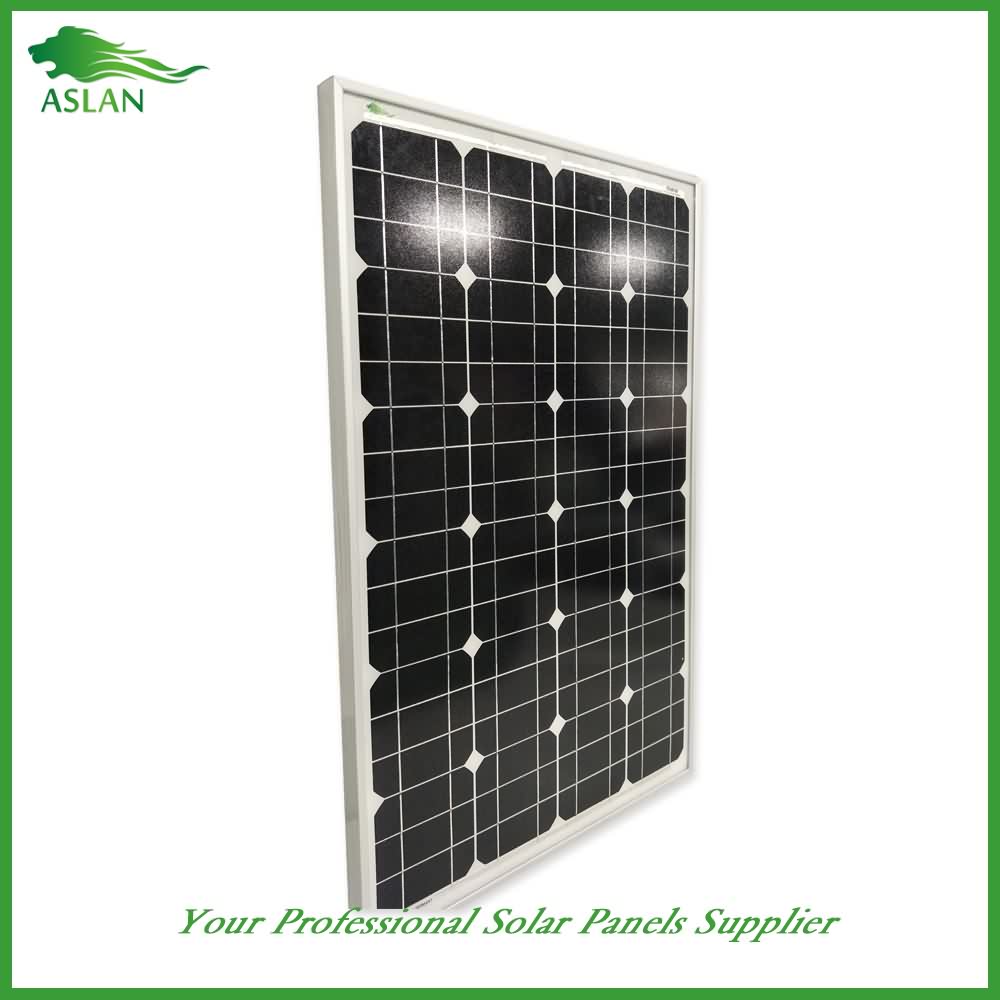
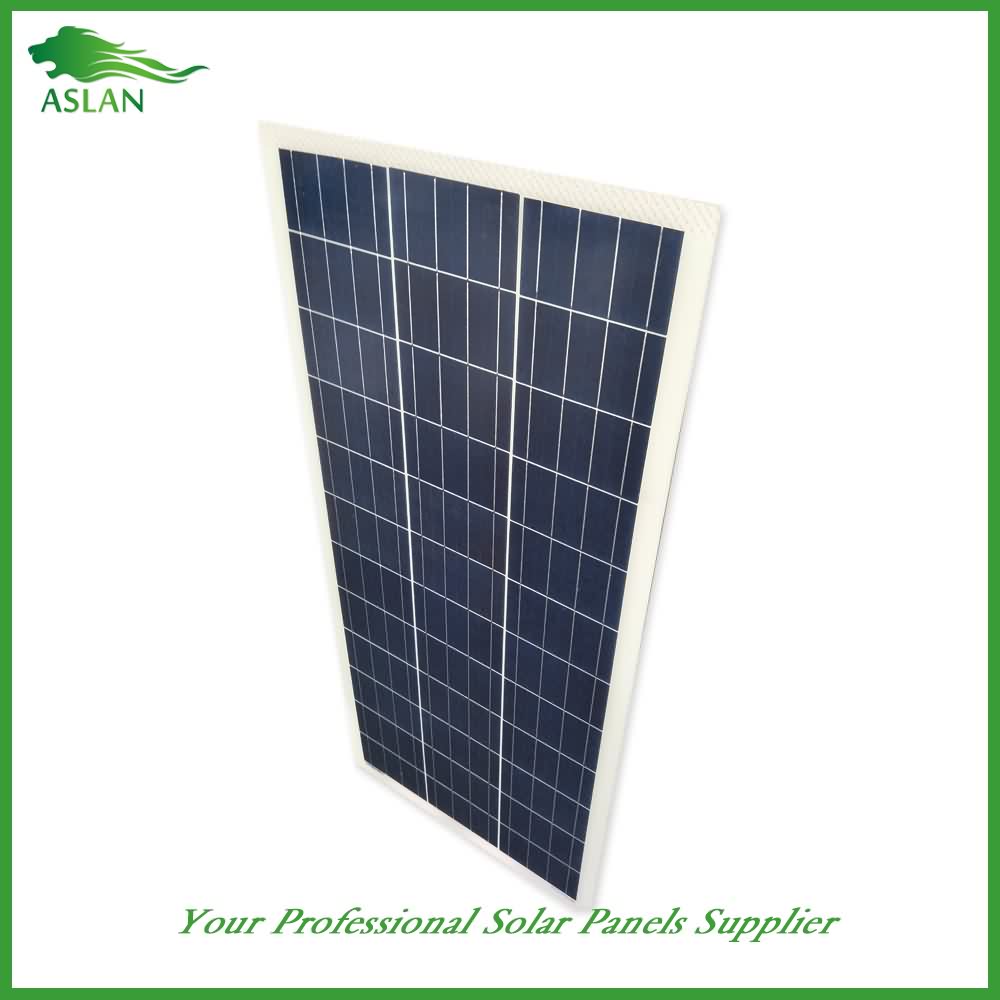
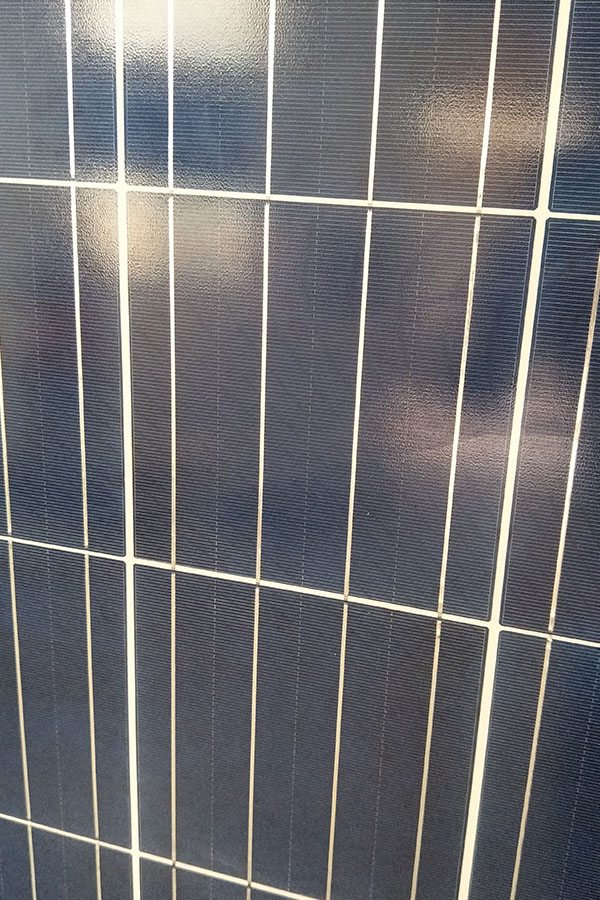
Factory making Mono-Crystalline 80W Solar Panel Factory in Maldives
Short Description:
It is our responsibility to meet your needs and efficiently serve you. Your satisfaction is our best reward. We are looking forward to your visit for joint growth for Factory making Mono-Crystalline 80W Solar Panel Factory in Maldives, We warmly welcome merchants from home and abroad to call us and establish business relationship with us, and we will do our best to serve you.
Mono-Crystalline 80W Solar Panel
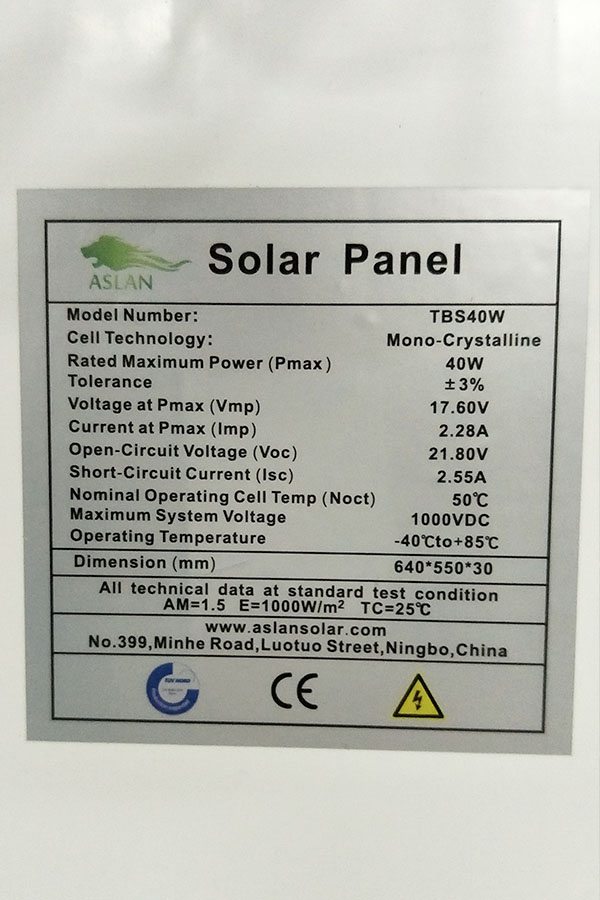
Technical parameter
Maximum Power(W) 80W
Optimum Power Voltage(Vmp) 15.90V
Optimum Operating Current(Imp) 5.03A
Open Circuit Voltage(Voc) 18.58V
Short Circuit Current(Isc) 5.59A
Mechanical Characteristics
Cell Type Monocrystalline 125x125mm (5 inch)
No of Cell 36 (4x9pcs)
Dimensions 906x670x35mm
Weight 7.2KGS
Front Glass 3.2mm,High Transmission, Low iron, tempered Glass
Junction box IP65 Rated
Output Cable TUV 1×4.0mm2/UL12AWG,Length: 900mm
Temperature and Coefficients
Operating Temperature(°C): -40°C ~ + 85°C
Maximum System Voltage: 600V(UL)/1000V(IEC) DC
Maximum Rated Current Series: 15A
Temperature Coefficients of Pmax: -0.435%
Temperature Coefficients of Voc: -0.35%
Temperature Coefficients of Isc: 0.043%
Nominal Operating Cell Temperature (NOCT): 47+/-2°C
Materials of solar panel
1).Solar Cell——Mono-crystalline solar cell 125*125mm
2).Front Glass——-3.2mm, high transmission, low iron, tempered glass
3).EVA——-excellent anti-aging EVA
4).TPT——-TPT hot seal made of flame resistance
5).Frame——anodized aluminum profile
6).Junction Box——-IP65 rated, high quality, with diode protection
Superiority: high quality anodized aluminum frame, high efficiency long life, easy installation, strong wind resistance, strong hail resistance.
Features
1. High cell efficiency with quality silicon materials for long term output stability
2. Strictly quality control ensure the stability and reliability, totally 23 QC procedures
3. High transmittance low iron tempered glass with enhanced stiffness and impact resistance
4. Both Polycrystalline and Mono-crystalline
5. Excellent performance in harsh weather
6. Outstanding electrical performance under high temperature and low irradiance
Quality assurance testing
Thermal cycling test
Thermal shock test
Thermal/Freezing and high humidity cycling test
Electrical isolation test
Hail impact test
Mechanical, wind and twist loading test
Salt mist test
Light and water-exposure test
Moist carbon dioxide/sulphur dioxide
The fumes out of the laser engraver had exhausted in a more managable way. So I decided to build the laser enlcosure using MDF. I bought this Laser engraver from Banggood. It was a season sale and I got it for a good pricing.
——————//——————
FOLLOW ME ON:
http://instagram.com/mrjcrp
http://facebook.com/mediamilan
http://twitter.com/mr_jcrp
——————//——————
MORE PROJECTS TUTORIALS and POSTS
http://www.mediamilan.com
——————//——————
MUSIC: RetroFuture Clean (incompetech.com)
——————//——————
I start by ripping the 18mm MDF. Here I am cutting the base to size. Then the sides are cut.
I set my router to remove half the material. This will create a lip for the lid to drop on. I am going to make this dado on the top and only on the front side.
Oops! I ran the piece in the direction of the rotation which is the stupidest thing. Always push the material in the opposite direction of the rotation so you get total control.
Here are all the pieces cut and you can see how it makes a box. But before I assemble I am going to clamp the sides together so I make some holes for the handle.
I mark the position and then punch some starting holes with the forstner bit.
Here are the holes cut and by clamping the two sides I get the holes in the same position.
To join the holes I mark a straight line between them and then use a jig saw to make the cut. The handles are big enough but it needs to be smooth.
So I use a normal round over bit to round the corners of the handle.
I apply Fevicol glue to the base and start assembling. Just some screws are enough to hold the pieces together.
This 3D printed clamp is one of the best prints I made. It helps me align right angle pieces together until I screw it. The screws themselves act as clamp.
For the back I used a 18mm plywood because I did not have MDF. Ironically in my city MDF is more costlier than plywood. I always thought it would be otherwise.
This is a 3mm sheet of fluorescent green acrylic. This will go on the lid. I have to cut the sides for this sheet so I can attach to it. Actually it is this acrylic sheet that will hold the door together.
To make the door I cut 8mm mdf. Its colour is different because it’s a commercial kind. I arrange the cut pieces to for a box on top of which I can place the acrylics sheet.
I began by drilling the first hole and then used a screw to hold the sheet in place. Now I can make the rest of the holes to attach but and bolt. I used a 3mm SS type nut and bolt.
To attach the door to the box I used a normal butt hinges. These are cheap and carry good weight. To inset the hinges on the back I used a router to cut some groves. Btw those holes at the back are cut for installing the fans.
And here the door is installed.
I glue a 18mm piece of MDF to the underside of the door. This will give enough meat for the screws to chew on when I install the front part of the door. While working with thinner pieces of MDF I found that this is the best way to join pieces.
After few minutes I screw the piece in place. Before attaching the front-panel I apply some glue. For the front panel I use the same 8mm mdf. Now I can screw this peice to the thicker 18mm piece inside.
I had miscalculated the height and cut side a little tall. Using a trim router I cut that to size. “Man these MDF are very dusty”.
And here you can see how the door opens and closes.
Then I take the enclosure outside and give it two coats of painting. I used Asian Paints satin finish.
I tried two tone painting this time. And because the first colour did not dry enough the masking paper stuck to it. The easiest way to remove that would be to use a scrubber with water.
I left the acrylic panel with it protective coating. So that when I am painting it is protected. I think that was a good idea.
For the power outlet I used some AC adapters and added a switch so I can turn on and off the whole unit.
These are 80mm fans that get screwed on the inside of the box.
