Factory directly provide Mono-Crystalline 30W Solar Panel Dominica Importers
Short Description:
Our team through professional training. Skilled professional knowledge, strong sense of service, to meet the service needs of customers for Factory directly provide Mono-Crystalline 30W Solar Panel Dominica Importers, Let's cooperate hand in hand to jointly make a beautiful future. We sincerely welcome you to visit our company or contact us for cooperation!
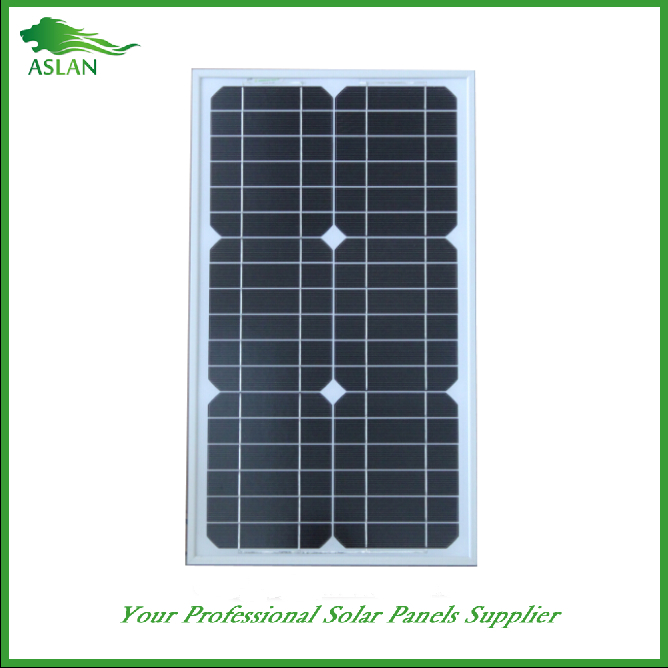
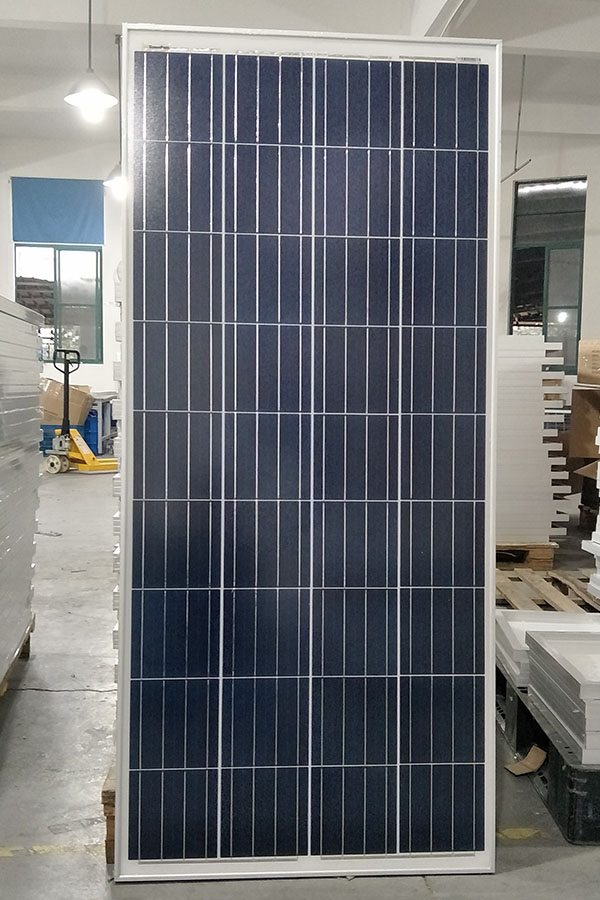
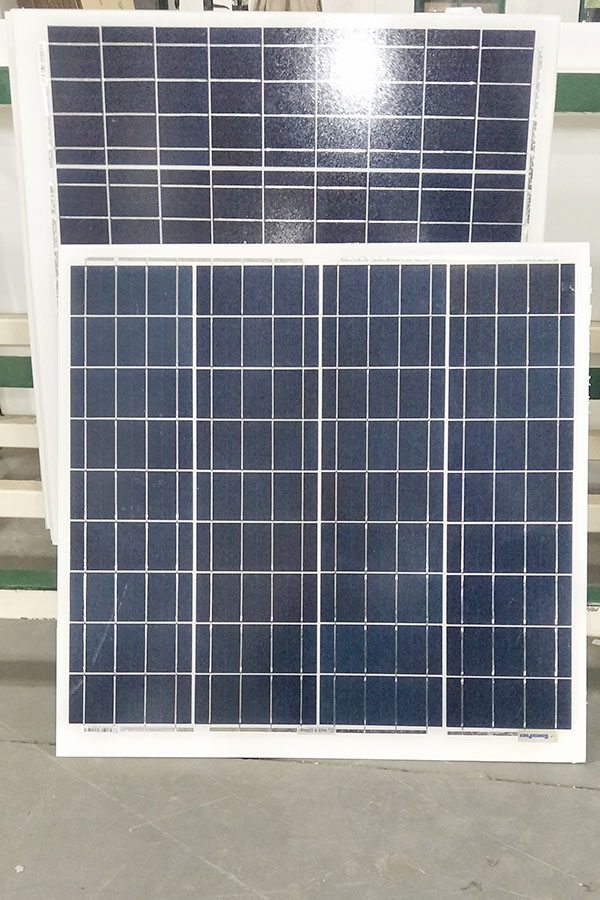
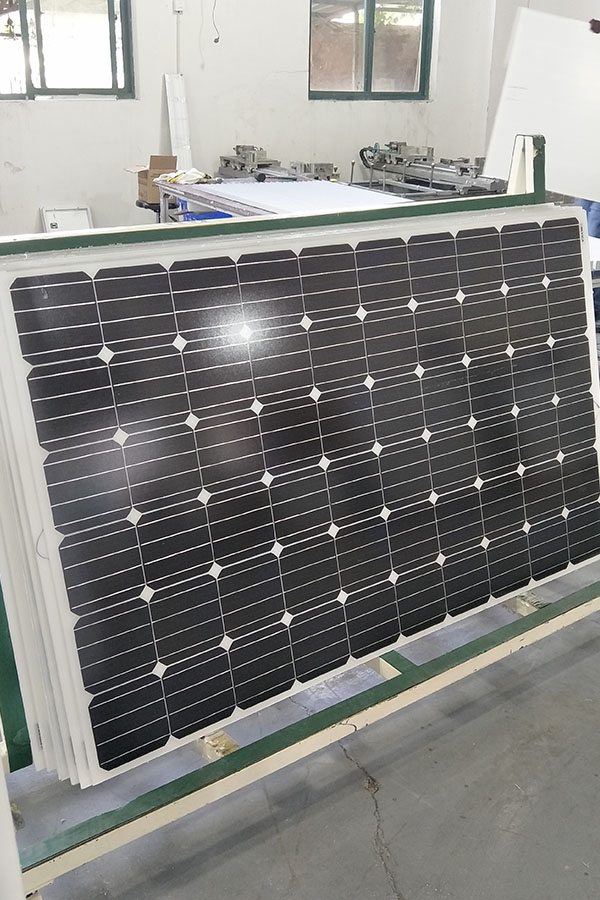
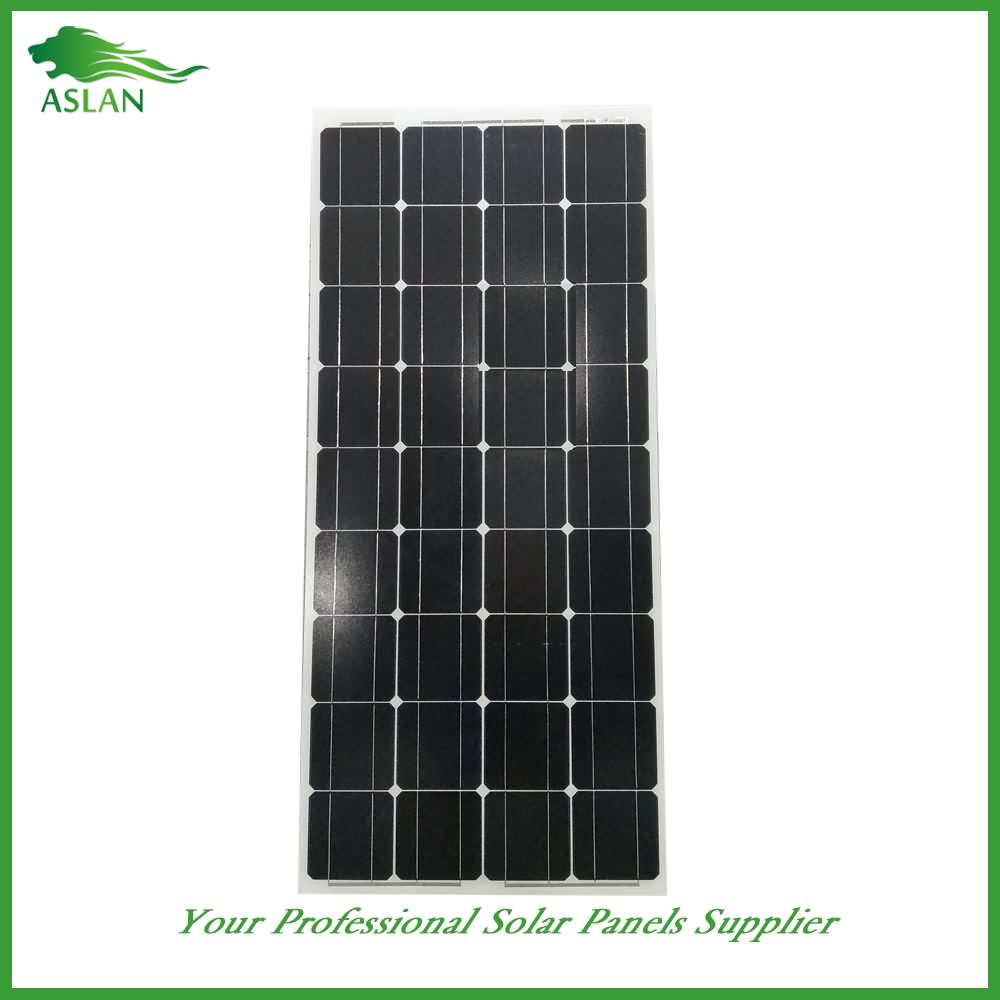
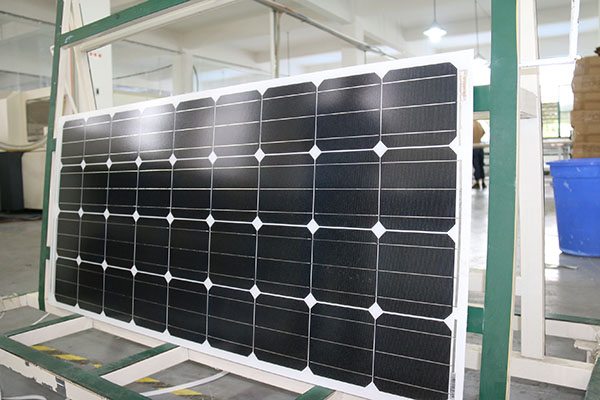
Mono-Crystalline 30W Solar Panel
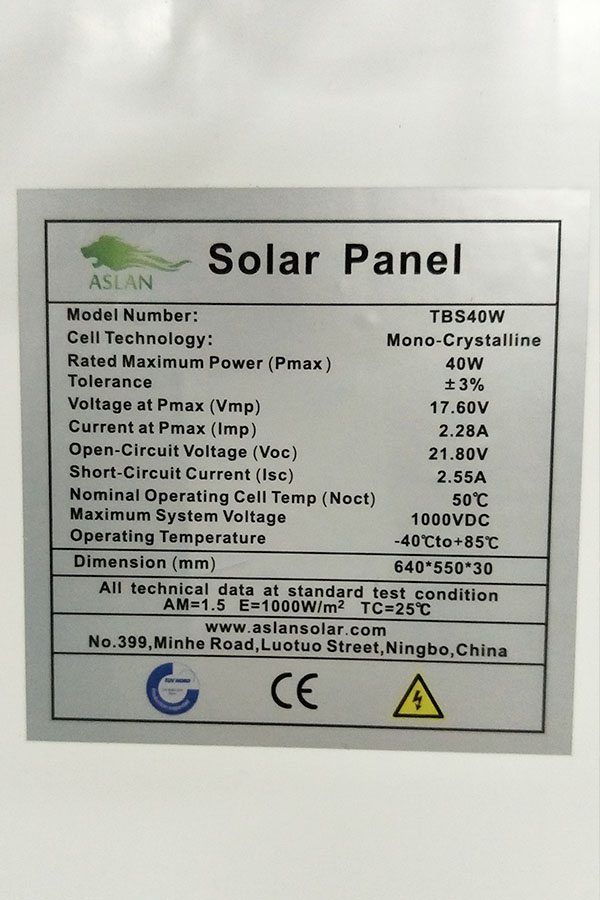
Technical parameter
Maximum Power(W) 30W
Optimum Power Voltage(Vmp) 17.66V
Optimum Operating Current(Imp) 1.71A
Open Circuit Voltage(Voc) 21.39V
Short Circuit Current(Isc) 1.88A
Mechanical Characteristics
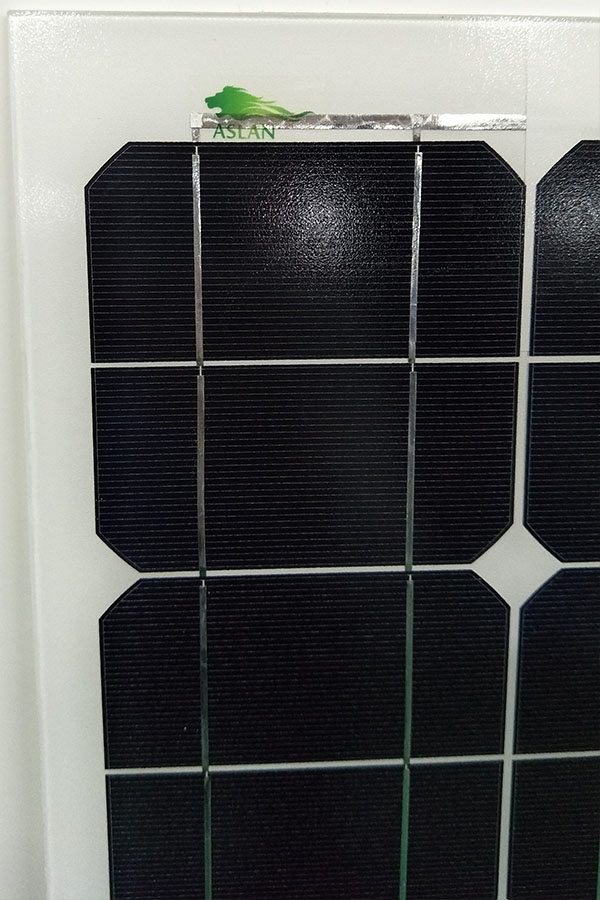
Cell Type Mono-crystalline 125×41.6mm
No of Cell 36 (4x9pcs)
Dimensions 449x554x25mm
Weight 2.8Kg
Front Glass 3.5mm,High Transmission, Low Iron,Tempered Glass
Junction box IP65 Rated
Output Cable TUV 1×4.0mm2/UL12AWG,Length:900mm
Temperature and Coefficients
Operating Temperature(°C): -40°C ~ + 85°C
Maximum System Voltage: 600V(UL)/1000V(IEC) DC
Maximum Rated Current Series: 15A
Temperature Coefficients of Pmax: -0.47%
Temperature Coefficients of Voc: -0.389%
Temperature Coefficients of Isc: 0.057%
Nominal Operationg Cell Temperature (NOCT): 47+/-2°C
Materials of solar panel
1).Solar Cell——Mono-crystalline solar cell 125*41.6mm
2).Front Glass——-3.2mm, high transmission, low iron, tempered glass
3).EVA——-excellent anti-aging EVA
4).TPT——-TPT hot seal made of flame resistance
5).Frame——anodized aluminum profile
6).Junction Box——-IP65 rated, high quality, with diode protection
Superiority: high quality anodized aluminum frame, high efficiency long life, easy installation, strong wind resistance, strong hail resistance.
Features
1. High cell efficiency with quality silicon materials for long term output stability
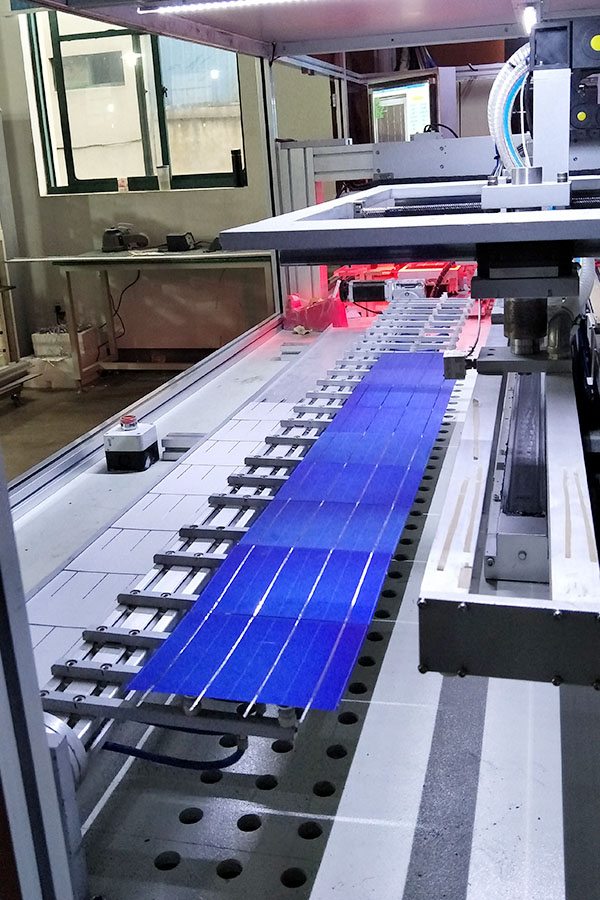
2. Strictly quality control ensure the stability and reliability, totally 23 QC procedures
3. High transmittance low iron tempered glass with enhanced stiffness and impact resistance
4. Both Poly-crystalline and Mono-crystalline
5. Excellent performance in harsh weather
6. Outstanding electrical performance under high temperature and low irradiance
Quality assurance testing
Thermal cycling test
Thermal shock test
Thermal/Freezing and high humidity cycling test
Electrical isolation test
Hail impact test
Mechanical, wind and twist loading test
Salt mist test
Light and water-exposure test
Moist carbon dioxide/sulphur dioxide
Solar driven pump used for house water system. Could also be used for pools, fish ponds, stock tanks, etc. Simple. No batteries, no controller.
The roof tank water system will work in areas where there are no hard freezes. In the subtropical and tropical states and territories of the US and elsewhere.
20151125: Update – Frankly I thought this small experimental pump would last a couple of weeks, but it is still running well after 6 months. To date I have never had to use the AC mains powered pump to compensate for a lack of sunlight. It runs on cloudy days and only stops only during the most violent parts of storms.
MATERIALS USED:
- Solar panels (2 x 40 watt, 20 volt, 2 amps)
- Switch, float
- Switch, over-pressure shut off
- 24 volt pump (2 amps, 2 liters / minute)
- Sand filter (pump input)
- Wiring, fuse
- Misc plumbing parts (1 way valve, shut off valve, …)
We are removing a solar powered central air heating system from a house that is to be demolished. These are solar heating panels and they sure do pump out some heat.
The house seems to have been nearly completely heated by the power of the sun. The ducts from the solar heating panels go down into the house and the heat is sent through ducts to all the rooms. There is a blower system and a heating control unit in the house.
I just wanted the solar heating panels for now. The blower would be way too high power for my off grid tiny house on wheels for now.
We had removed one of the solar panels already in the previous video. You can see the video here:
That was the easy one. Now we have to remove the more complicated one. This one is tough because of the steep slope of the roof under it and the drop off below.
We first took a hand rail off the roof where the fire escape used to be. We then moved it over to the roof where we were going to work and secured it to the roof to use as a platform to stand on.
My friend removed all the screws from the framing of the solar panel with his impact driver. This part went pretty fast.
Next we had to remove the old A frame and supports for the solar heating panel. This was pushed down off the roof so it would not tangle our feet later.
The hard part was moving the solar heating panel over the peak of the roof and down the other side.
Once we had the solar panel on the roof next to the other one, it was time to bring them down to the ground and load them into the truck.
My friend went down to the ground to catch the solar panels as I handed them down.
I pushed each panel over the edge of the roof and eased it down into his hands. Then he eased it to the ground. We did the same with the next one as well.
For now we put them into the bed of the truck laying down but for our travel back to New York we will secure the panels properly for the long ride home.
I will use one of the passive solar heating panels for the greenhouse and one for the off grid solar battery and rain water shed.
Thanks for watching. Please Subscribe & follow my daily videos.
Troy
http://www.thedoityourselfworld.com
http://www.theoffgridproject.com
Note: Copying this video, in part or in full, is a violation of copyright unless the user has express permission from the owner. Violation of this copyright will be pursued to the fullest extent of the law.
