Europe style for Mono-Crystalline 180W Solar Panel in Greece
Short Description:
Fast and good quotations, informed advisers to help you choose the correct product that suits all your needs, a short production time, responsible quality control and different services for paying and shipping affairs for Europe style for Mono-Crystalline 180W Solar Panel in Greece, We warmly welcome customers from all over the world for any kind of cooperation with us to build a mutual benefit future. We are devoting ourselves wholeheartedly to offer customers the best service.
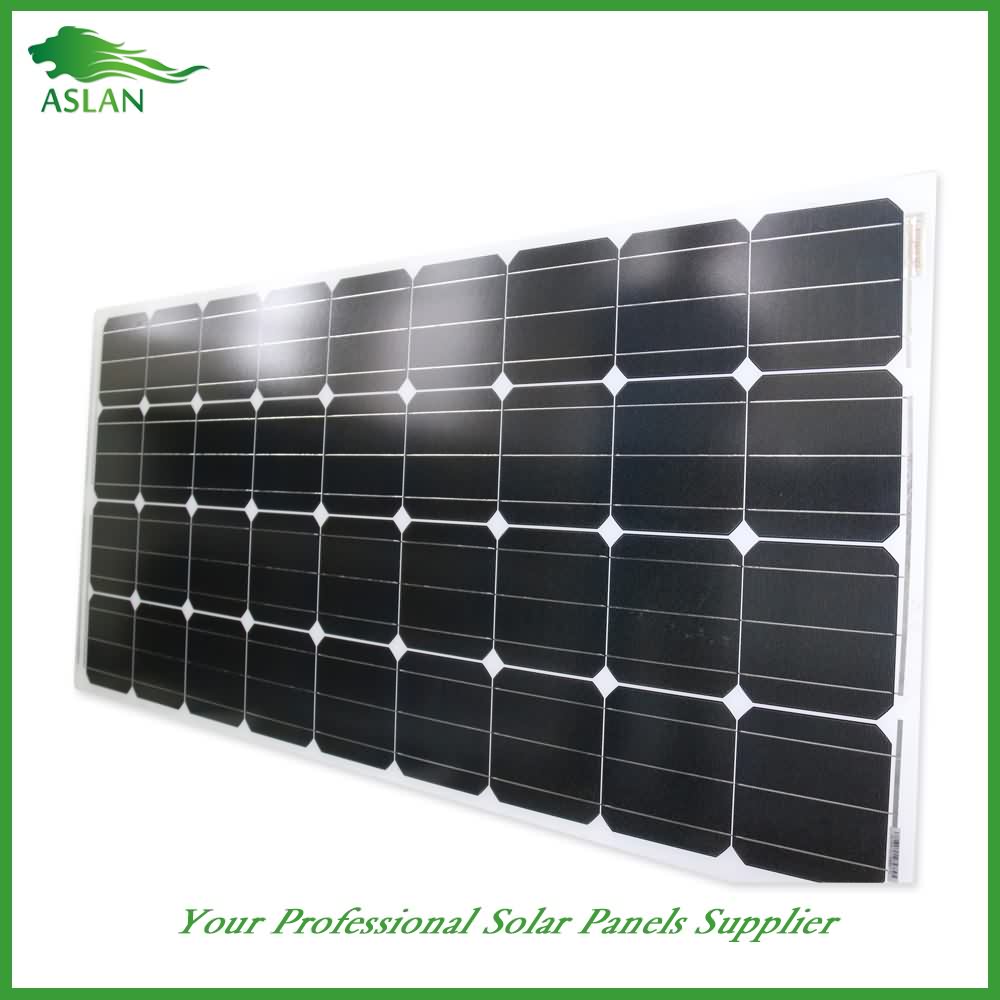
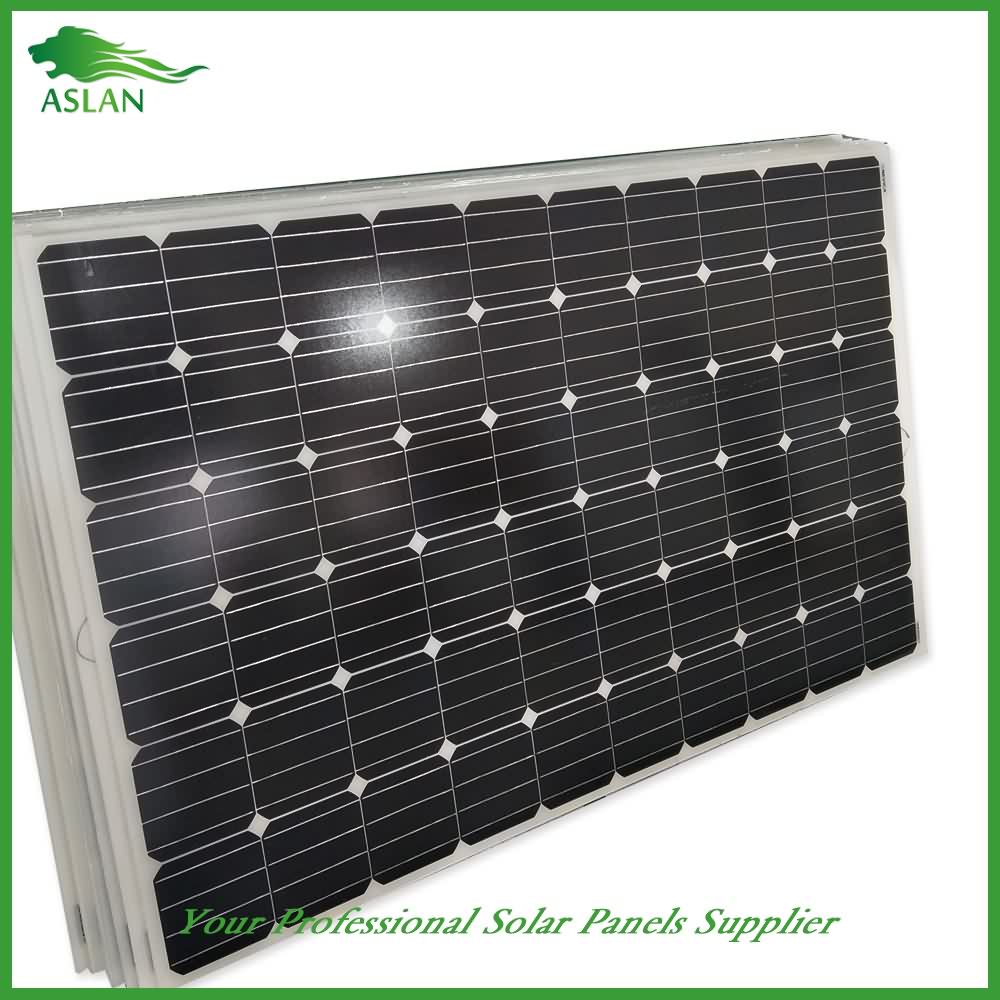
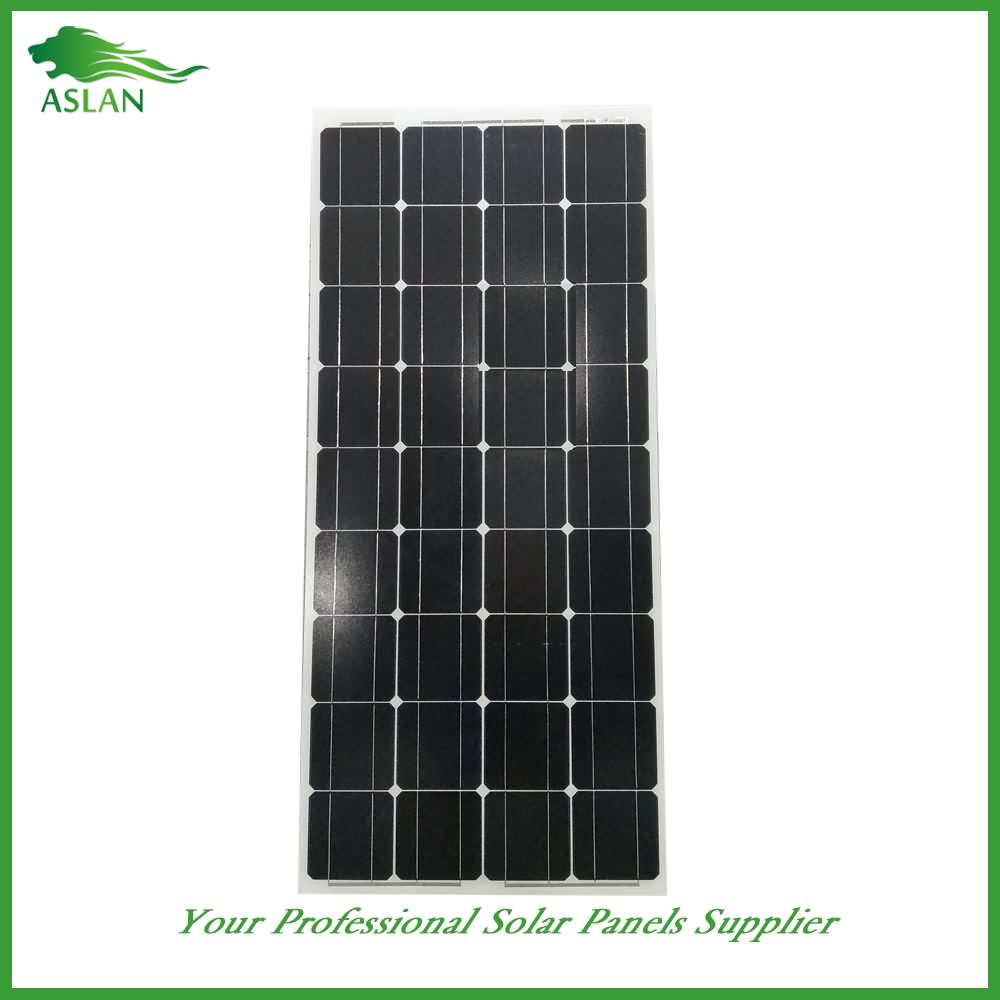
Mono-Crystalline 180W Solar Panel
Technical parameter
Maximum Power(W) 180W
Optimum Power Voltage(Vmp) 36.42V
Optimum Operating Current(Imp) 4.96A
Open Circuit Voltage(Voc) 44.45V
Short Circuit Current(Isc) 5.44A
Mechanical Characteristics
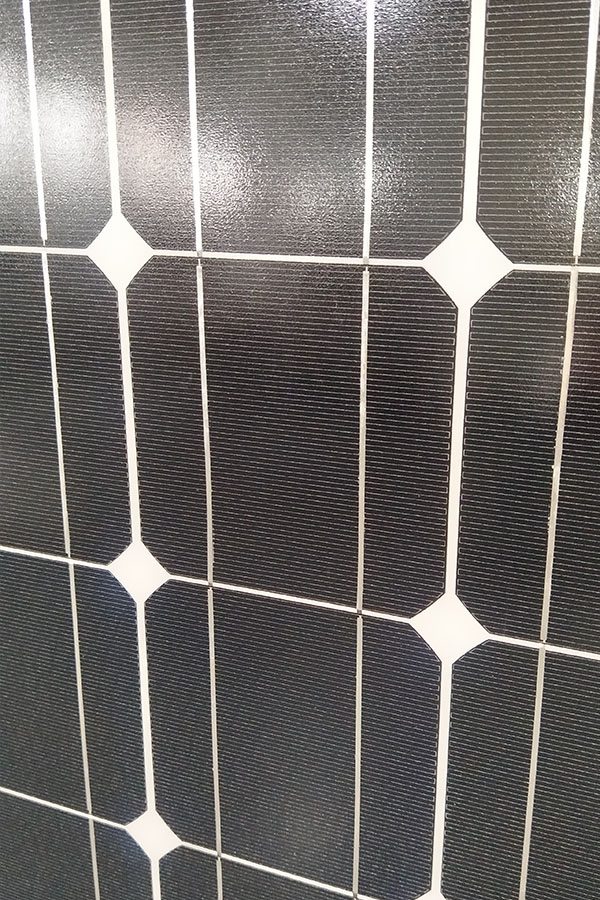
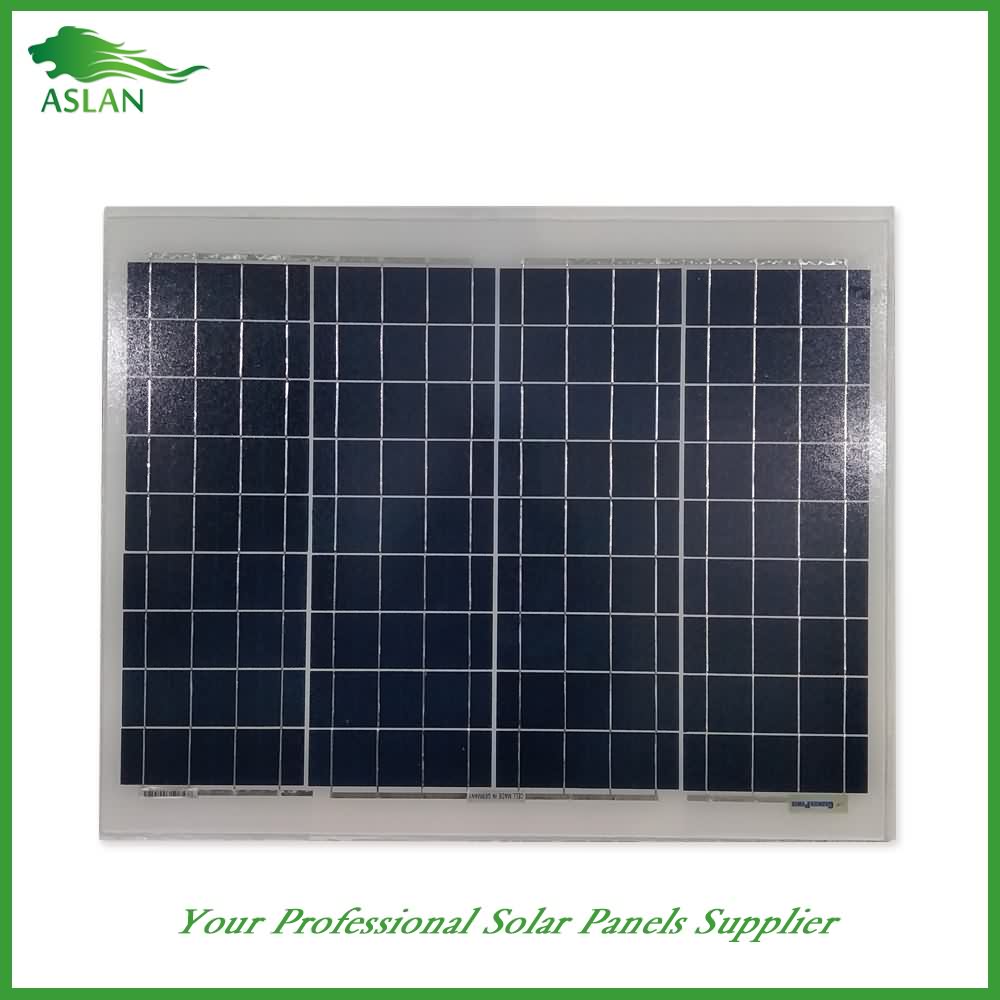
Cell Type Mono-crystalline 125x125mm (5 inch)
No of Cell 72 (6x12pcs)
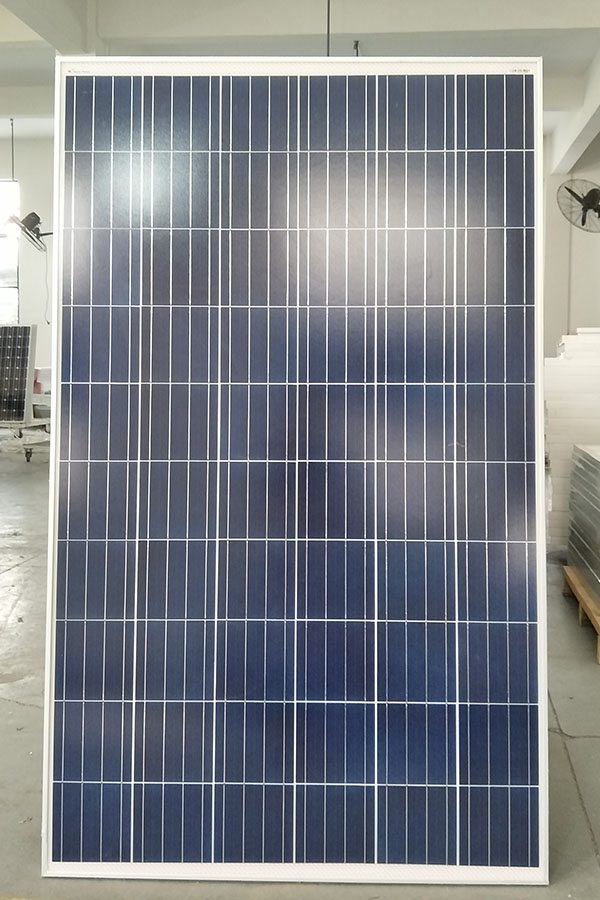
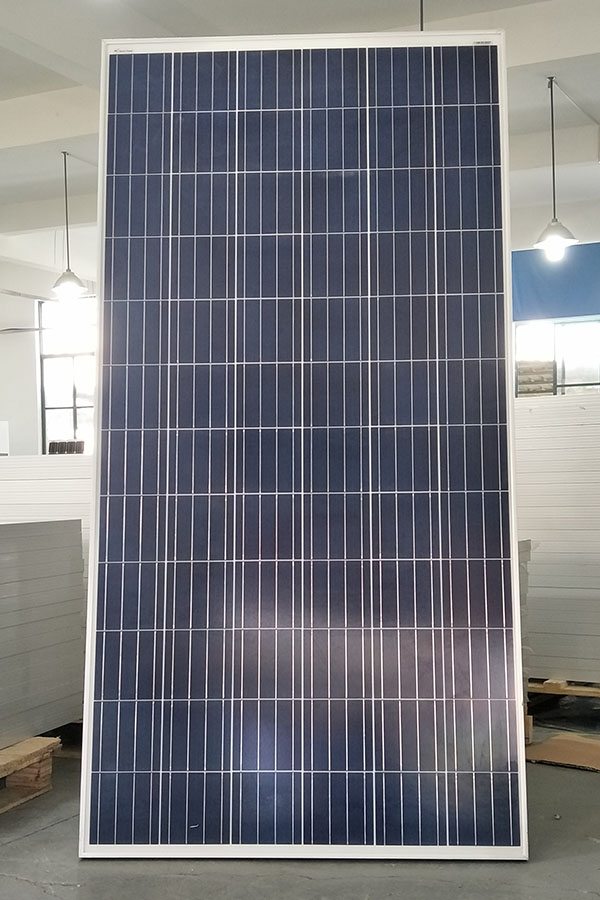
Dimensions 1580x808x35mm
Weight 14.5Kg
Front Glass 3.2mm,High Transmission, Low Iron,Tempered Glass
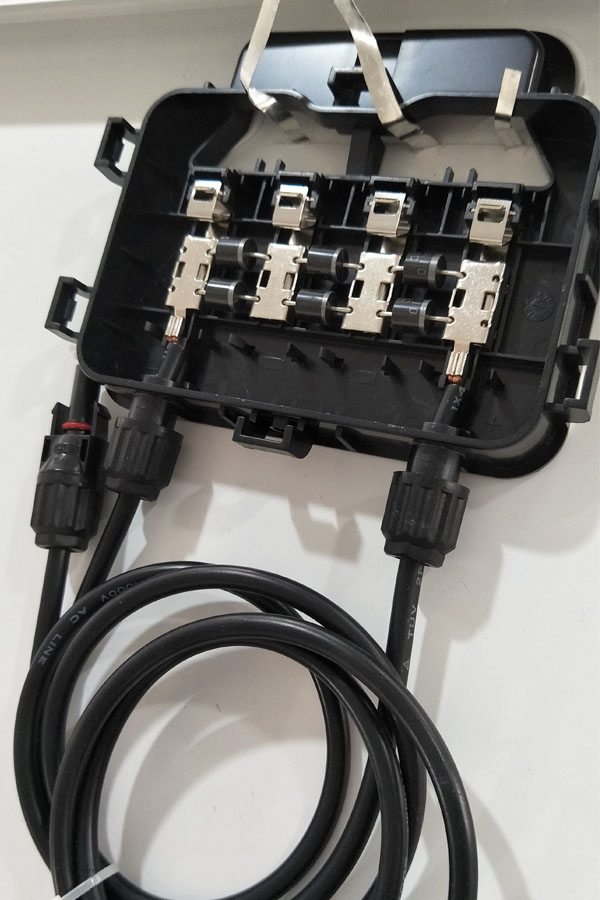
Junction box IP65 Rated
Output Cable TUV 1×4.0mm2/UL12AWG,Length:900mm
Temperature and Coefficients
Operating Temperature(°C): -40°C ~ + 85°C
Maximum System Voltage: 600V(UL)/1000V(IEC) DC
Maximum Rated Current Series: 15A
Temperature Coefficients of Pmax: -0.47%
Temperature Coefficients of Voc: -0.389%
Temperature Coefficients of Isc: 0.057%
Nominal Operationg Cell Temperature (NOCT): 47+/-2°C
Materials of solar panel
1).Solar Cell——Mono-crystalline solar cell 125*125mm
2).Front Glass——-3.2mm, high transmission, low iron, tempered glass
3).EVA——-excellent anti-aging EVA
4).TPT——-TPT hot seal made of flame resistance
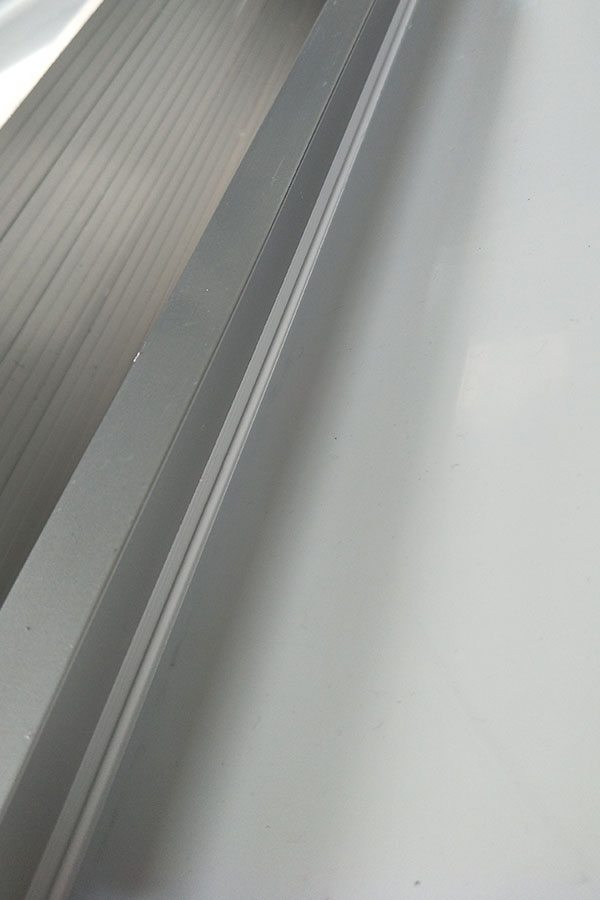
5).Frame——anodized aluminum profile
6).Junction Box——-IP65 rated, high quality, with diode protection
Superiority: high quality anodized aluminum frame, high efficiency long life, easy installation, strong wind resistance, strong hail resistance.
Features
1. High cell efficiency with quality silicon materials for long term output stability
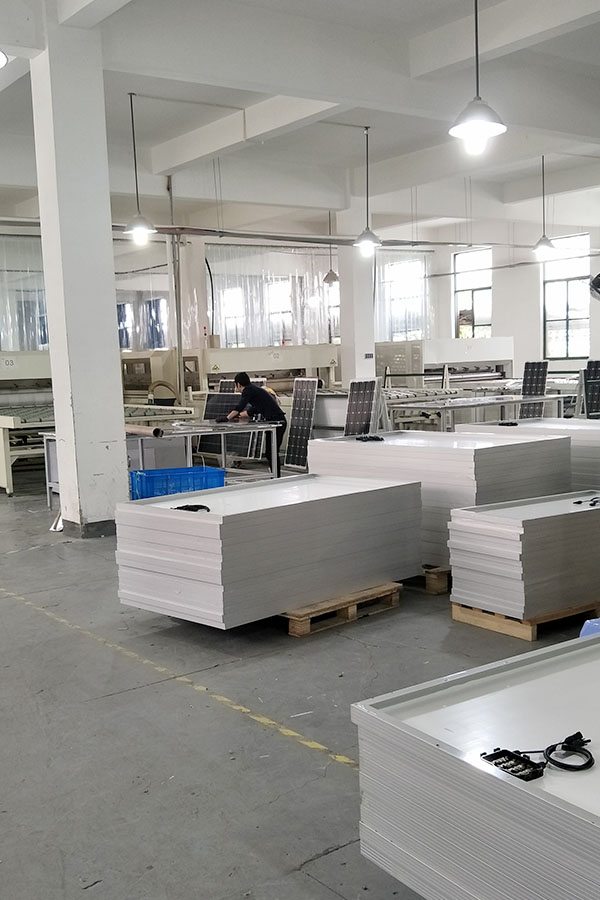
2. Strictly quality control ensure the stability and reliability, totally 23 QC procedures
3. High transmittance low iron tempered glass with enhanced stiffness and impact resistance
4. Both Poly-crystalline and Mono-crystalline
5. Excellent performance in harsh weather
6. Outstanding electrical performance under high temperature and low irradiance
Quality assurance testing
Thermal cycling test
Thermal shock test
Thermal/Freezing and high humidity cycling test
Electrical isolation test
Hail impact test
Mechanical, wind and twist loading test
Salt mist test
Light and water-exposure test
Moist carbon dioxide/sulphur dioxide
I promised a video about my new solar panels when they went in last fall. Better late than never.
This is the new frame for the second set of panels and the set up.
Since I had received the first two of several 20W drivers and LEDs ordered from different ebay sellers I decided to go ahead and upgrade my fake 20W bench floodlights to their full 20W rating.
I decided to video it because it shows what’s involved in changing the drivers and LEDs in standard LED floodlights. This means that anyone with a faulty light can get it going again, since there are really only two components.
You could also mod your light by changing the colour from cold white to warm white or vice versa. Or perhaps use one of the high power coloured LEDs instead for effect lighting.
If your light was having thermal dissipation issues you could also lower the drivers power rating from maybe 100W to 50W.
Most of the lights in the 20, 30, 50, 70, 100W range use a standard LED platform with a matrix of 100 LED mounting positions on it that are populated as required. The LEDs tend to be wired in series circuits of ten 1W chips and then groups of ten are paralleled to make up the desired wattage. It follows that if you have a 20W driver you can actually use a higher power LED array since the voltage will be the same and the current will just get distributed through more LEDs. In this case I chose to use a 20W driver to run a 50W LED to give the LEDs an easy life at less than half their normal current.
The video is self explanatory, but it’s worth mentioning that I had already extended the cable length on the floodlight. If you can actually use the tiny length of cable that comes pre-fitted then you only need to thread it through the cable gland. You don’t need to use soldered joints and heatshrink sleeving. You could use crimps or even terminal strip to make the connections. Just make sure the earth/ground connection is attached to the metal case for safety.
The positive side of the LED seems to be identifiable in all the LEDs I’ve used, by the location of two extra holes right through the body and heatsink plate of the LED. Possibly also used for alignment in manufacturing processes.
If your light has a passive infrared detector on it for detecting the presence of people then it has three wires that are connected as follows. The neutral (blue in Europe) that is commoned with the incoming neutral and the driver. The live (brown in Europe) which goes directly to the incoming live. And finally there will be a third switch wire which will probably be a different colour like red. This is the one that goes to the LED drivers live connection so it can switch the light on and off. If you have a faulty PIR you can either bypass it for continuous operation by just connecting the LED driver directly to the incoming mains supply, or you can probably get a new one cheaply by buying a basic PIR LED floodlight purely to rob for the PIR sensor unit. The power rating is not really an issue, since even the most basic PIR should handle up to 100W or more.
