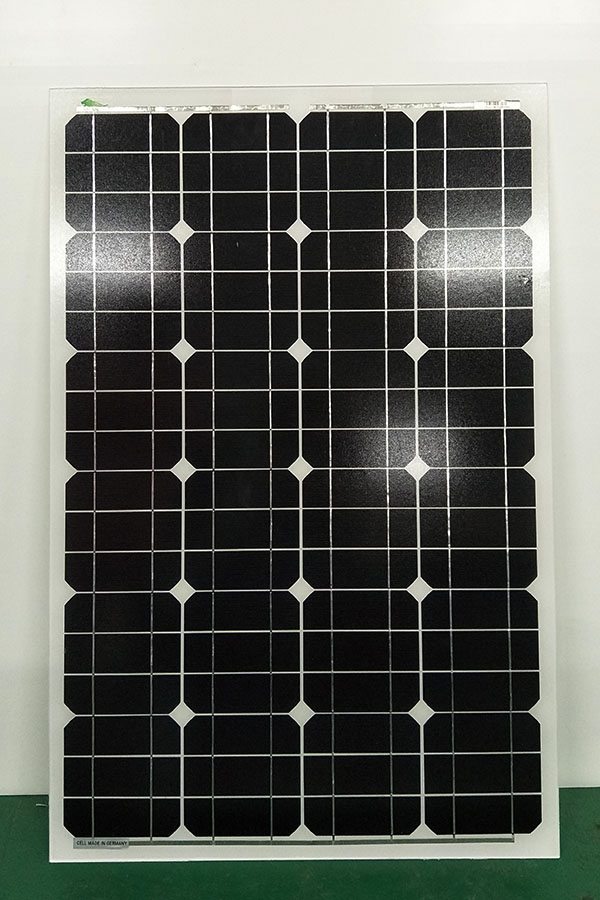
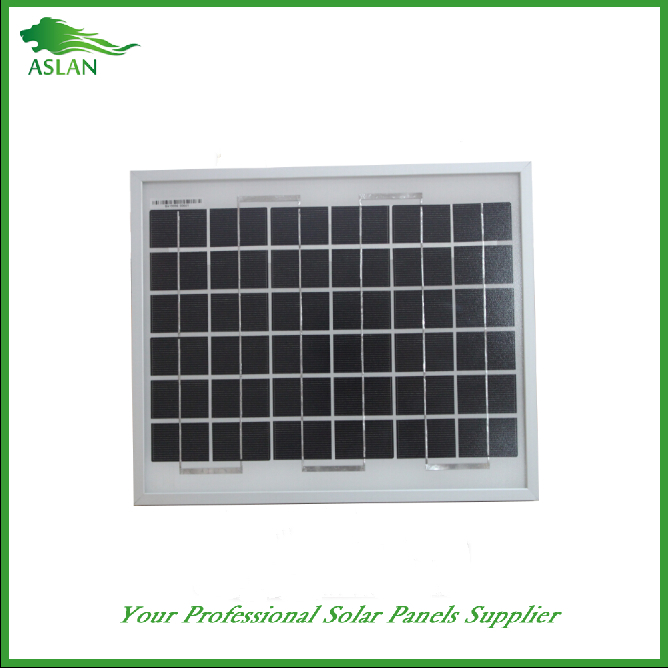
China Professional Supplier Mono-Crystalline 150W Solar Panel for Brisbane Factories
Short Description:
Our products are widely recognized and trusted by users and can meet continuously changing economic and social needs of China Professional Supplier Mono-Crystalline 150W Solar Panel for Brisbane Factories, If you are interested in any of our products and services, please don't hesitate to contact us. We are ready to reply you within 24 hours after receipt of your request and to create mutual un-limited benefits and business in near future.
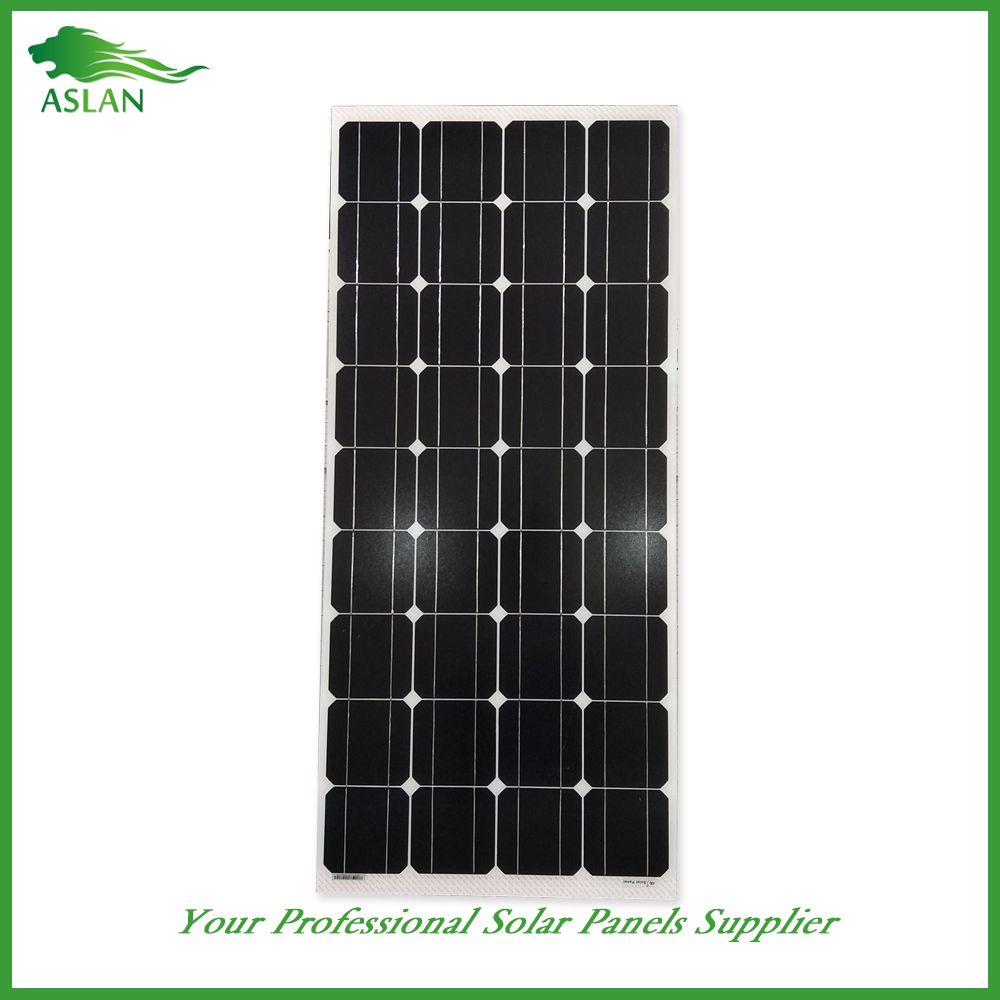
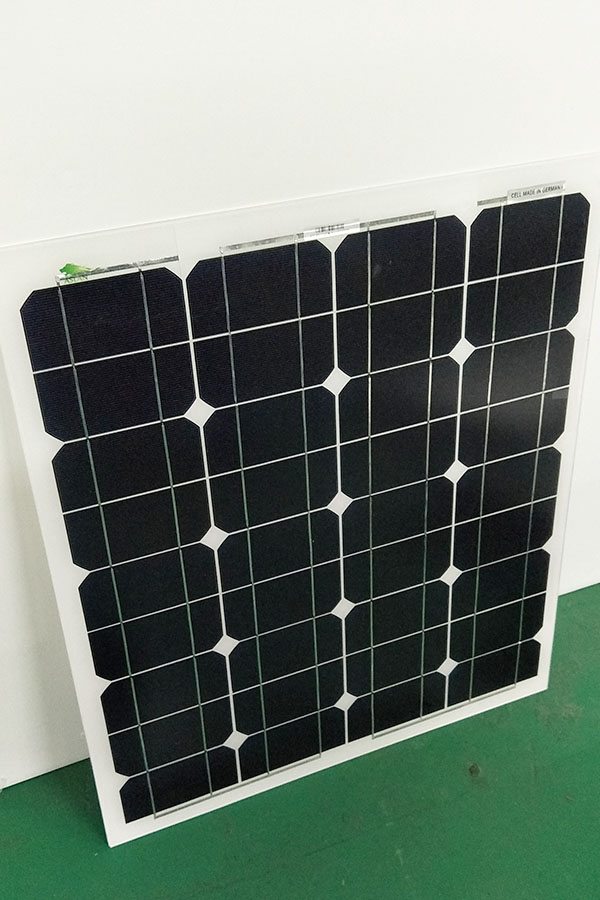
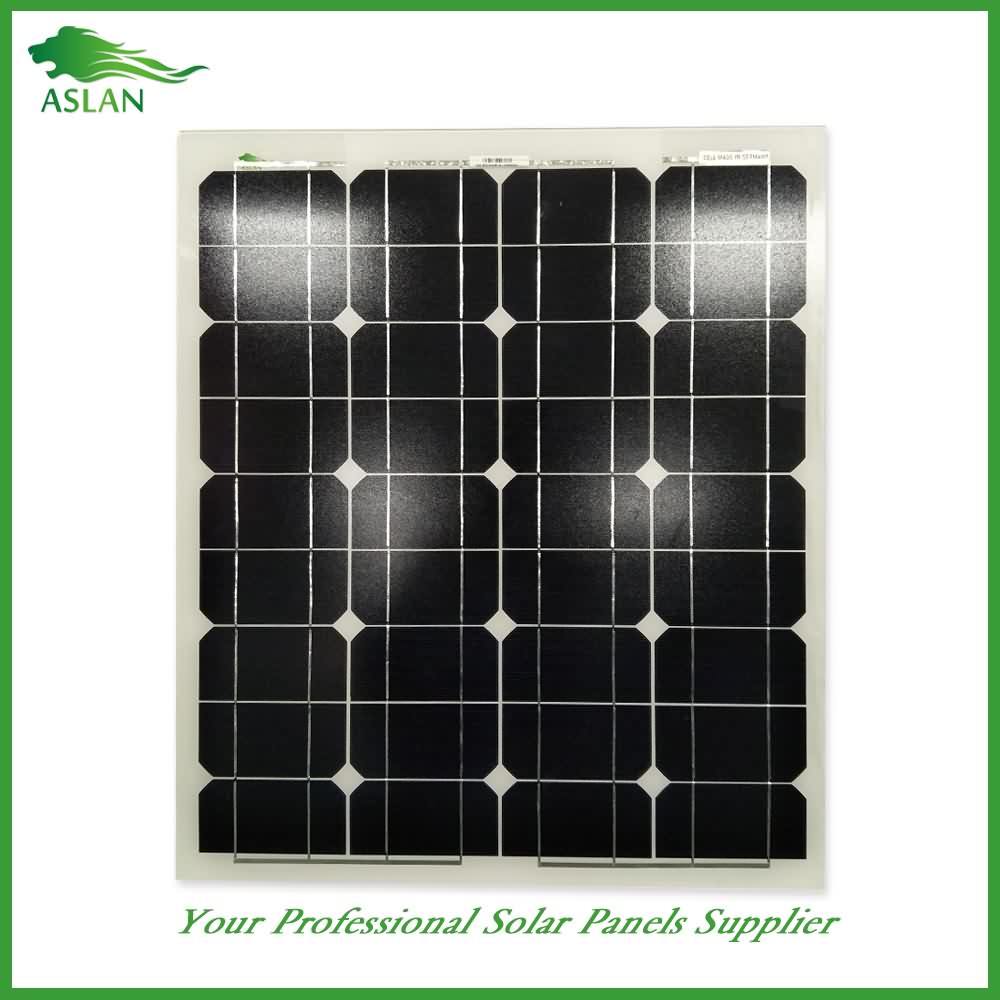
Mono-Crystalline 150W Solar Panel
Technical parameter
Maximum Power(W) 150W
Optimum Power Voltage(Vmp) 17.92V
Optimum Operating Current(Imp) 7.83A
Open Circuit Voltage(Voc) 21.86V
Short Circuit Current(Isc) 8.59A
Mechanical Characteristics
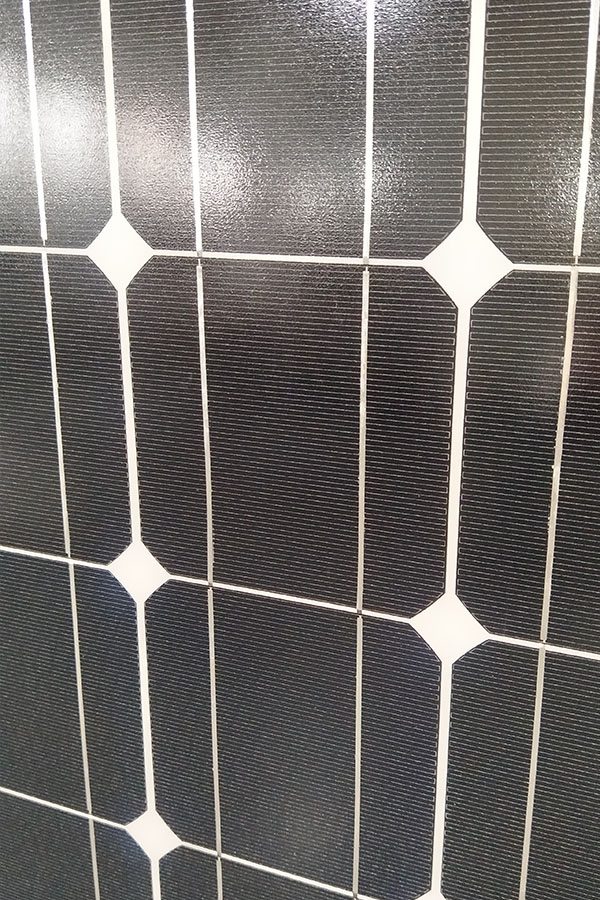
Cell Type Monocrystalline 156x156mm (6 inch)
No of Cell 36 (4x9pcs)
Dimensions 1485x668x35mm
Weight 11.6KGS
Front Glass 3.2mm,High Transmission, Low Iron,Tempered Glass
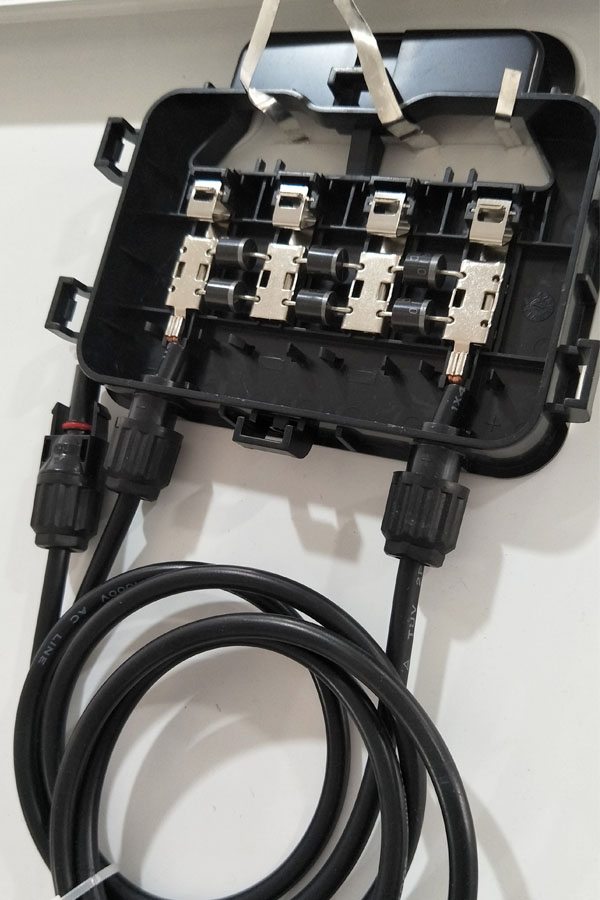
Junction box IP65 Rated
Output Cable TUV 1×4.0mm2/UL12AWG,Length:900mm
Temperature and Coefficients
Operating Temperature(°C): -40°C ~ + 85°C
Maximum System Voltage: 600V(UL)/1000V(IEC) DC
Maximum Rated Current Series: 15A
Temperature Coefficients of Pmax: -0.435%
Temperature Coefficients of Voc: -0.35%
Temperature Coefficients of Isc: 0.043%
Nominal Operationg Cell Temperature (NOCT): 47+/-2°C
Materials of solar panel
1).Solar Cell——Mono-crystalline solar cell 156*156mm
2).Front Glass——-3.2mm, high transmission, low iron, tempered glass
3).EVA——-excellent anti-aging EVA
4).TPT——-TPT hot seal made of flame resistance
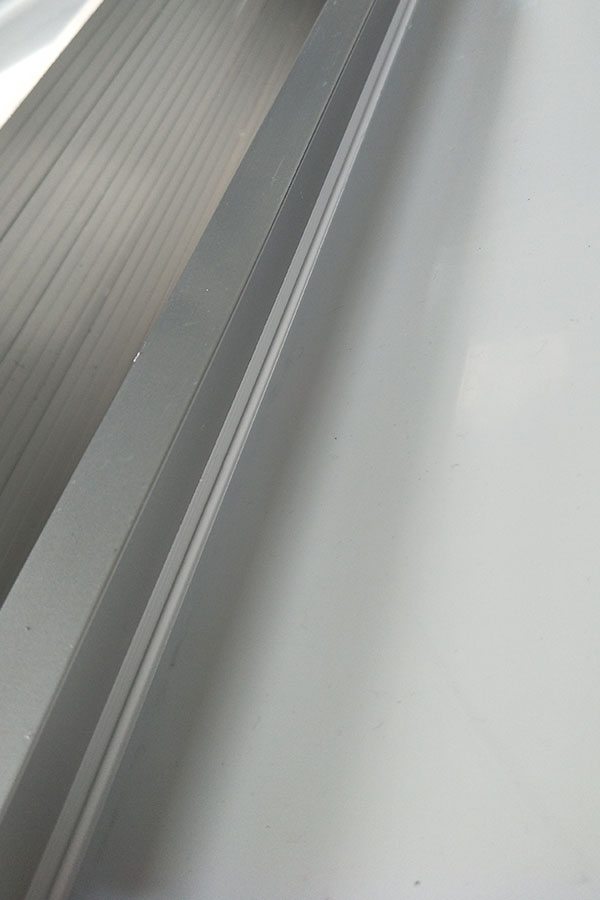
5).Frame——anodized aluminum profile
6).Junction Box——-IP65 rated, high quality, with diode protection
Superiority: high quality anodized aluminum frame, high efficiency long life, easy installation, strong wind resistance, strong hail resistance.
Features
1. High cell efficiency with quality silicon materials for long term output stability
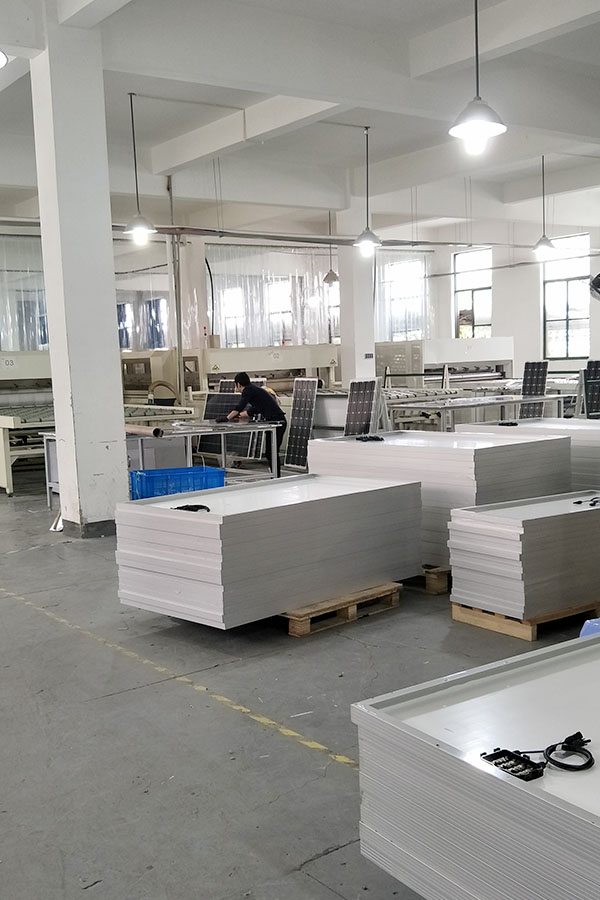
2. Strictly quality control ensure the stability and reliability, totally 23 QC procedures
3. High transmittance low iron tempered glass with enhanced stiffness and impact resistance
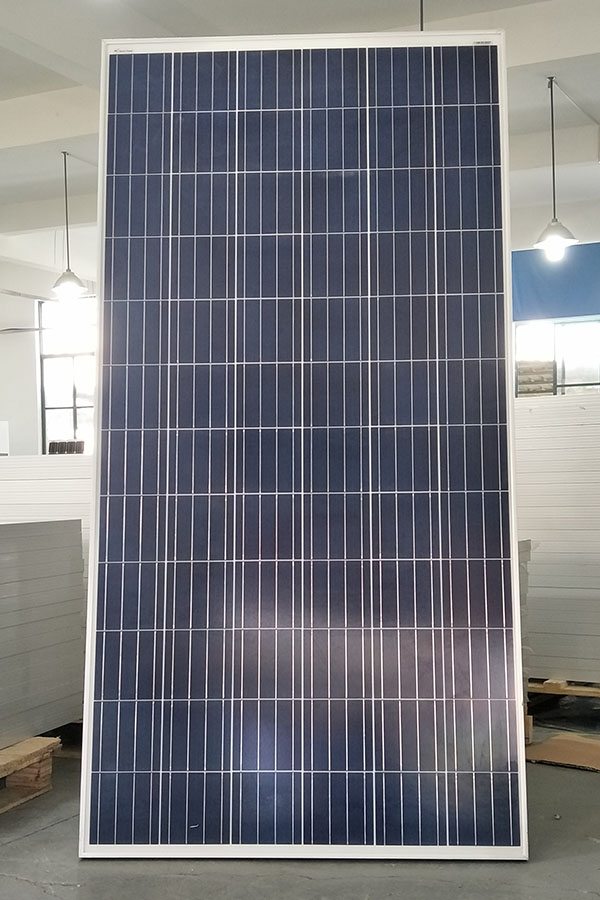
4. Both Polycrystalline and Mono-crystalline
5. Excellent performance in harsh weather
6. Outstanding electrical performance under high temperature and low irradiance
Quality assurance testing
Thermal cycling test
Thermal shock test
Thermal/Freezing and high humidity cycling test
Electrical isolation test
Hail impact test
Mechanical, wind and twist loading test
Salt mist test
Light and water-exposure test
Moist carbon dioxide/sulphur dioxide
INDIAN LIFE & INDIAN CULTURE
SUBSCRIBE FOR MORE VIDEOS
https://www.youtube.com/user/my3indianlife?sub_confirmation=1
Video tutorial on how to create a wireless motion sensor alarm which can be used around the house to alert you of any intruders, animal, visitors, or any other movements on your property. The sensors do run off 120v receptacle outlets. Depending on what sensors you buy will depend on how the field of view for the sensor works. Some can be more sensitive and reach a further distance than other models. This is a great cheap and inexpensive way to protect your property.
Website: http://4diyers.com
Facebook: https://www.facebook.com/4diyers
Google Plus: https://plus.google.com/+4DIYers
Twitter: https://twitter.com/4DIYers
Instagram: https://www.instagram.com/4diyers/
Tumblr: http://4diyers.tumblr.com
Pintrest: https://www.pinterest.com/4diyers/
Tools/Supplies Needed:
-wire strippers/cutters
-drill
-drill bits
-screw driver
-soldering iron
-motion sensor
-120v exterior/outdoor wire with plug
-waterproof electrical box big enough for the relay, wires, and door bell switch
-wireless door bell
-marrette connectors
-low voltage wire
-120v mechanical relay
-solder
Procedure:
-depending on how many sensors you have purchased will depend on how many how many holes are needed to be drilled into the waterproof electrical box
-drill the holes according to the size required for the sensors and electrical exterior/outdoor cord
-split apart the wirelss door bell button and determine where the switch is on the circuit board along with what wires trigger the alarm
-solder the low voltage wire to the proper location
-ensure the door bell works by crossing the two wires which you just recently connected
-put doorbell switch back together
-strip motion sensor wires and exterior/outdoor wires accordingly to make electrical connections
-connect wires from the doorbell to the relay on the switching side
-install motion sensors and exterior/outdoor wire into waterproof box
-connect power wires from exterior/outdoor wire to the motion sensor power wires with marrette connectors
-connect common wires from exterior/outdoor wire to the motion sensor common wires with an extra wire which will go to the relay
-connect switching wire and extra common wire to the coil side of the relay
-now put everything in the box and test unit
-mount box where ever you would like
Thank you to all those who watch my videos and support my content. Don’t forget to subscribe to my channel for future tutorial videos and like my video if you found it helpful. New videos are always being uploaded every week!
© 4DIYers 2013
All Rights Reserved
No part of this video or any of its contents may be reproduced, copied, modified or adapted, without the prior written consent of the author.
