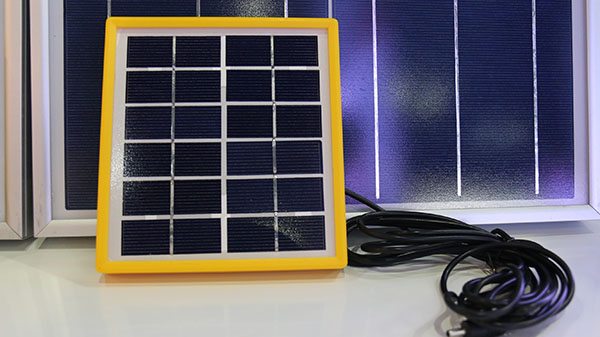
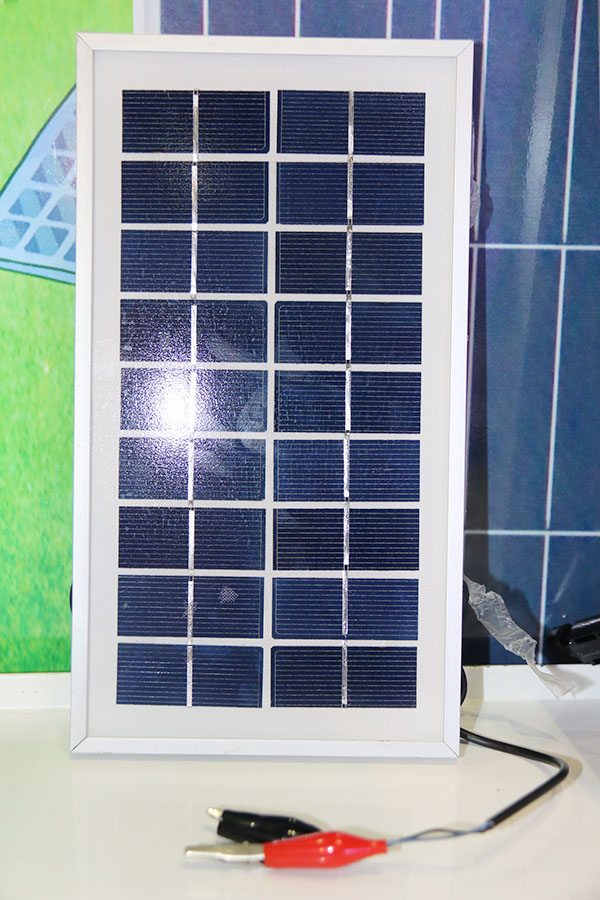
8 Years Factory Poly-crystalline Solar Panel 250W Factory in Azerbaijan
Short Description:
We will devote ourselves to providing our esteemed customers with the most enthusiastically thoughtful services for 8 Years Factory Poly-crystalline Solar Panel 250W Factory in Azerbaijan, winning customers' trust is the gold key to our success! If you are interested in our products, please feel free to visit our web site or contact us.
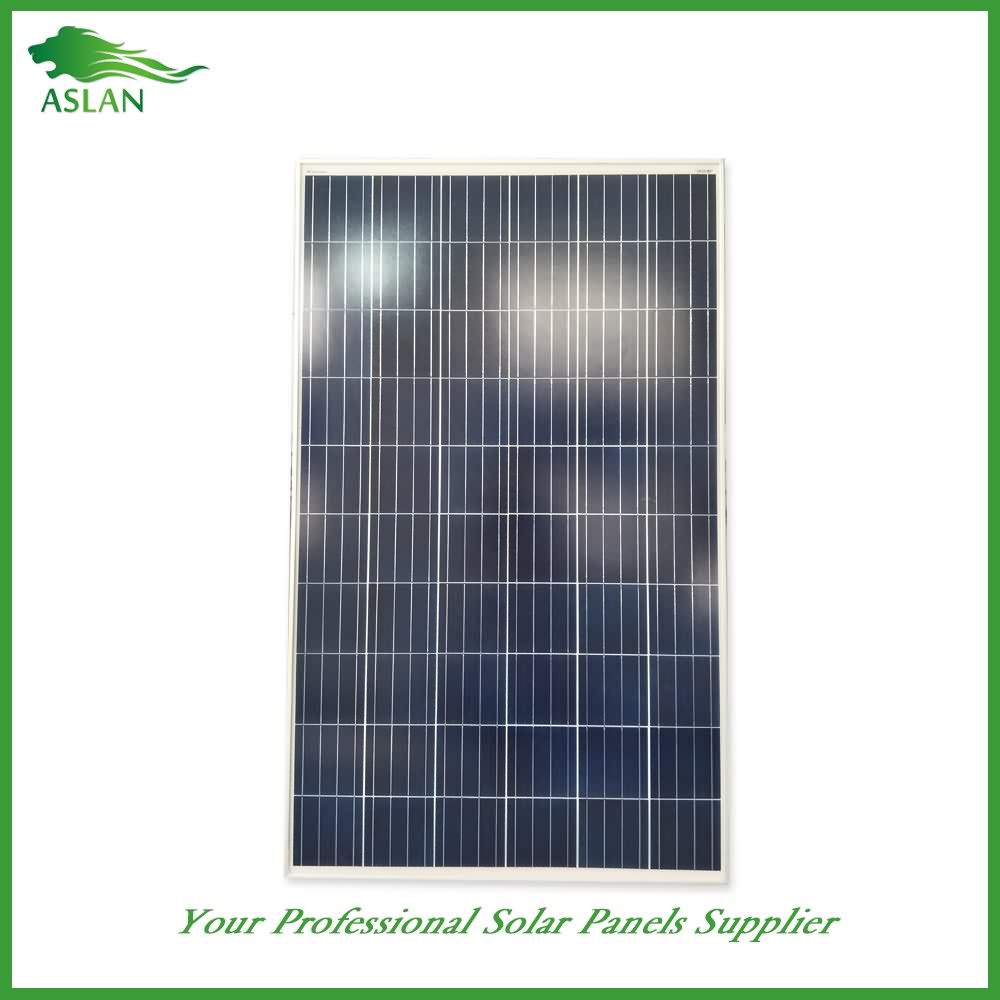
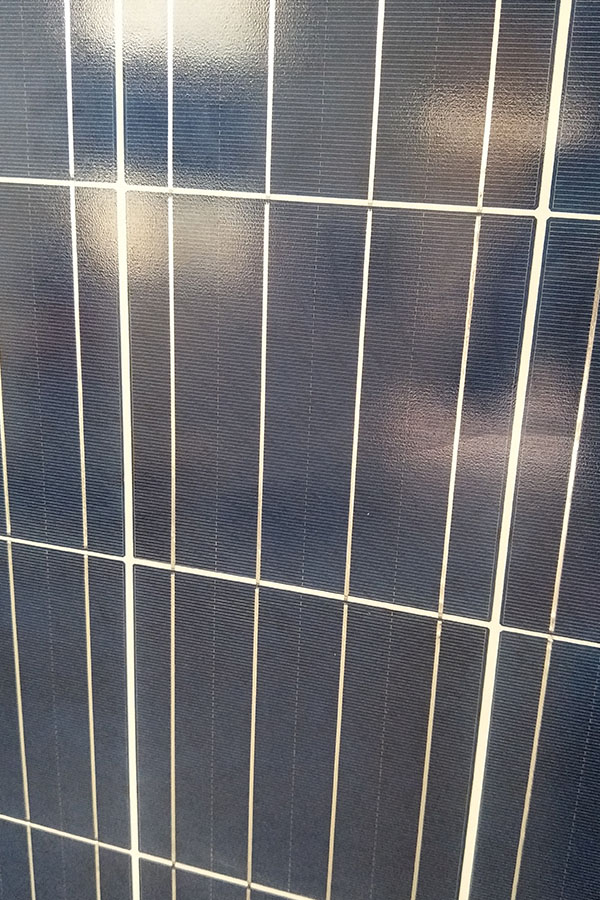
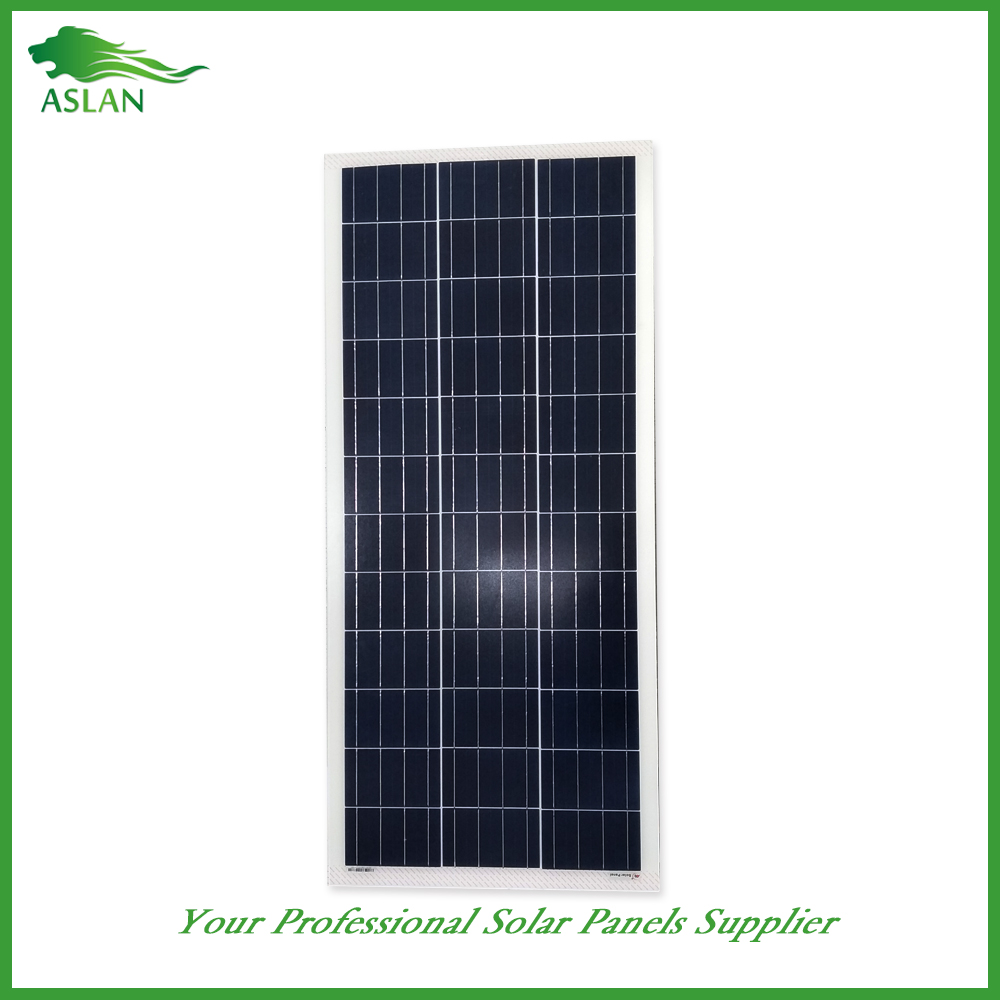
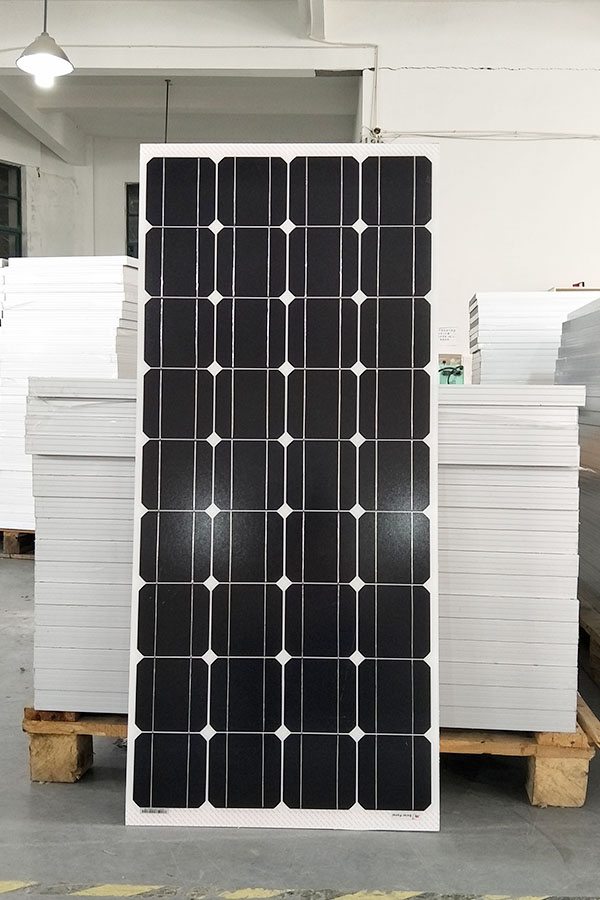
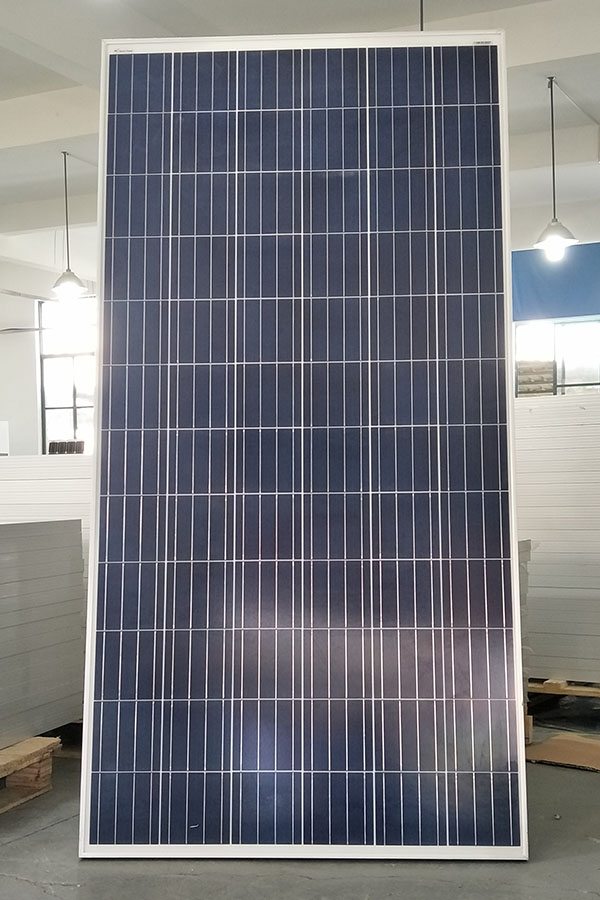
Poly-crystalline Solar Panel 250W
Technical parameter
Maximum Power(W) 250W
Optimum Power Voltage(Vmp) 30.25V
Optimum Operating Current(Imp) 8.26A
Open Circuit Voltage(Voc) 36.61V
Short Circuit Current(Isc) 8.89A
Mechanical Characteristics
Cell Type Polycrystalline 156x156mm (6 inch)
No of Cell 60 (6x10pcs)
Dimensions 1640x990x40mm
Weight 18.5KGS
Front Glass 3.2mm,High Transmission, Low Iron,Tempered Glass
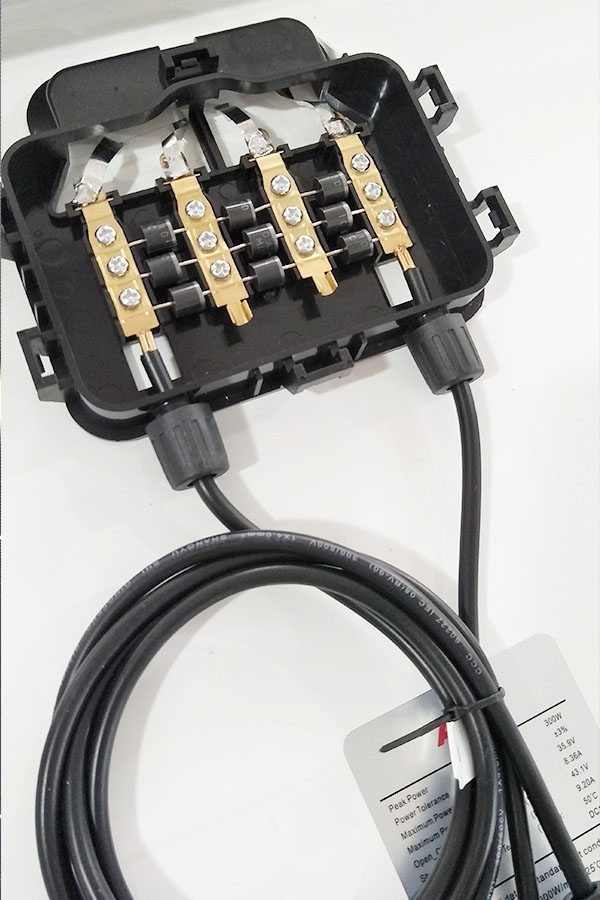
Junction box IP65 Rated
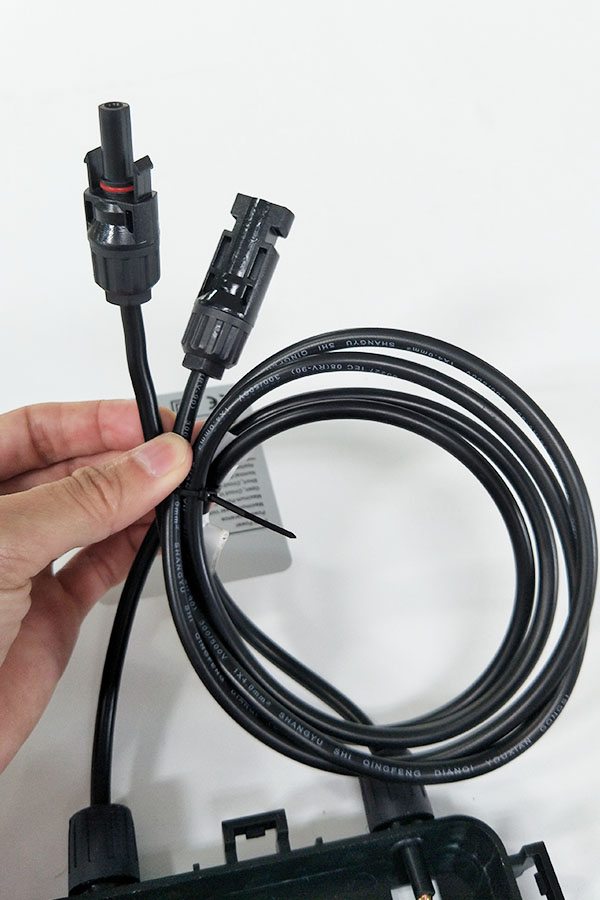
Output Cable TUV 1×4.0mm2/UL12AWG,Length:900mm
Temperature and Coefficients
Operating Temperature(°C): -40°C ~ + 85°C
Maximum System Voltage: 600V(UL)/1000V(IEC) DC
Maximum Rated Current Series: 15A
Temperature Coefficients of Pmax: -0.47%
Temperature Coefficients of Voc: -0.389%
Temperature Coefficients of Isc: 0.057%
Nominal Operationg Cell Temperature (NOCT): 47+/-2°C
Materials of solar panel
1).Solar Cell——Polycrystalline solar cell 156*156mm
2).Front Glass——-3.2mm, high transmission, low iron, tempered glass
3).EVA——-excellent anti-aging EVA
4).TPT——-TPT hot seal made of flame resistance
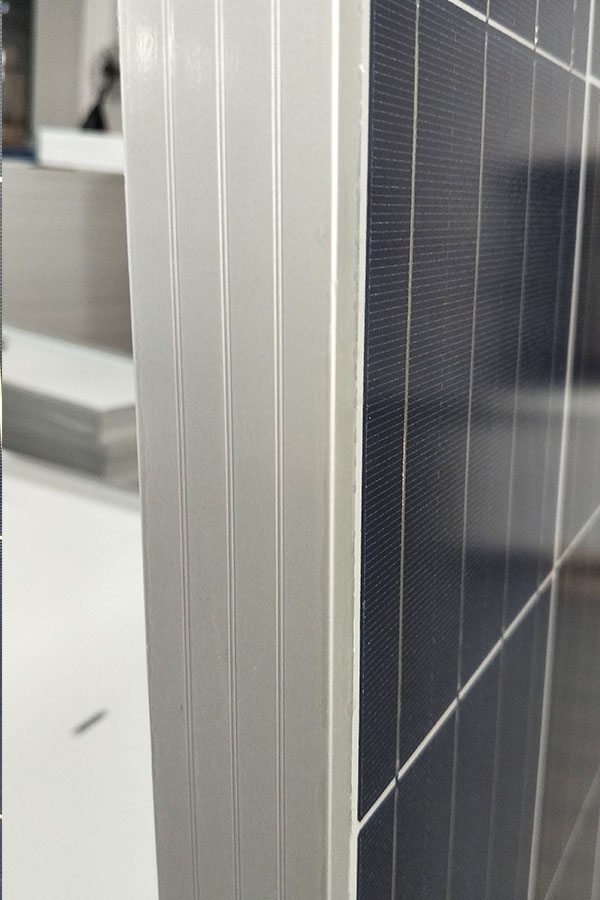
5).Frame——anodized aluminum profile
6).Junction Box——-IP65 rated, high quality, with diode protection
Superiority: high quality anodized aluminum frame, high efficiency long life, easy installation, strong wind resistance, strong hail resistance.
Features
1. High cell efficiency with quality silicon materials for long term output stability
2. Strictly quality control ensure the stability and reliability, totally 23 QC procedures
3. High transmittance low iron tempered glass with enhanced stiffness and impact resistance
4. Both Poly-crystalline and Mono-crystalline
5. Excellent performance in harsh weather
6. Outstanding electrical performance under high temperature and low irradiance
Quality assurance testing
Thermal cycling test
Thermal shock test
Thermal/Freezing and high humidity cycling test
Electrical isolation test
Hail impact test
Mechanical, wind and twist loading test
Salt mist test
Light and water-exposure test
Moist carbon dioxide/sulphur dioxide
Several ways to get involved with the Solar Industry: Powur, SolarCity, Crew Solar :
* Powur ~ $499 to join, $29.95/mo, MLM, the middleman for Solar City, and other companies.
compensation that is a “pipe dream” ~
http://powur.com
* SolarCity Ambassador ~ Free to Join, no monthly fees, no up-Sells,
Simple 3 level referral fee program
http://solarcity.com
* Crew Solar PBC ~ Free to join, no monthly fees, no up-sells, Ave $1500 per residential installation, 5 figure commission for commercial installations, 11% profit sharing and more
http://jointhecrew.com/TheSolarGuy
WATCH THIS SHORT CREW OPPORTUNITY OVERVIEW:
QUESTIONS? : “YOU CALL~ I ANSWER”
BRUCE @ 828-989-7771
How to connect a power inverter. Read the full article here: http://www.thedoityourselfworld.com/articles/article.php?id=11438
In this short video I show you how to connect a power inverter. This is a very simple task which you should be able to do yourself easily.
For simplicity I am leaving out cut off switches and fuses in this video series. I will be adding them to the system later on as you learn the basics.
For my regular viewers and experts please have patience and bear with me as I do this.
To connect a power inverter you need two thick wires. The thicker the wires, the better.
One wire should be red or marked positive and the other one should be black or marked negative.
Connect the red wire to the positive terminal of the battery bank and then to the power inverter red screw terminal.
Next connect the black wire to the battery bank negative terminal and then to the black screw terminal on the power inverter.
That is all there is to it.
Turn on the power inverter and you should see some sort of indicator light to show that it is running properly.
Next simply plug in your devices and use your off grid AC power.
Thanks for watching. Please Subscribe & follow my daily videos.
Troy
http://www.thedoityourselfworld.com
http://www.theoffgridproject.com
Note: Copying this video, in part or in full, is a violation of copyright unless the user has express permission from the owner. Violation of this copyright will be pursued to the fullest extent of the law.
