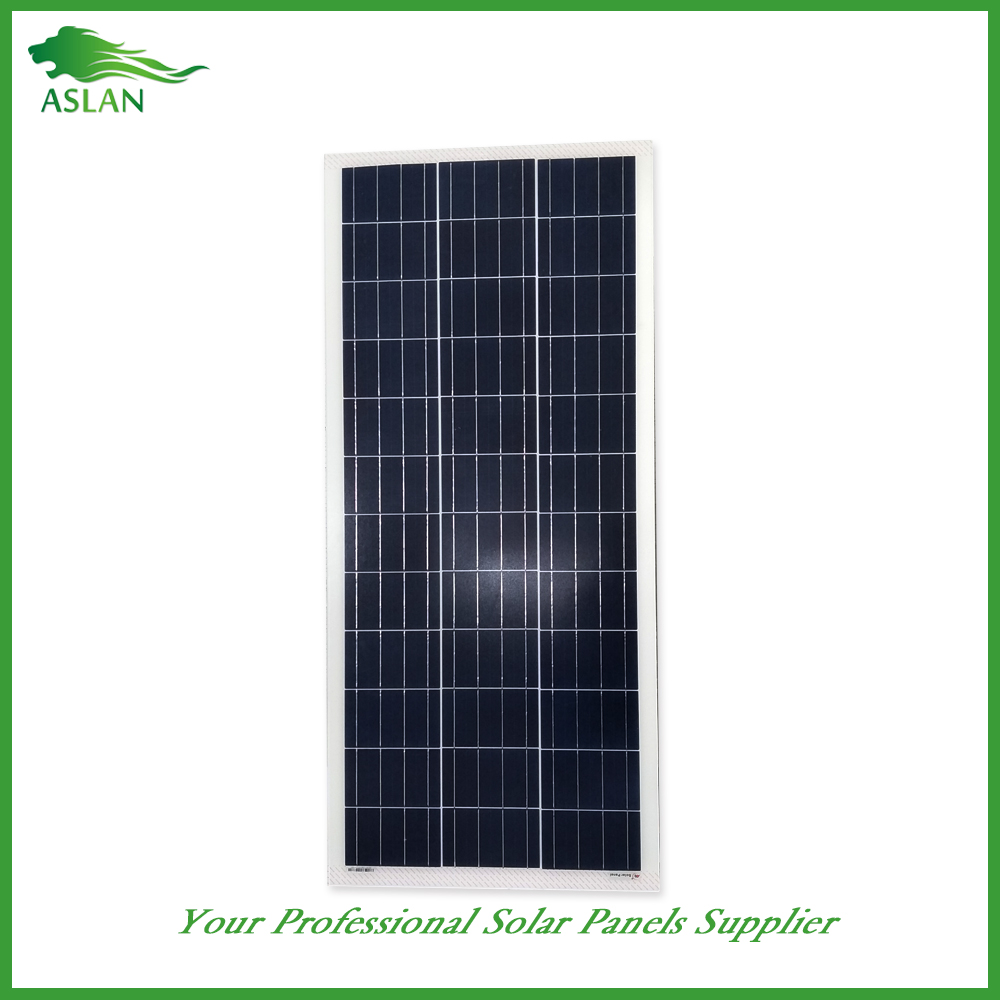
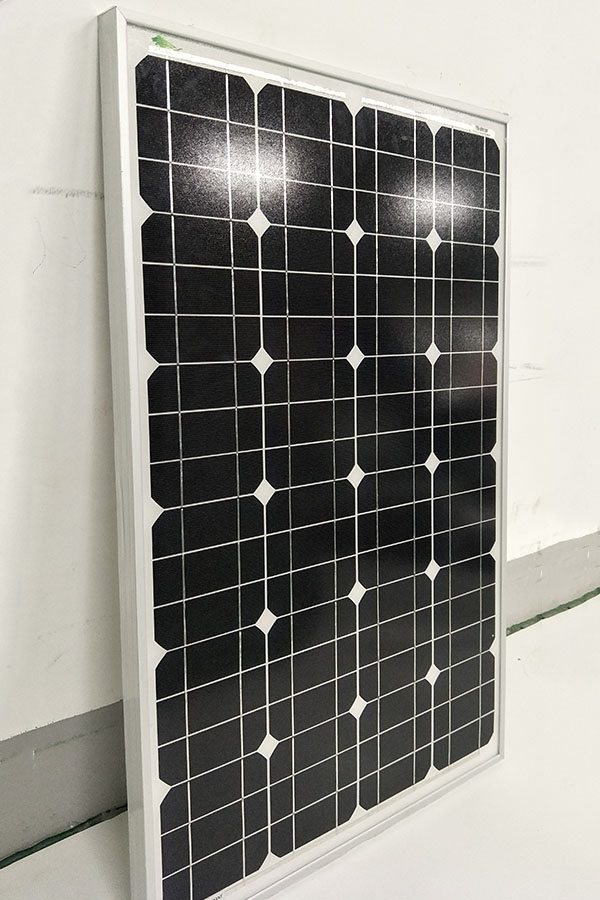
70% OFF Price For Poly-crystalline Solar Panel 40W Factory for Malaysia
Short Description:
Fast and good quotations, informed advisers to help you choose the correct product that suits all your needs, a short production time, responsible quality control and different services for paying and shipping affairs for 70% OFF Price For Poly-crystalline Solar Panel 40W Factory for Malaysia, We are also constantly looking to establish relationship with new suppliers to provide innovative and smart solution to our valued customers.
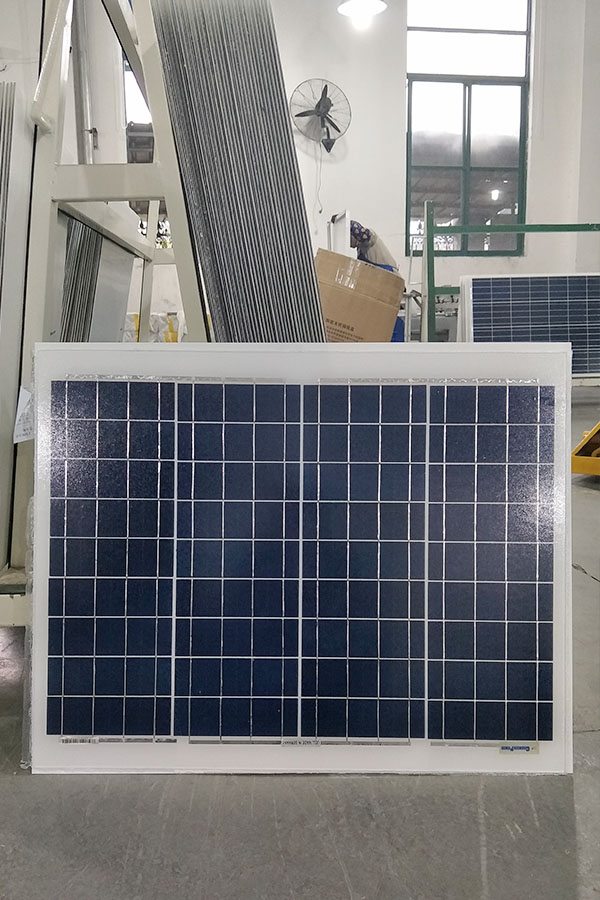
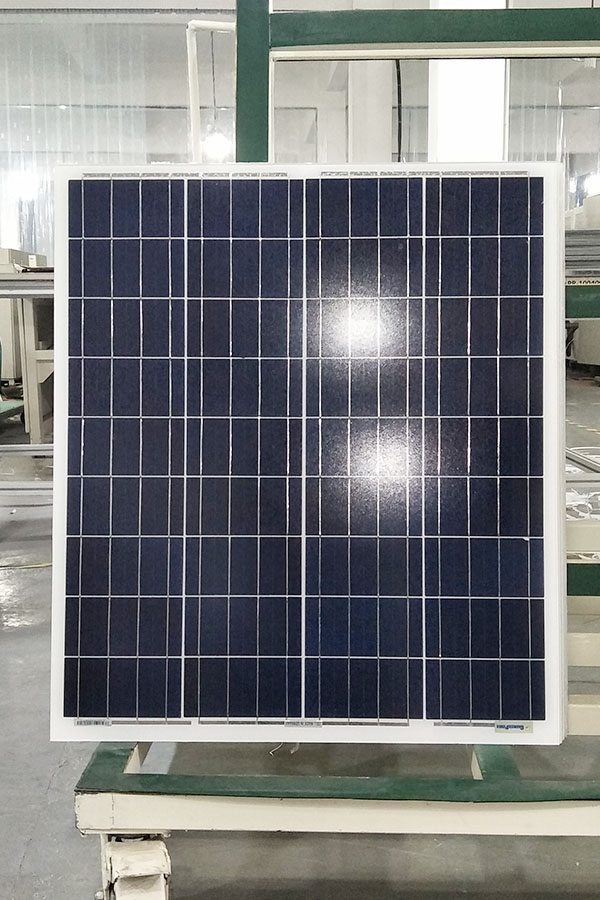
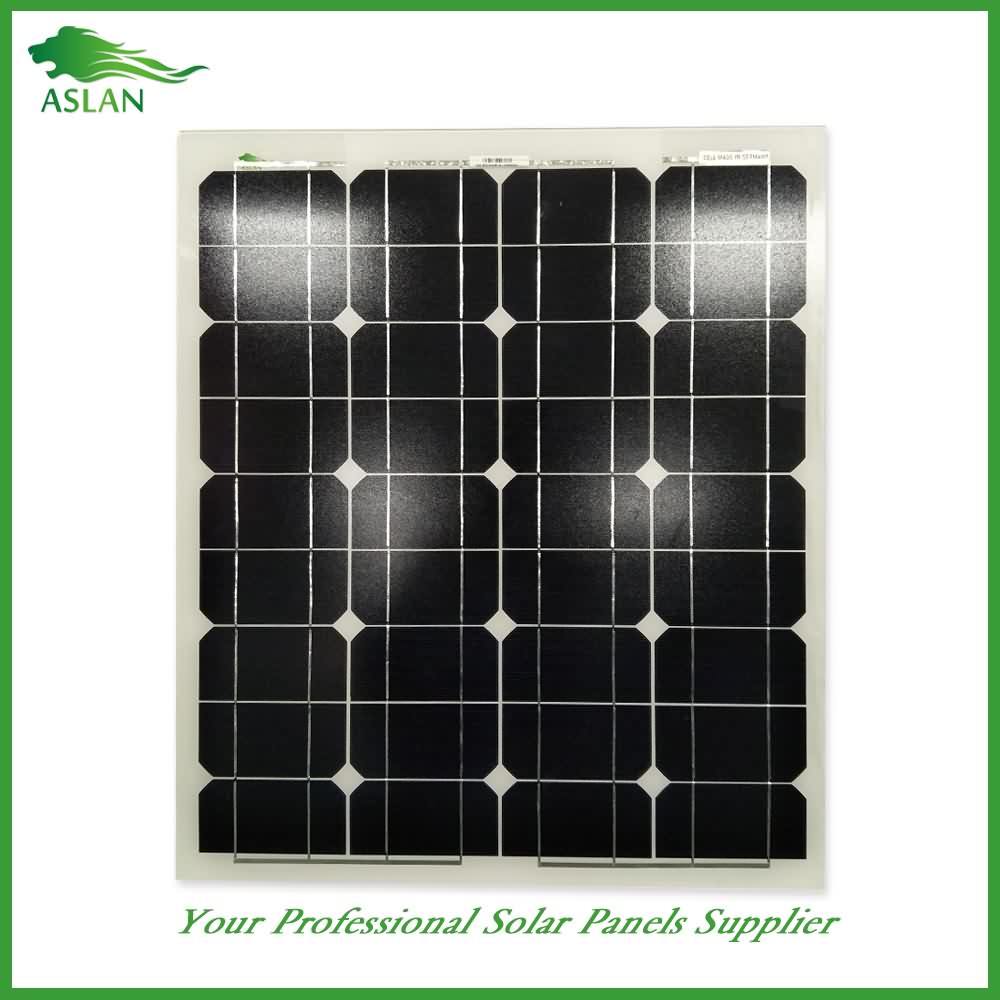
Poly-crystalline Solar Panel 40W
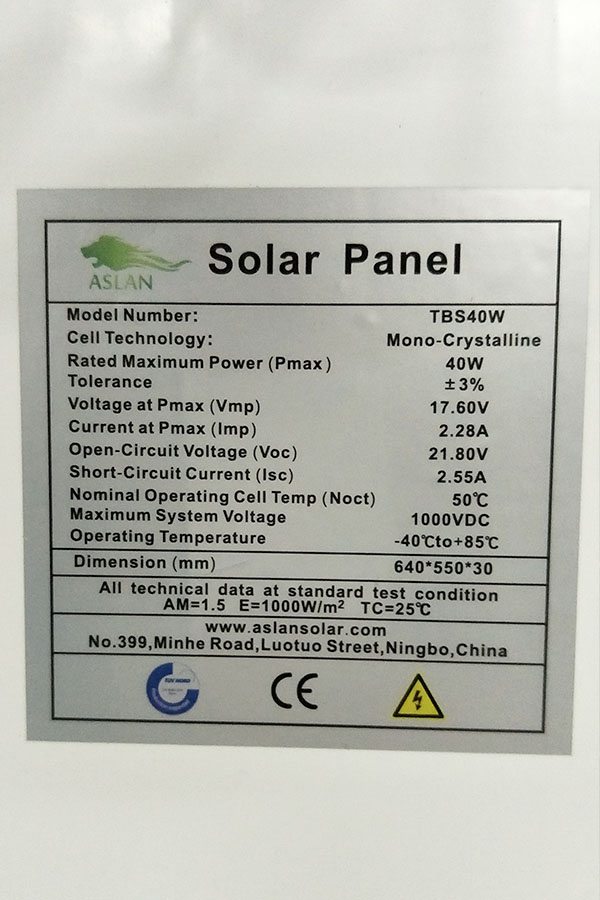
Technical parameter
Maximum Power(W) 40W
Optimum Power Voltage(Vmp) 17.35V
Optimum Operating Current(Imp) 2.31A
Open Circuit Voltage(Voc) 21.16V
Short Circuit Current(Isc) 2.53A
Mechanical Characteristics
Cell Type Polycrystalline 156 x 52mm
No of Cell 36 (4x9pcs)
Dimensions 670x420x30mm
Weight 4.0Kg
Front Glass 3.5mm,High Transmission, Low Iron,Tempered Glass
Junction box IP65 Rated
Output Cable TUV 1×4.0mm2/UL12AWG,Length:900mm
Temperature and Coefficients
Operating Temperature(°C): -40°C ~ + 85°C
Maximum System Voltage: 600V(UL)/1000V(IEC) DC
Maximum Rated Current Series: 15A
Temperature Coefficients of Pmax: -0.47%
Temperature Coefficients of Voc: -0.389%
Temperature Coefficients of Isc: 0.057%
Nominal Operationg Cell Temperature (NOCT): 47+/-2°C
Materials of solar panel
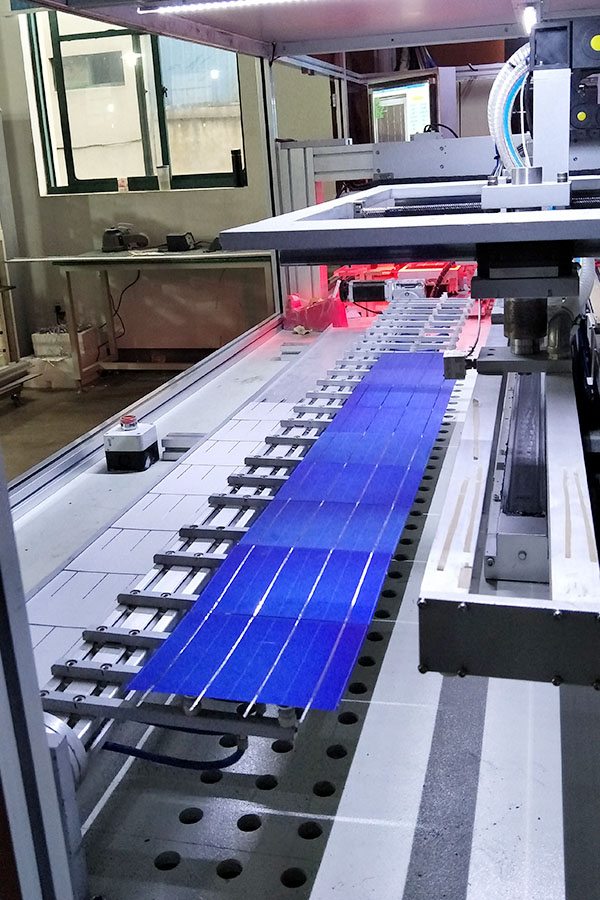
1).Solar Cell——Polycrystalline solar cell 156*52mm
2).Front Glass——-3.2mm, high transmission, low iron, tempered glass
3).EVA——-excellent anti-aging EVA
4).TPT——-TPT hot seal made of flame resistance
5).Frame——anodized aluminum profile
6).Junction Box——-IP65 rated, high quality, with diode protection
Superiority: high quality anodized aluminum frame, high efficiency long life, easy installation, strong wind resistance, strong hail resistance.
Features
1. High cell efficiency with quality silicon materials for long term output stability
2. Strictly quality control ensure the stability and reliability, totally 23 QC procedures
3. High transmittance low iron tempered glass with enhanced stiffness and impact resistance
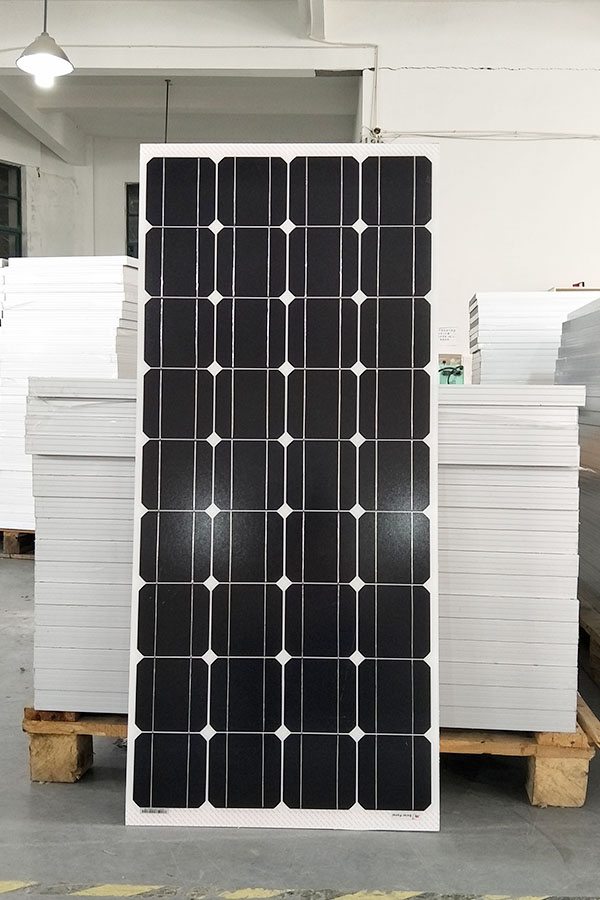
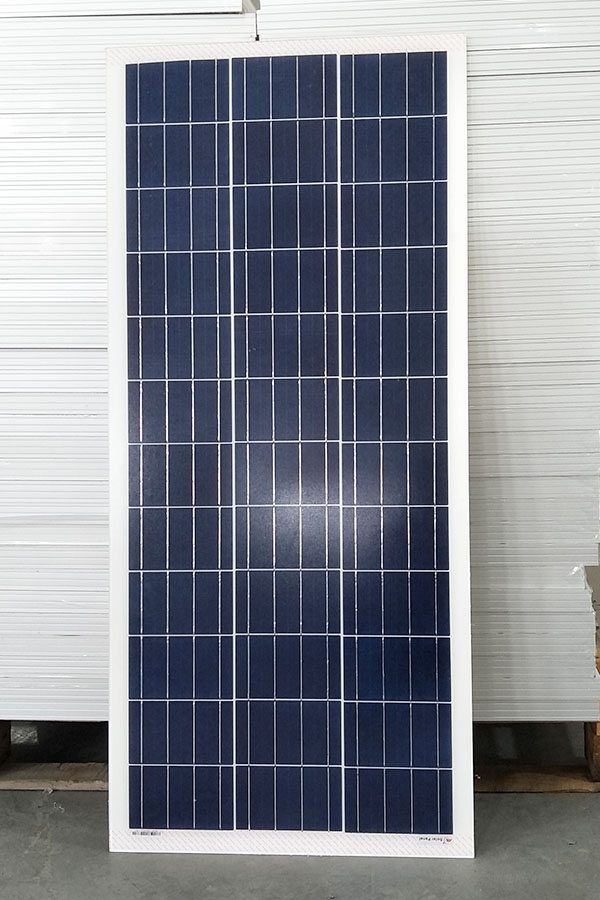
4. Both Poly-crystalline and Mono-crystalline
5. Excellent performance in harsh weather
6. Outstanding electrical performance under high temperature and low irradiance
Quality assurance testing
Thermal cycling test
Thermal shock test
Thermal/Freezing and high humidity cycling test
Electrical isolation test
Hail impact test
Mechanical, wind and twist loading test
Salt mist test
Light and water-exposure test
Moist carbon dioxide/sulphur dioxide
I have been thinking to make wind turbine (a large horizontal axis one) since I first published a small wind turbine video on youtube and a blog post here a few years back. That video went viral. Then I decided to make one large functional wind turbine. The former didn’t give me even 1.5 volts. I know building a medium sized wind turbine will take a lot of time to complete. But, It didn’t, I’ve Just finished a medium sized wind turbine with only 5 days, 2 hours per day after my regular work. By the way, Here I am going to give you an overview of my experience in making this wind turbine Project.
http://www.newphysicist.com/make-wind-turbine/
Make Wind Turbine
1.Propeller Making
A propeller is the most important part of a wind turbine. The propeller is used to convert wind energy to rotational energy. This rotational energy can easily be converted to electricity by coupling it with a dynamo. Wind turbine blade should have appropriate curvature and weight to get maximum efficiency. So, I bought 6mm thick, 8 Inch Heavy duty PVC pipe ($5). Then I used a hand grinder to cut it into wind turbine blade shape with 1:3:20 ratio.
You can easily make rotor to connect these blades using a Plate washer, Nut, and GI L-clamps.
Take 8 inch, 4mm PVC Pipe
Cut it into blade shape 1:2:30 Ratio as shown in the figure
Smoothen the edges.
Take a 3 Inch washer and weld GI Pieces on It.
Screw PVC blades On it.
2.Turbine base Making
Another important function of a wind turbine is its ability to face the wind automatically. Otherwise, it won’t be able to maximize the wind energy harvesting. This mechanism is called yaw mechanism. It works with the help of a flexible turbine base and a tail. I used a johnson wheel to make this flexible joint.
The tail will help the propeller to face the wind. As a result, we will get maximum output. We can cut aluminum sheet very easily to any shape. Cut it to a proper shape.
Take a Johnson wheel and remove the wheel
Weld it to one side of a 1″ square GI Pipe (1.5m)
Connect bearings in a Piece of GI pipe and Place it on the johnson wheel.
Weld a hose clip on it to fix dynamo.
3. Tail Making
The tail will help the propeller to face the wind. As a result, we will get maximum output. We can cut aluminum sheet very easily to any shape. Cut it to a proper shape.
Cut aluminum sheet into wind turbine tail shape
Screw it on a GI Piece
Fix the tail on Wind turbine Base
SAFETY FIRST APPROACH
Keep in Mind that safety must be the first priority. If you are not familiar with angle Grinder, I strongly recommend you not to use it. In any case, children should not experiment with it. Also, when welding you should wear eye protection glasses, face shield, and hand gloves. Ask professional welders to get your work done. That would be better. I have worked as a welder and wireman two years, so I have some experience it such things. Thank God.
4. Assemble Each Component together
Watch Video Closely to assemble each Component Together. Make sure the crank wheel and flywheel align straight. Then Connect the output to a battery or multimeter. Place the wind turbine outside where the wind blows.
That’s It, make wind turbine Project is ready
