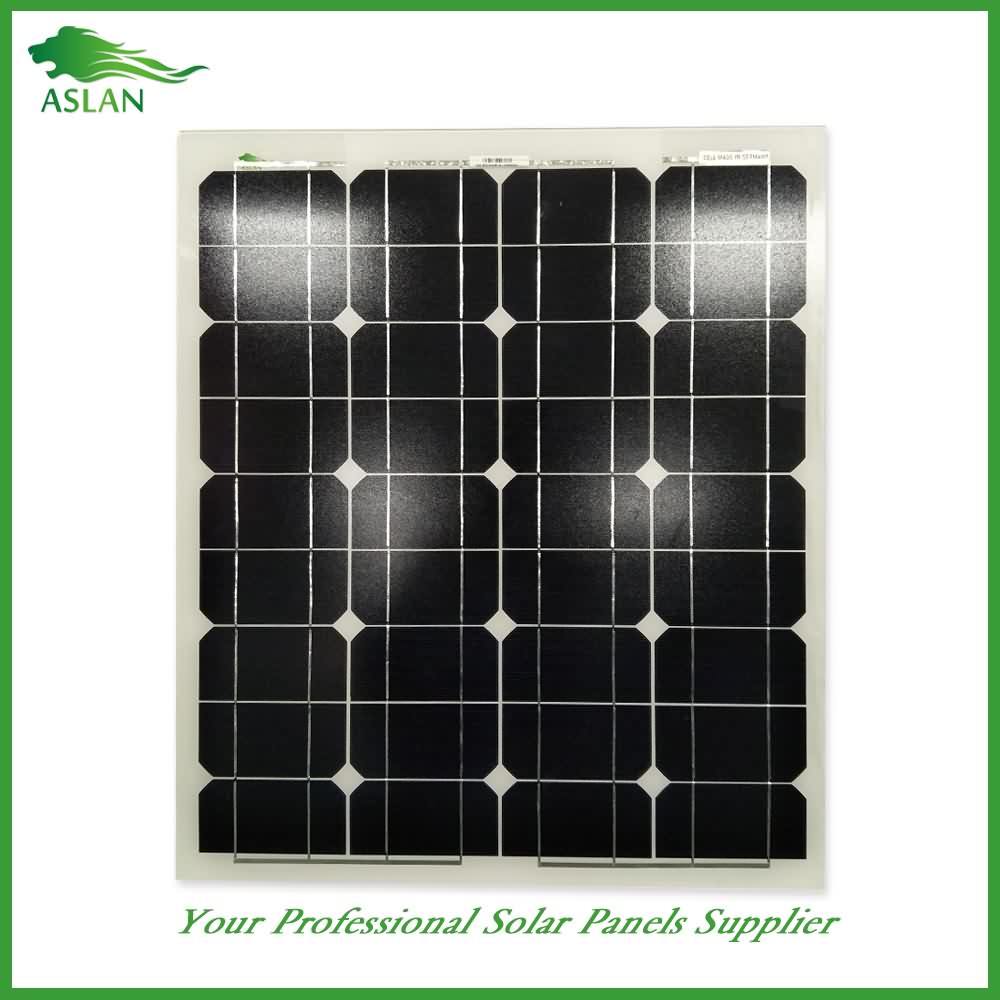
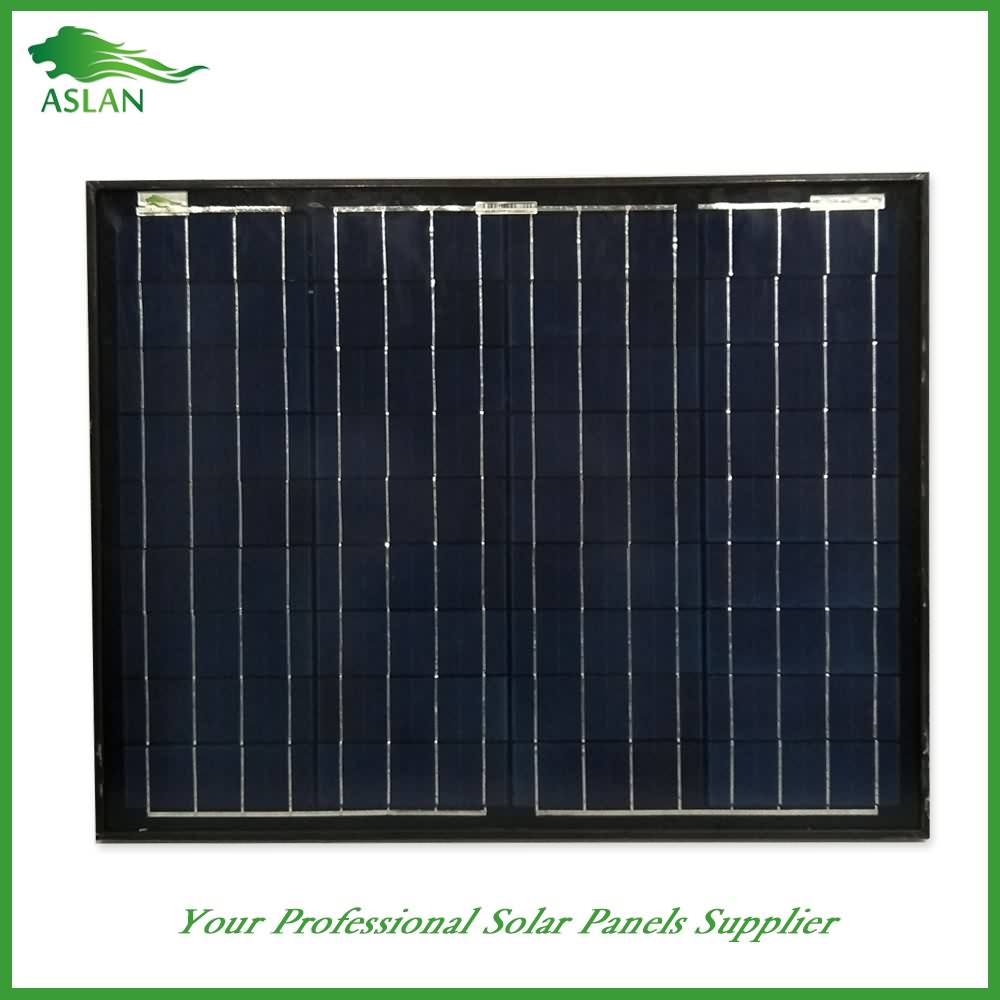
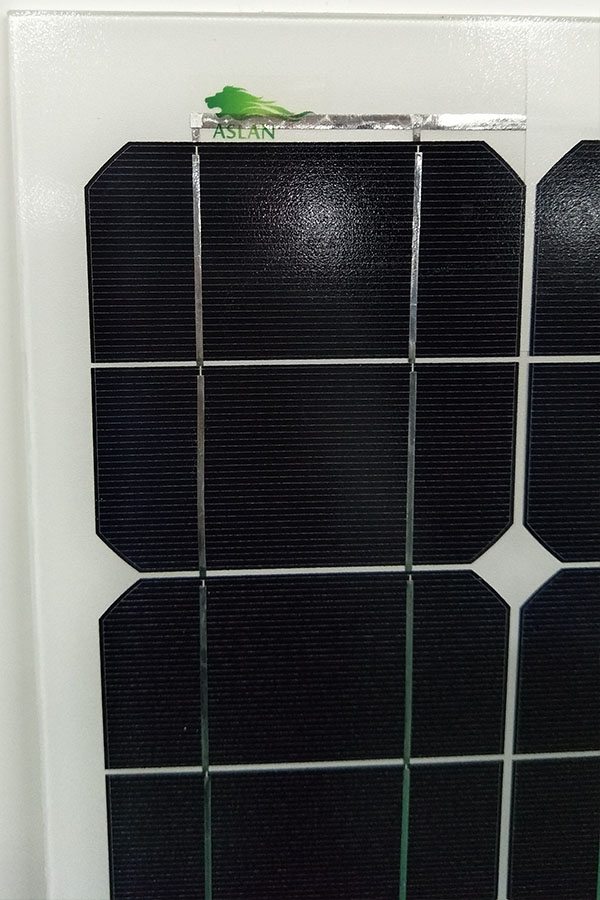
2016 Good Quality Mono-Crystalline 40W Solar Panel Islamabad Manufacturers
Short Description:
We are ready to share our knowledge of marketing worldwide and recommend you suitable products at most competitive prices. So Profi Tools offer you best value of money and we are ready to develop together with 2016 Good Quality Mono-Crystalline 40W Solar Panel Islamabad Manufacturers, If you are interested in our products, please feel free to send us your inquiry. We sincerely hope to establish win-win business relationships with you.
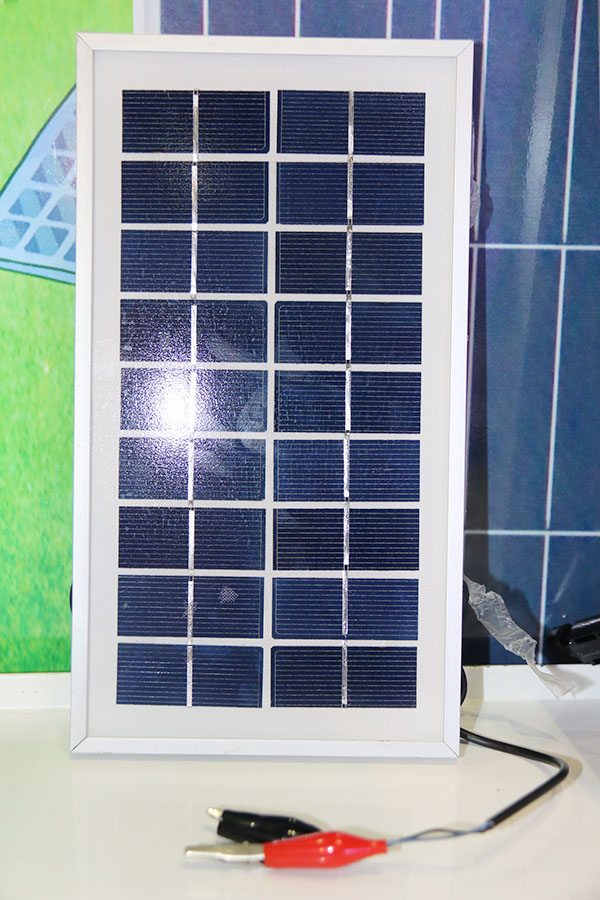
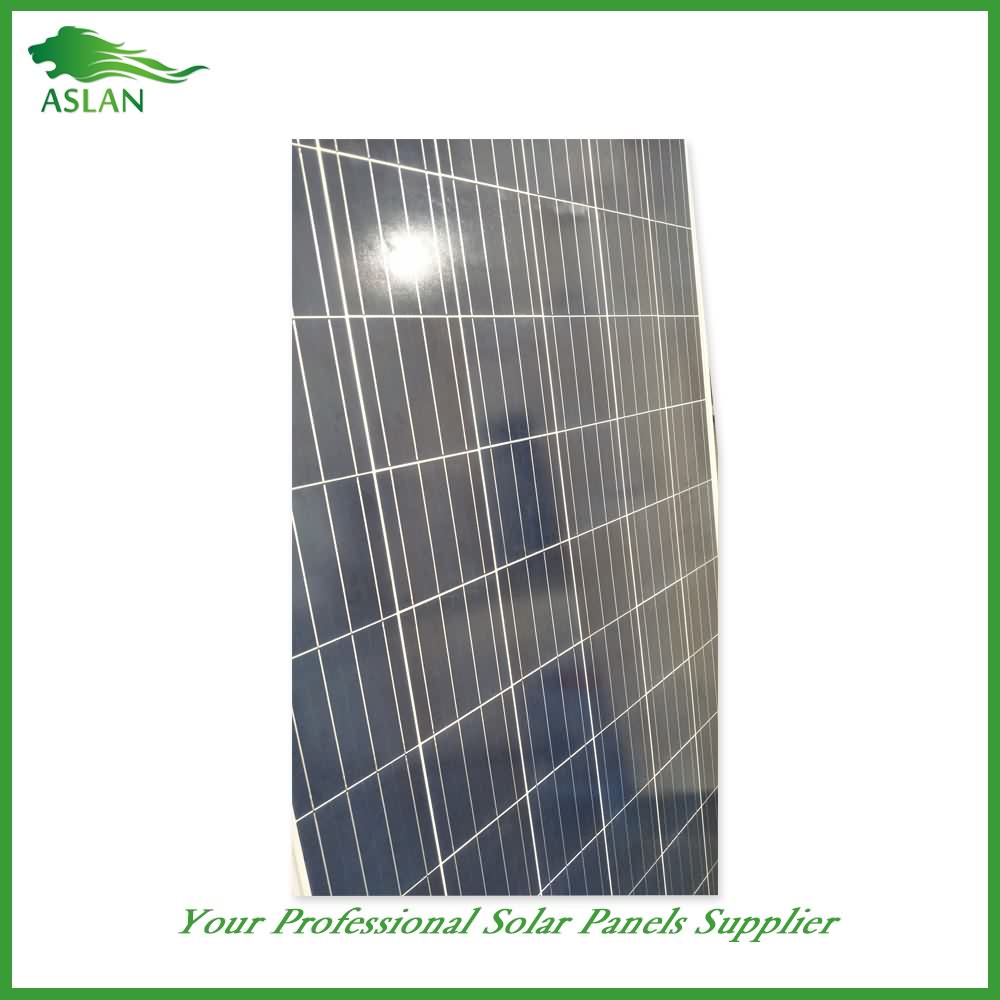
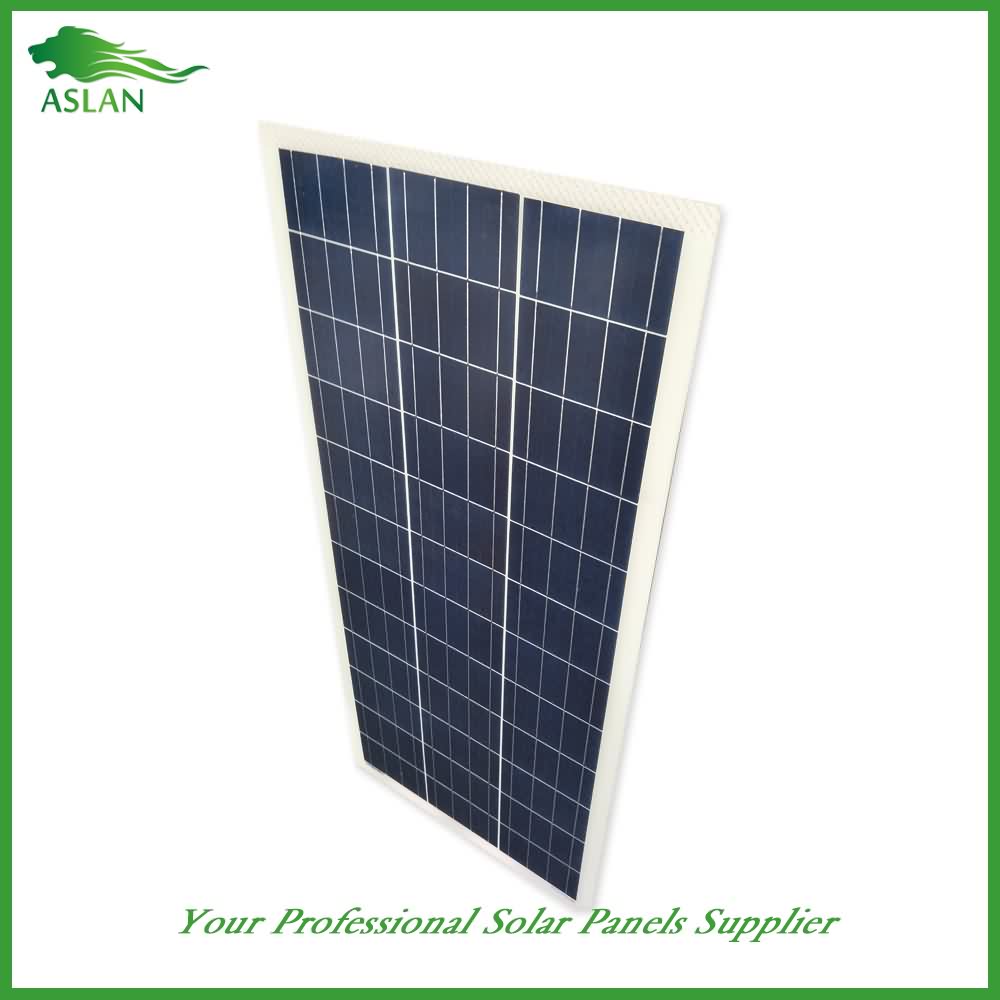
Mono-Crystalline 40W Solar Panel
Technical parameter
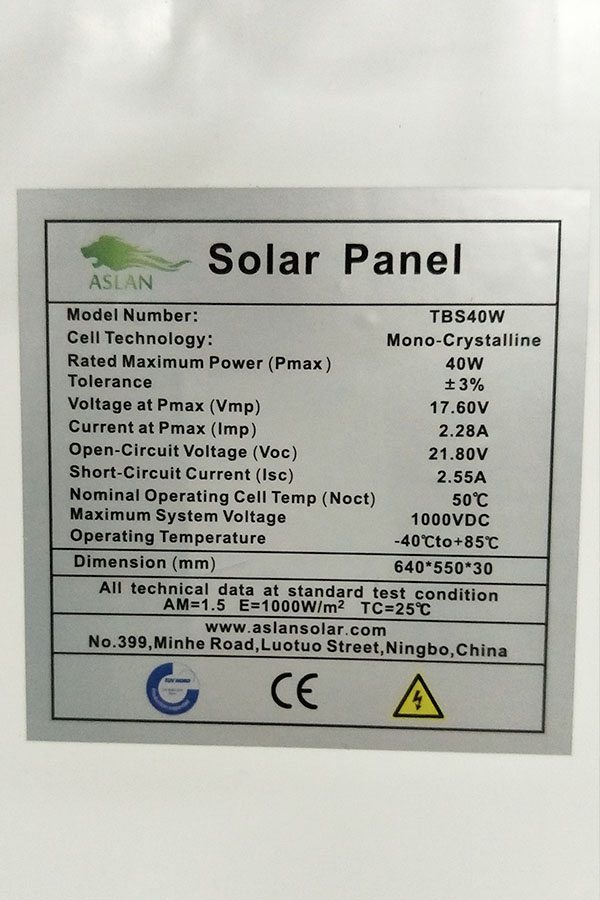
Maximum Power(W) 40W
Optimum Power Voltage(Vmp) 18.21V
Optimum Operating Current(Imp) 2.20A
Open Circuit Voltage(Voc) 21.83V
Short Circuit Current(Isc) 2.40A
Mechanical Characteristics
Cell Type Mono-crystalline 125×62.5mm
No of Cell 36 (4x9pcs)
Dimensions 636x554x25mm
Weight 4.2Kg
Front Glass 3.5mm,High Transmission, Low Iron,Tempered Glass
Junction box IP65 Rated
Output Cable TUV 1×4.0mm2/UL12AWG,Length:900mm
Temperature and Coefficients
Operating Temperature(°C): -40°C ~ + 85°C
Maximum System Voltage: 600V(UL)/1000V(IEC) DC
Maximum Rated Current Series: 15A
Temperature Coefficients of Pmax: -0.47%
Temperature Coefficients of Voc: -0.389%
Temperature Coefficients of Isc: 0.057%
Nominal Operationg Cell Temperature (NOCT): 47+/-2°C
Materials of solar panel
1).Solar Cell——Mono-crystalline solar cell 125*62.5mm
2).Front Glass——-3.2mm, high transmission, low iron, tempered glass
3).EVA——-excellent anti-aging EVA
4).TPT——-TPT hot seal made of flame resistance
5).Frame——anodized aluminum profile
6).Junction Box——-IP65 rated, high quality, with diode protection
Superiority: high quality anodized aluminum frame, high efficiency long life, easy installation, strong wind resistance, strong hail resistance.
Features
1. High cell efficiency with quality silicon materials for long term output stability
2. Strictly quality control ensure the stability and reliability, totally 23 QC procedures
3. High transmittance low iron tempered glass with enhanced stiffness and impact resistance
4. Both Poly-crystalline and Mono-crystalline
5. Excellent performance in harsh weather
6. Outstanding electrical performance under high temperature and low irradiance
Quality assurance testing
Thermal cycling test
Thermal shock test
Thermal/Freezing and high humidity cycling test
Electrical isolation test
Hail impact test
Mechanical, wind and twist loading test
Salt mist test
Light and water-exposure test
Moist carbon dioxide/sulphur dioxide
This is the fourth video on the solar panel installation. If you missed the first videos, please start here:
Part 1 https://www.youtube.com/watch?v=44ZMOB-ZQwc
The final segment of the solar panel installation on a home in Australia involved tidying up the wires, adding a cigarette lighter socket, testing a fridge on the system and adding a fuse and switch to the solar panel input side of the system.
I drilled a large hole in the side of the box to allow a surge strip to be plugged into the power inverter. Then I added a cigarette lighter socket to the outside of the box and wired that into the power terminals.
The cigarette lighter socket is fused through the same switch the inverter is connected to. There is now a master cutoff switch and fuse for the load devices.
When the cigarette lighter socket was wired up I tested it with a 12 volt utility light and it worked fine. Next I plugged in the 3 way fridge for a while to see if it was working.
The next step was to finish wiring up the fuse and switch on the solar panel input side of the charge controller. I connected the fuse to the charge controller solar panel positive input lead and then connected the other end of the fuse to the cutoff switch. Thee other side of the cutoff switch was connected to the solar panel wire.
Now the solar panels can be disconnected fully from the system with the flip of a switch. This is the best way to set up your system for safety if you want to work on the wiring.
The solar panels should ALWAYS be disconnected from the charge controller first before you begin any work on the system.
Follow The Off Grid Project and get your home off the grid on a budget
http://www.TheOffGridProject.com
Join The Off Grid Project and The Do It Yourself World forum and share your ideas, tips and projects.
http://www.thediyworld.com/forum
The Off Grid Project is presented by The Do It Yourself World.
http://www.TheDIYworld.com
Experiments and projects in off grid living, alternate energy, survival, hiking and more.
* Close to silent till one:40′s loud equipment sounds! *
Here is our Addi Express desk with smaller and Kingsize Addi Expresses. The Addis are driven by electrical screwdrivers driving 10mm nuts epoxy-glued onto the sawn-off crank of the Addi. The screwdrivers are controlled by PWM output by a BeagleBone Black.
Yarn is pulled by two LEGO tensioners controlled by a LeJOS system running on the NXT brick powering them. Rigidity is created by an elastic band pulling a swinging arm. The swinging arm’s deflection is calculated by gentle reflected from a piece of card hooked up to the swinging arm which has a gradual black-to-white fade printed on it.
The BeagleBone Black and the NXT brick are linked to the Dell Mini 9 notebook hooked in excess of the prime of the workbench. The Dell Mini 9 operates a net server so I can use the Nexus 4 phablet to control the tensioners and Addi Express motors.
The yarn is pulled up from a laundry bucket. I run the yarn by an previous CD blank in the bucket as a crude way of minimizing the effect of sudden inputs of slack into the yarn puller when a ball of yarn tumbles. With out the CD blank, slack can ‘ping’ the yarn off the wheel of the tensioner. The stainless metal yarn guides are designed from small lengths clipped off a wire coat hanger.
The pinch wheels at prime remaining offer a smaller amount of resistance to the yarn puller so that a swinging arm is pulled up by normal stress pulling. If for any motive the tensioner desires to reverse, the pounds of the swinging arm is plenty of to pull a smaller amount of extra yarn out of the tensioner to stay clear of it going slack around the drive wheel or wrapping the improper way around the drive wheel.
The two smaller PCBs are a DC transformer to move down 12V DC to 6V to drive the screwdrivers and a DC Motor Driver. The two screwdrivers are 3.6V screwdrivers driven by a PWM signal in between fifteen% and 60% responsibility (the tensioners battle to keep up beyond 50%).
I use the ‘Casting on/off’ web page as a “dead man’s tackle” for knitting. I use a low velocity for casting on so I can jog the loom around. I knit the initially few rows at low velocity and then bump the velocity up, going back to low velocity once again for casting off.
At 10-20 minutes to knit a hat or a scarf, it really is at the moment no faster than by cranking like billy-oh by hand. I am seeking to get it reputable plenty of to set it running and overlook it for 10-20 minutes, but it really is not really there still.
The PS3 Eye / LED floodlight on the smaller Addi detects loom placement by finding 6-bit tags on the loom’s purple uprights. It’s at the moment doing work nicely plenty of to placement the loom, but not still built-in with the knitting system.
[Update 2015-Jan-24] Added a ‘knitting program’ characteristic and examined it by undertaking simple knitting making use of positioning only. Conclusion – poor thought will work not very nicely: http://youtu.be/J4rAjE-W6yo
