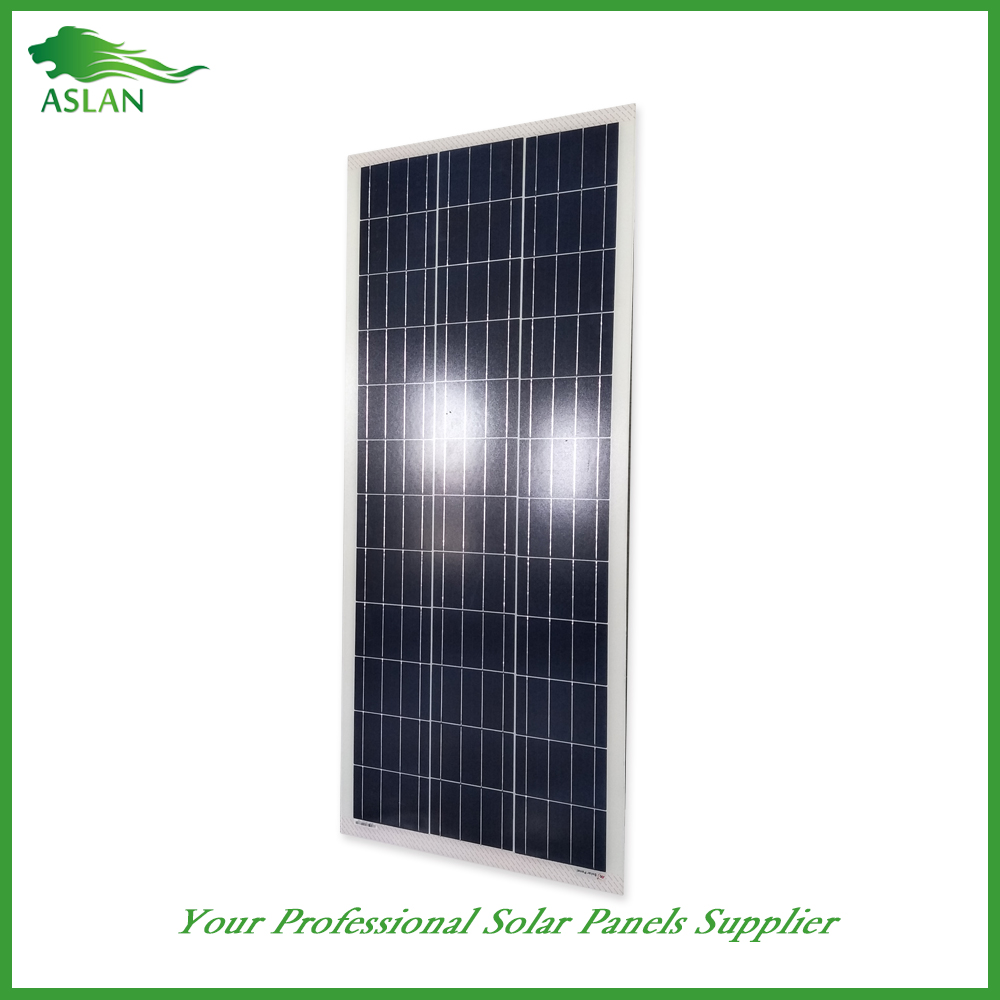
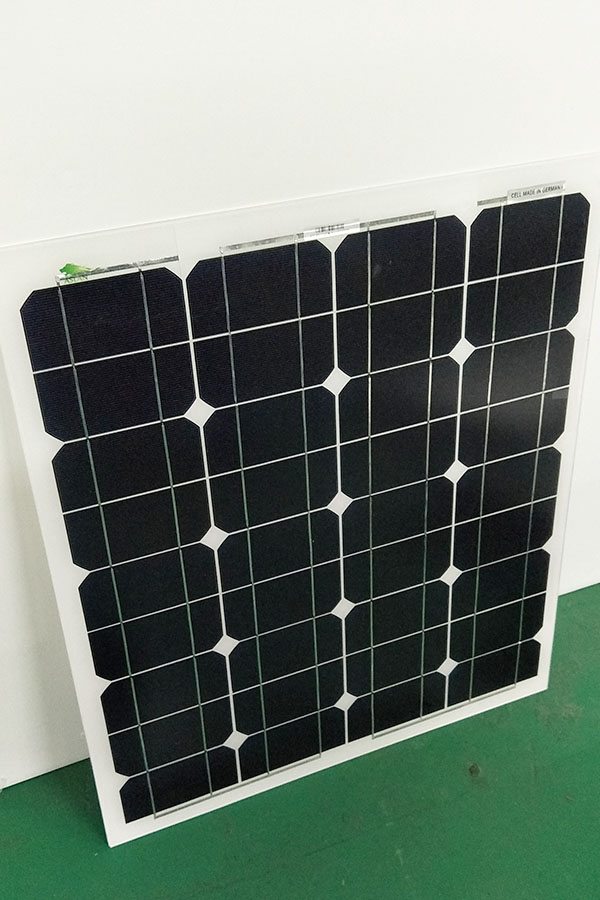
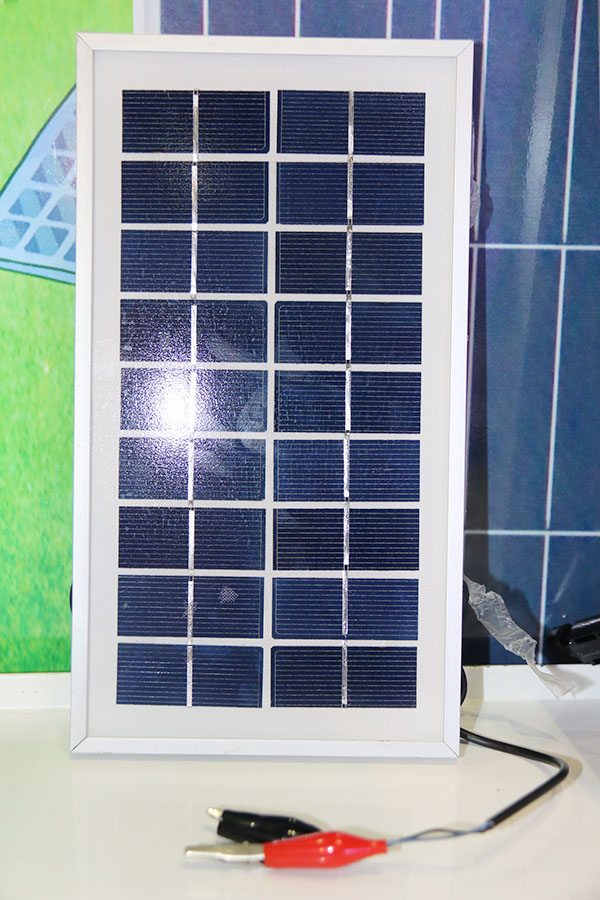
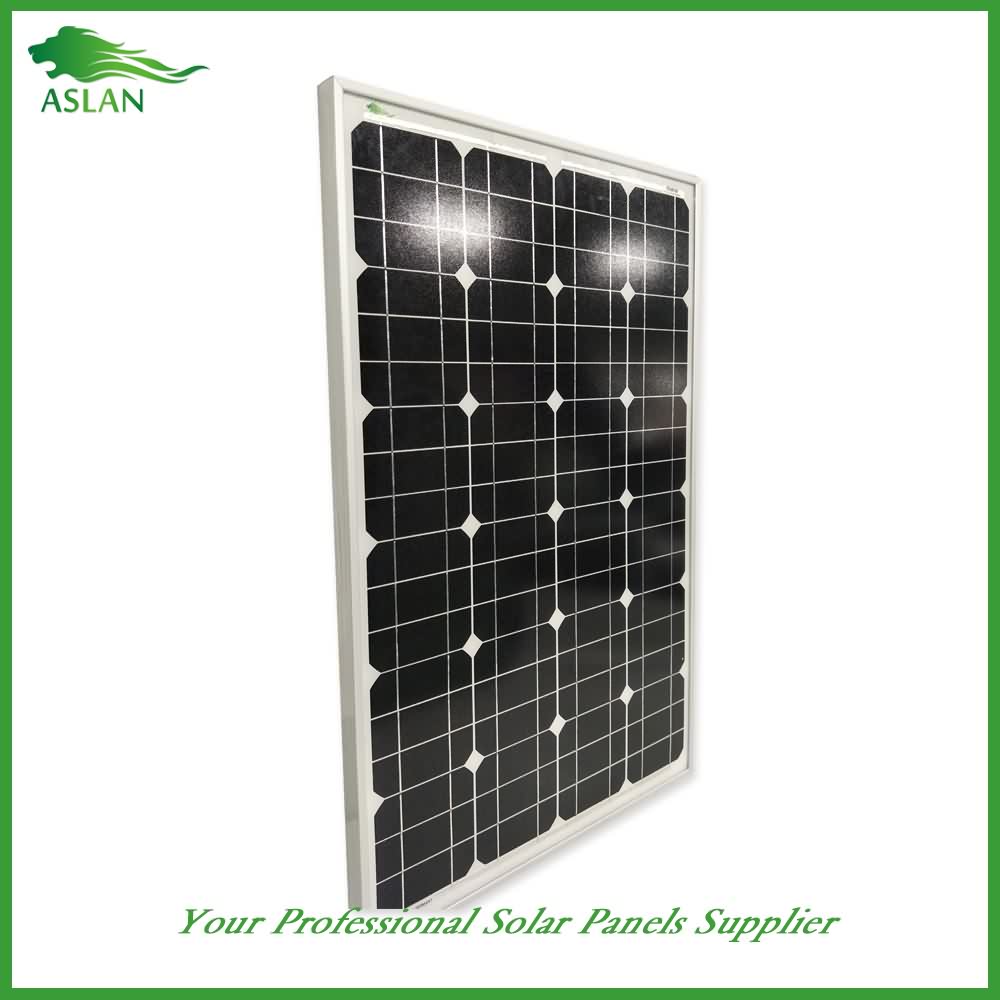
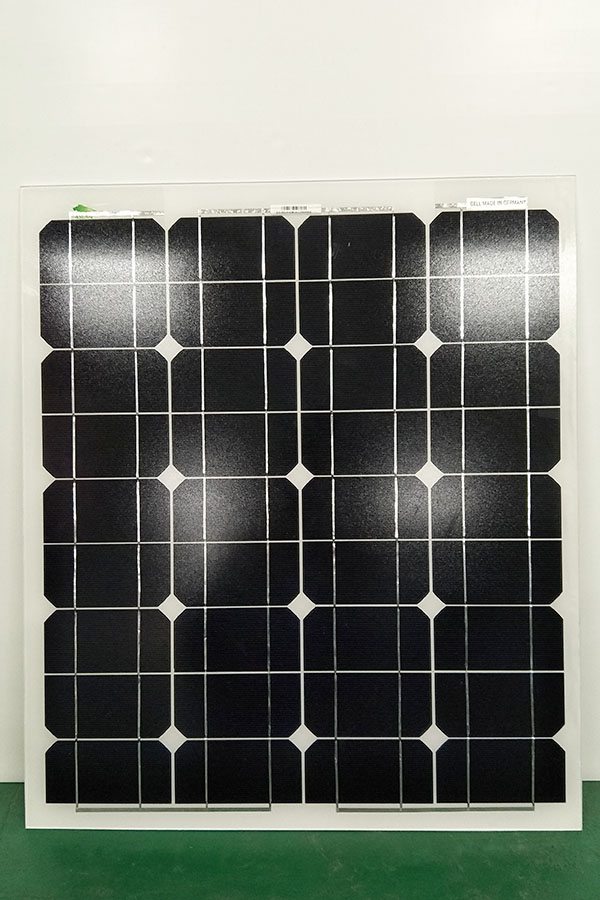
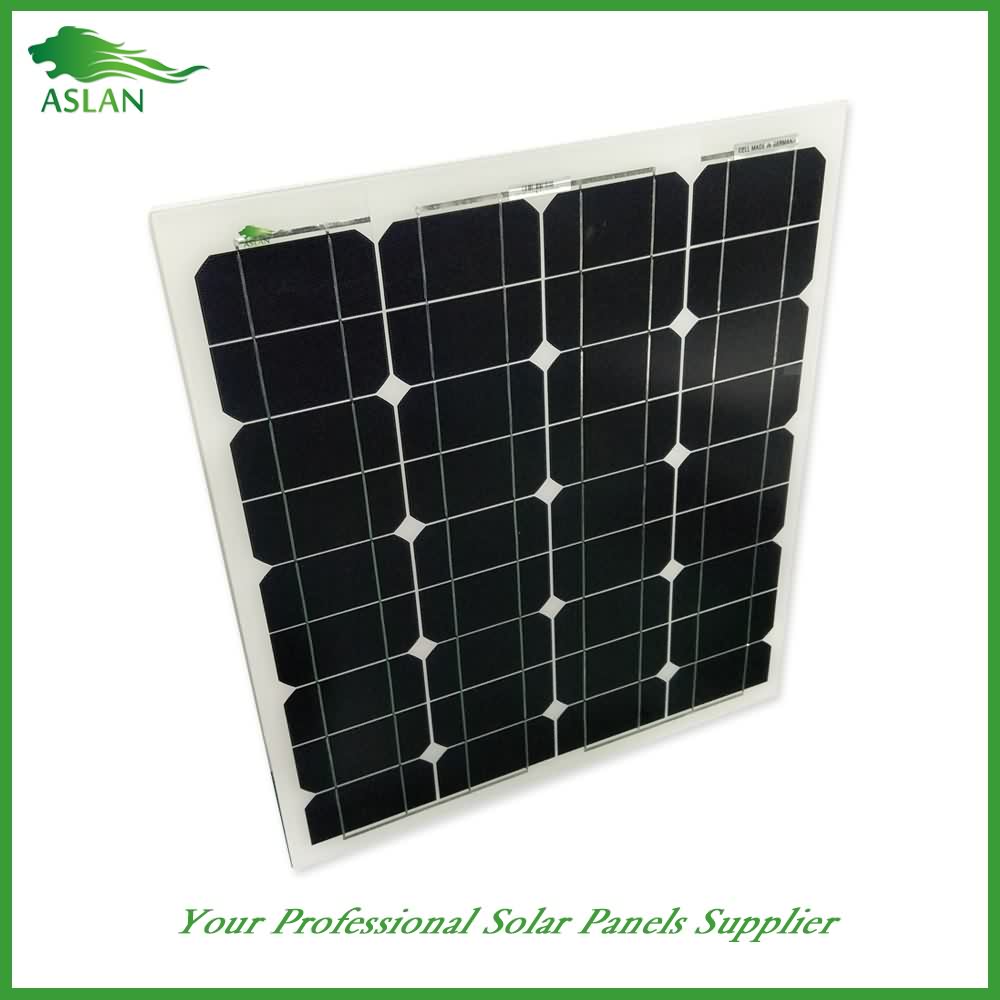
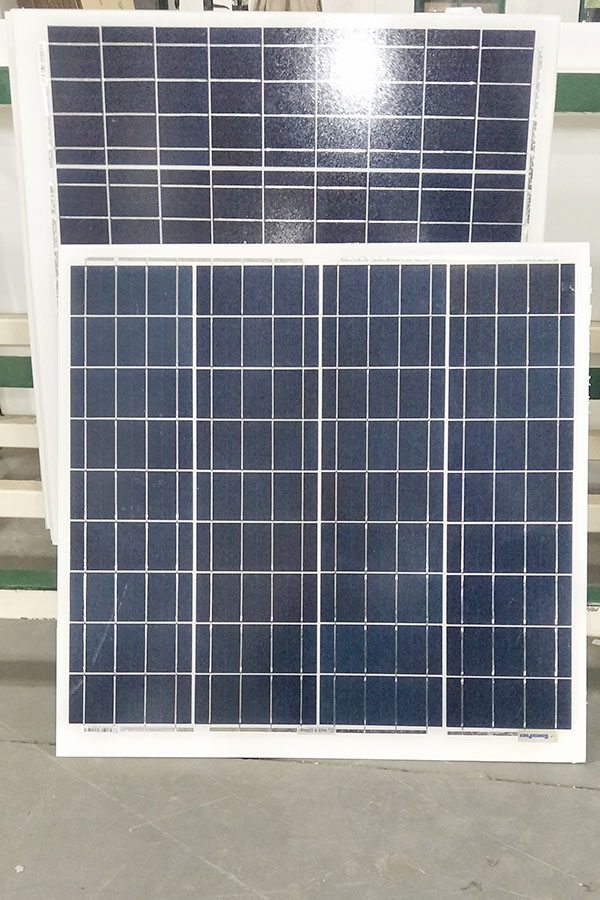
14 Years Manufacturer Poly-crystalline Solar Panel 100W Mauritania Importers
Short Description:
With our rich experience and considerate services, we have been recognized as a reliable supplier for many international buyers for 14 Years Manufacturer Poly-crystalline Solar Panel 100W Mauritania Importers, welcomes all overseas friends and merchants to establish collaboration with us. We will provide you with honest, high quality and efficient service to meet your requirements.
Technical parameter
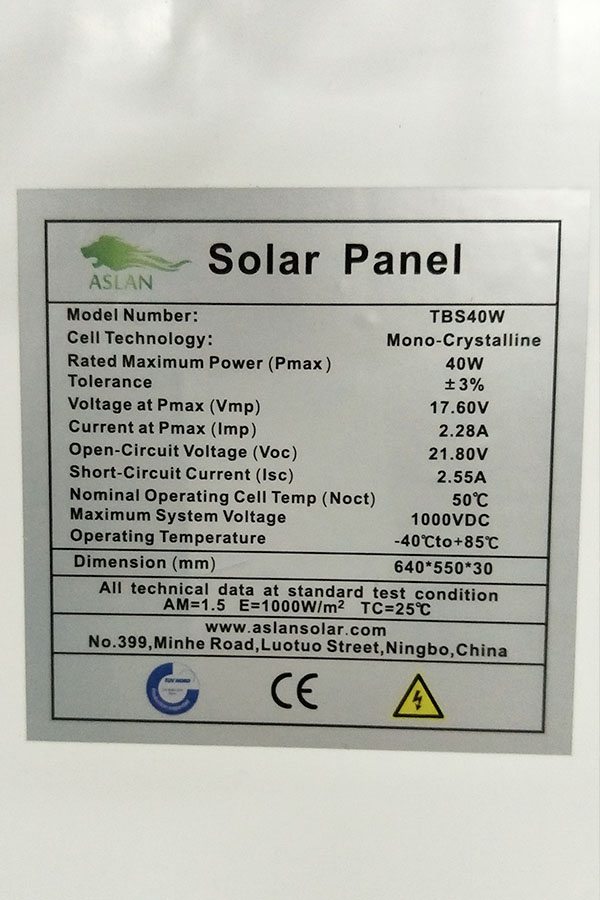
Maximum Power(W) 100W
Optimum Power Voltage(Vmp) 17.87V
Optimum Operating Current(Imp) 5.60A
Open Circuit Voltage(Voc) 21.45V
Short Circuit Current(Isc) 6.17A
Mechanical Characteristics
Cell Type Polycrystalline 156x104mm (6 inch)
No of Cell 36 (4x9pcs)
Dimensions 1120x678x35mm
Weight 9.7KGS
Front Glass 3.2mm,High Transmission, Low Iron,Tempered Glass
Junction box IP65 Rated
Output Cable TUV 1×4.0mm2/UL12AWG,Length:900mm
Temperature and Coefficients
Operating Temperature(°C): -40°C ~ + 85°C
Maximum System Voltage: 600V(UL)/1000V(IEC) DC
Maximum Rated Current Series: 15A
Temperature Coefficients of Pmax: -0.435%
Temperature Coefficients of Voc: -0.35%
Temperature Coefficients of Isc: 0.043%
Nominal Operationg Cell Temperature (NOCT): 47+/-2°C
Materials of solar panel
1).Solar Cell——Polycrystalline solar cell 156*52mm
2).Front Glass——-3.2mm, high transmission, low iron, tempered glass
3).EVA——-excellent anti-aging EVA
4).TPT——-TPT hot seal made of flame resistance
5).Frame——anodized aluminum profile
6).Junction Box——-IP65 rated, high quality, with diode protection
Superiority: high quality anodized aluminum frame, high efficiency long life, easy installation, strong wind resistance, strong hail resistance.
Features
1. High cell efficiency with quality silicon materials for long term output stability
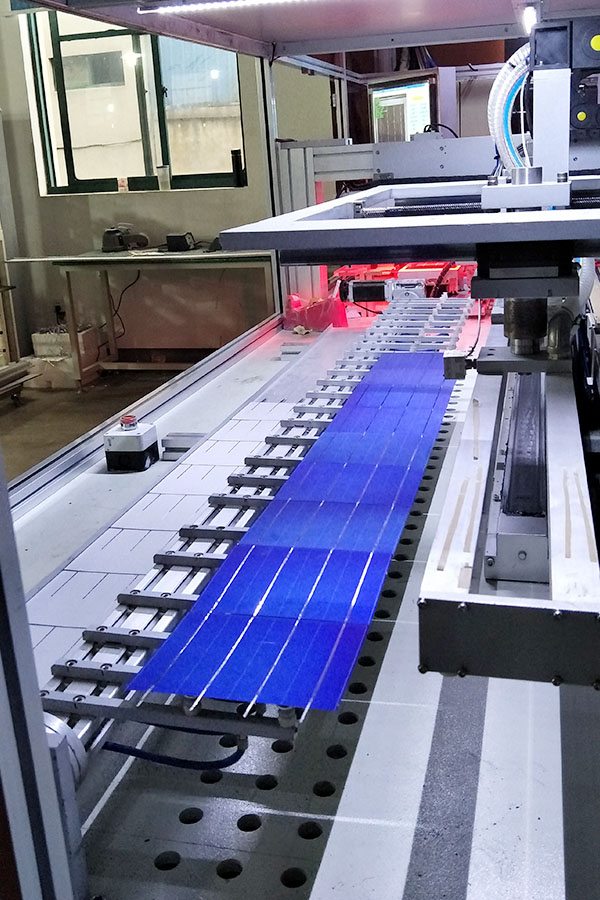
2. Strictly quality control ensure the stability and reliability, totally 23 QC procedures
3. High transmittance low iron tempered glass with enhanced stiffness and impact resistance
4. Both Poly-crystalline and Mono-crystalline
5. Excellent performance in harsh weather
6. Outstanding electrical performance under high temperature and low irradiance
Quality assurance testing
Thermal cycling test
Thermal shock test
Thermal/Freezing and high humidity cycling test
Electrical isolation test
Hail impact test
Mechanical, wind and twist loading test
Salt mist test
Light and water-exposure test
Moist carbon dioxide/sulphur dioxide
This DIY Wood Floating Shelf project is a great one for anyone looking to get into woodworking and for the more advanced, alike. It’s very budget friendly, does not take long to make, and they add a nice touch to any wall. Learn how to make your wood floating shelves!
For more info, project photos, and downloadable plans check out:
http://www.diypete.com/FloatingShelves
Download Plans: http://gumroad.com/l/FloatingShelves
Vinegar and Steel Wool Tutorial Video: https://www.youtube.com/watch?v=tqFnBcKUdhA
*Note that these are affiliate links, meaning that when you buy something that is recommended below, it helps support the Channel. Thanks in advance!
*Tools Needed
Circular Saw – http://amzn.to/1OxNa7k
Table Saw – http://amzn.to/1X7Eje5
Drill – http://amzn.to/1OxMfnt
Kreg Jig – http://amzn.to/1X7Bd9H
Nail Gun – http://amzn.to/1R0RUDB
Clamps – http://amzn.to/1LwiDEs
Cut All of the Wood Pieces
We’ll start this project by marking and making cuts for all of the different pieces for the wood floating shelf. It basically consists of the 2×4 wood frame that screws into the studs in your wall and also the cedar picket shelf box that slides onto the frame. Take a look at the cut list in the free plans for dimensions and guidance. Sand the boards, once they’re cut to size.
Start Assembly, Making the Frame First
Once you have all of your pieces, we’ll make the 2×4 wood frame that’ll screw into the wall. Kreg Jig (pocket hole joinery) the short boards onto the longer board. Also screw in 3” wood screws from the opposite side, for more security. This frame will be completely hidden on the inside of the cedar shelf box, so once it’s made there is no need to finish this. You can leave it all rough.
Assemble the Cedar Box Shelf
Then we’ll put together the cedar box that will slide over the 2×4 frame, becoming the main shelf and the most visible part of this project. Dry fit all of the pieces to make sure your cuts were accurate, then add wood glue to the joints. Nail everything together with 1 ¼” nails and then let the glue dry.
Sand, Finish, and Let Cure
Sand the cedar box down to at least 220 grit with your orbital sander. The finishing process that I did for this project was the steel wool and vinegar solution/stain. Let your solution work its magic for a while and once to the desired color, seal it all up with a water-based spray polyurethane. The water-based sealer ensures that you won’t change the effect, patina, and color of the steel wool and vinegar solution.
Install the 2×4 Frame and the Cedar Shelf
Once the finishing process is done and everything has dried to the manufacturer’s recommended time, we can install it! We’ll first find the studs in the wall, should be about 16” apart. Then we’ll screw the 2×4 frame into the wall with 2 3” wood screws for each connection to the stud. Slide the cedar box shelf on and you’re done!
*Note: If you’re wanting a more secure shelf (maybe the kids could pull the shelf off of the frame) you can simply screw the shelf onto the 2×4 frame from the underside or topside.
Enjoy!
You’ve done the work, now reap the benefits of your DIY Wood Floating Shelf or Shelves, in my case. Add what you want to them and share this project with your friends. Thanks for following along and be sure to check out the free, downloadable plans.
–
Looking for more DIY videos? Be sure to check out our channel and subscribe for updates! We post a weekly tutorial every Thursday.
Looking for woodworking, concrete working, and other DIY projects plans to follow? You can download plans for free at http://gumroad.com/DIYPETE
Facebook: http://facebook.com/DiyProjectsWithPete
Instagram: http://instagram.com/diypete
DIYPETE.com
1627 W Main Street Suite 182
Bozeman, Montana 59715
Maintaining my solar setup, that makes hot water from about april to sometimes oktober. But I did not build it perfect,,, so it leaks ever so slightly. So just about every year, I refill the system.
Link – Solar Water Heater Systems : http://amzn.to/2scJEdG
Link – Solar Water Heater Controller : http://amzn.to/2sA9BRJ
__________________________________________________________________
http://www.patreon.com/myplayhouse
Even just 1$ a month, comes out to the same as Binge-watching all of my 500+ Videos every month.
My PlayHouse is a channel where i will show, what i am working on. I have this house, it is 168 Square Meters / 1808.3ft² and it is full, of half-finished projects.
I love working with heating, insulation, Servers, computers, Datacenter, green power, alternative energy, solar, wind and more. It all costs, but I’m trying to get the most out of my money, and my time.
