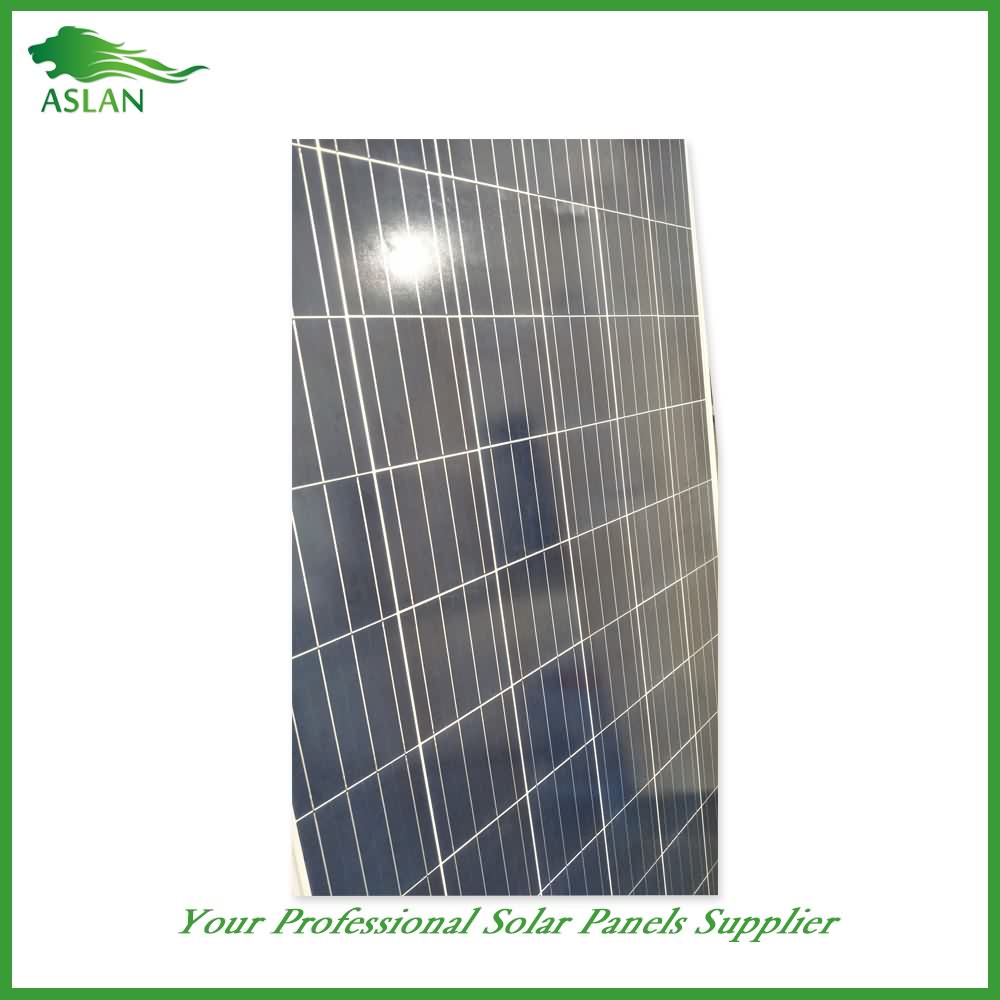
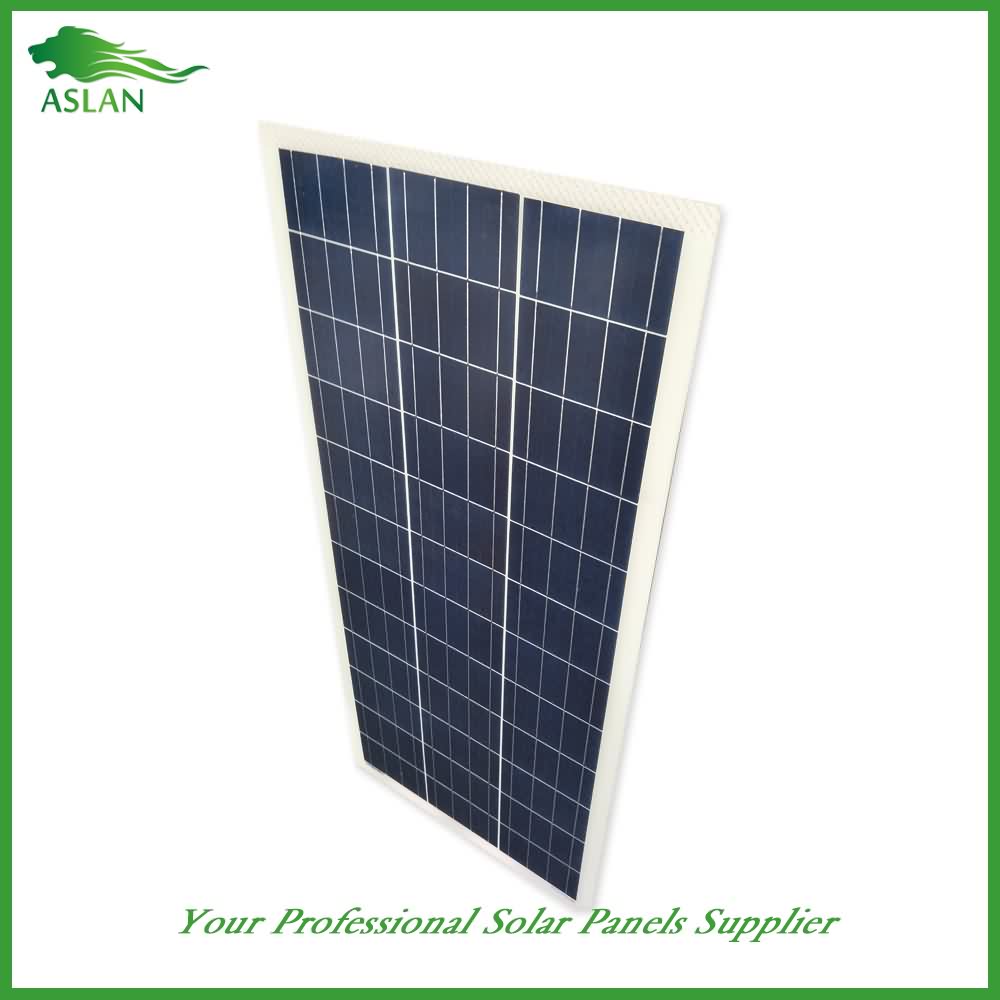
14 Years manufacturer Mono-Crystalline 50W Solar Panel Manufacturer in Qatar
Short Description:
We stick to the principle of "quality first, service first, continuous improvement and innovation to meet the customers" for the management and "zero defect, zero complaints" as the quality objective. To perfect our service, we provide the products with the good quality at the reasonable price for 14 Years manufacturer Mono-Crystalline 50W Solar Panel Manufacturer in Qatar, We will do our best to meet your requirements and are sincerely looking forward to developing mutual beneficial business relationship with you!
Technical parameter
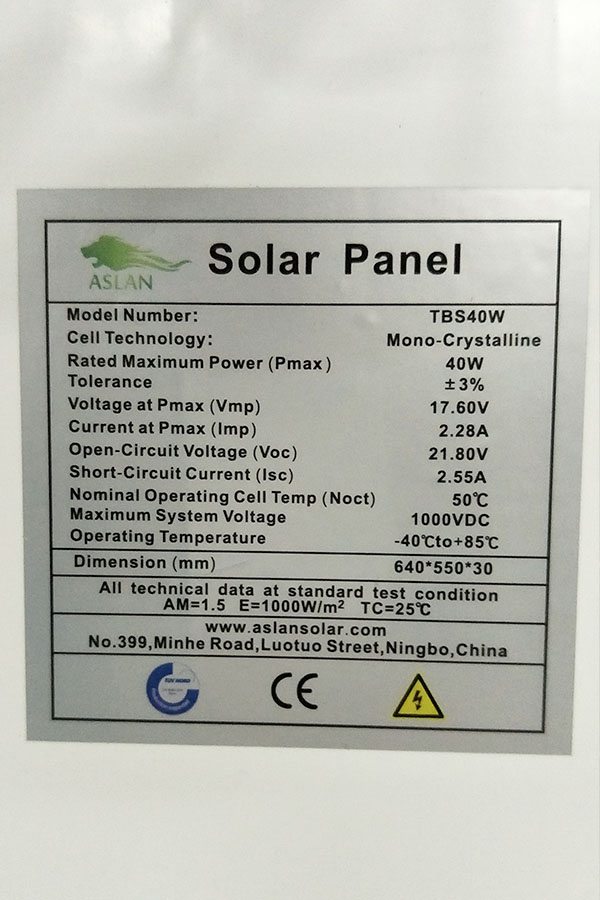
Maximum Power(W) 50W
Optimum Power Voltage(Vmp) 18.72V
Optimum Operating Current(Imp) 2.67A
Open Circuit Voltage(Voc) 22.83V
Short Circuit Current(Isc) 2.94A
Mechanical Characteristics
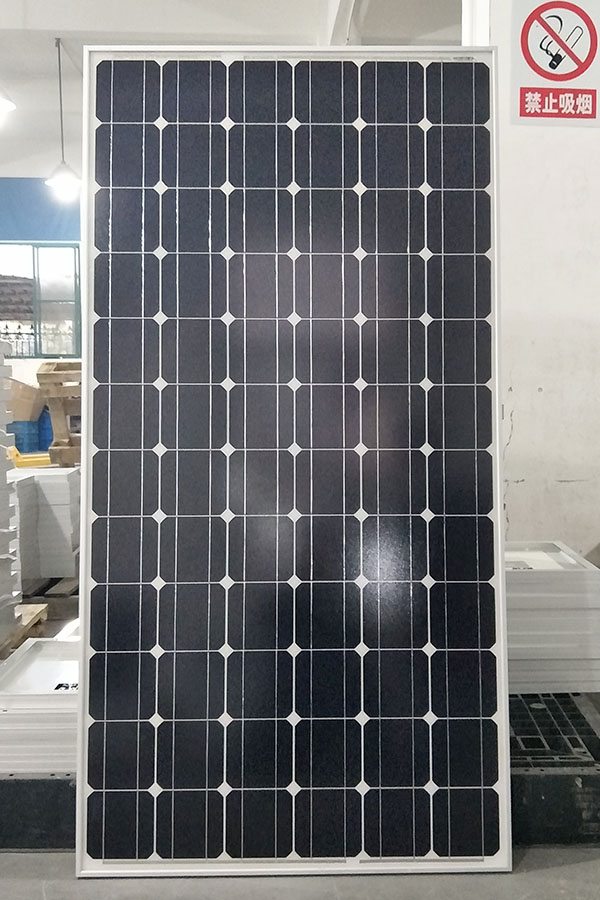
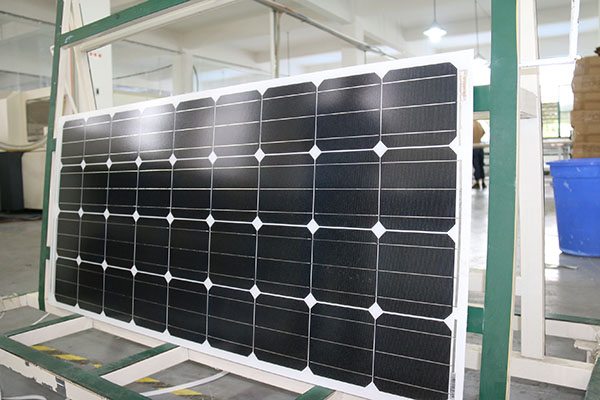
Cell Type Monocrystalline 125×62.5mm
No of Cell 36 (4x9pcs)
Dimensions 636x554x25mm
Weight 4.2Kg
Front Glass 3.5mm,High Transmission, Low Iron,Tempered Glass
Junction box IP65 Rated
Output Cable TUV 1×4.0mm2/UL12AWG,Length:900mm
Temperature and Coefficients
Operating Temperature(°C): -40°C ~ + 85°C
Maximum System Voltage: 600V(UL)/1000V(IEC) DC
Maximum Rated Current Series: 15A
Temperature Coefficients of Pmax: -0.47%
Temperature Coefficients of Voc: -0.389%
Temperature Coefficients of Isc: 0.057%
Nominal Operationg Cell Temperature (NOCT): 47+/-2°C
Materials of solar panel
1).Solar Cell——Mono-crystalline solar cell 125*125mm
2).Front Glass——-3.2mm, high transmission, low iron, tempered glass
3).EVA——-excellent anti-aging EVA
4).TPT——-TPT hot seal made of flame resistance
5).Frame——anodized aluminum profile
6).Junction Box——-IP65 rated, high quality, with diode protection
Superiority: high quality anodized aluminum frame, high efficiency long life, easy installation, strong wind resistance, strong hail resistance.
Features
1. High cell efficiency with quality silicon materials for long term output stability
2. Strictly quality control ensure the stability and reliability, totally 23 QC procedures
3. High transmittance low iron tempered glass with enhanced stiffness and impact resistance
4. Both Poly-crystalline and Mono-crystalline
5. Excellent performance in harsh weather
6. Outstanding electrical performance under high temperature and low irradiance
Quality assurance testing
Thermal cycling test
Thermal shock test
Thermal/Freezing and high humidity cycling test
Electrical isolation test
Hail impact test
Mechanical, wind and twist loading test
Salt mist test
Light and water-exposure test
Moist carbon dioxide/sulphur dioxide
How to Build a Solar Panel?
Do you want to get clean, renewable energy for free? Cut down on your monthly power bill? Try making your own solar panels! These cost a fraction of commercial panels and work great! Get started with Step 1 below to make your own.
Purchase the cells. There are a few different types of solar cells to buy, but the best cost-to-efficiency option will be polycrystalline cells. Buy however many you need for how much energy/wattage you’re looking to produce. The specs should be listed when you purchase the cells.
Measure and cut a board. You will need a thin board made out of a non-conductive material to attach the cells to. Lay out the cells in the arrangement you will use, then measure the dimensions and cut a board to that size.
Measure and cut all of your tabbing wire. When you look at your polycrystalline cells, you’ll see a large number of small lines going in one direction (the long distance) and two larger lines going in the other direction (the short distance). You will need to connect tabbing wire to run down the two larger lines and connect to the back of the next cell in the array. Measure the length of that larger line, double the length, and then cut two pieces for each cell.
Heat the first half of a tabbing wire on top of the soldered squares/strip to bond it to the cell. Repeat for other strips.
Glue the cells to the board. Put a small amount of glue at the back-center of the cells and then press them into place on the board. The tabbing wire should run in a single, straight line through each row. Make sure the ends of the tabbing wire are coming up between the cells and are free to move, with just the two pieces sticking up between each cell. Keep in mind that one row will have to run in the direction opposite to the one next to it, so that the tabbing wire sticks out at the end of one row and on the opposite side of the next.
Solder the cells together. Apply flux to the length of the two thick lines (contact pads) on each cell, then take the free sections of tabbing wire and solder them to the entire length of the pads. Note: The tabbing wire connected to the back of one cell should connect to the front of the next cell in every case.
Connect the first row using bus wire. At the beginning of the first row, solder tabbing wire to the front of the first cell. The tabbing wire should be about an inch longer than needed to cover the lines, and extend towards the extra gap on the board. Now, solder those two wires together with a piece of bus wire, the same size as the distance between the thick lines of the cell.
Connect the second row. Connect the end of the first row to the beginning of the second with a long piece of bus wire which extends between the two far thick wires (the one at the edge of the panel and the second being the furthest away in the next row). You will need to prepare the first cell of the second row with extra tabbing wire, as you did with the first.
Continue connecting the rows. Continue connecting the rows with the long bus wires until you reach the end, where you will connect it with a short bus wire again.
Connect your panel to a charge controller. Purchase a charge controller and connect the panel to the controller, making sure to connect the positive and negative correctly. Run the wires from the terminal block to the charge controller, using color coded wire to keep track of the charges.
Connect the charge controller to your batteries. Buy batteries which will work with the size of the panels you built. Connect the charge controller to the batteries according to the manufacturer’s instructions.
Use the batteries. Once you have the batteries connected and charged from the panel or panels, you can run your electronics off of the batteries depending on the amount of power you need for them. Enjoy your free power!
MENTIONED IN THIS VIDEO: http://amzn.to/2sPU6aE
This is our un-boxing and review of the POWEROAK Powerhouse Compact 400Wh 12.3lb Portable Outlet, Power Source Generator Lithium-ion Power Supply for Camping Emergency Backup with Silent DC/AC Power Inverter, 12V Car, AC & USB Output