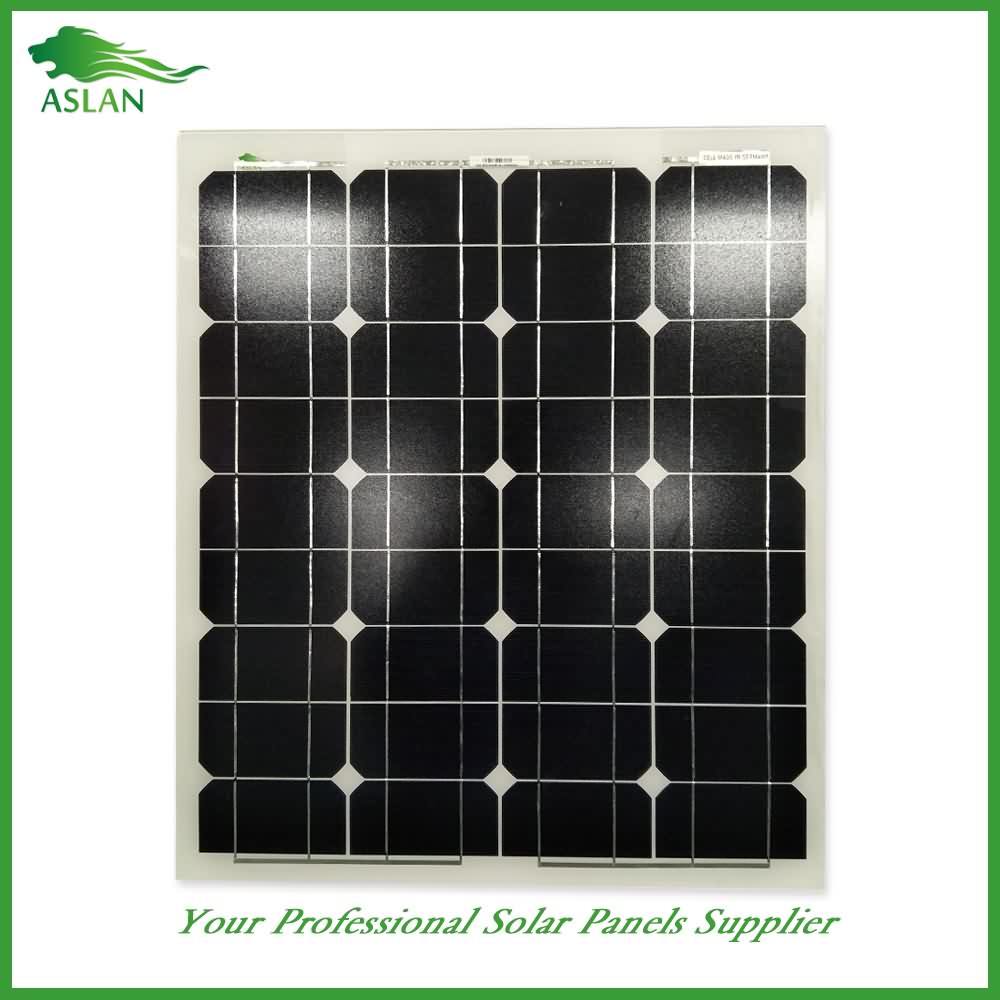
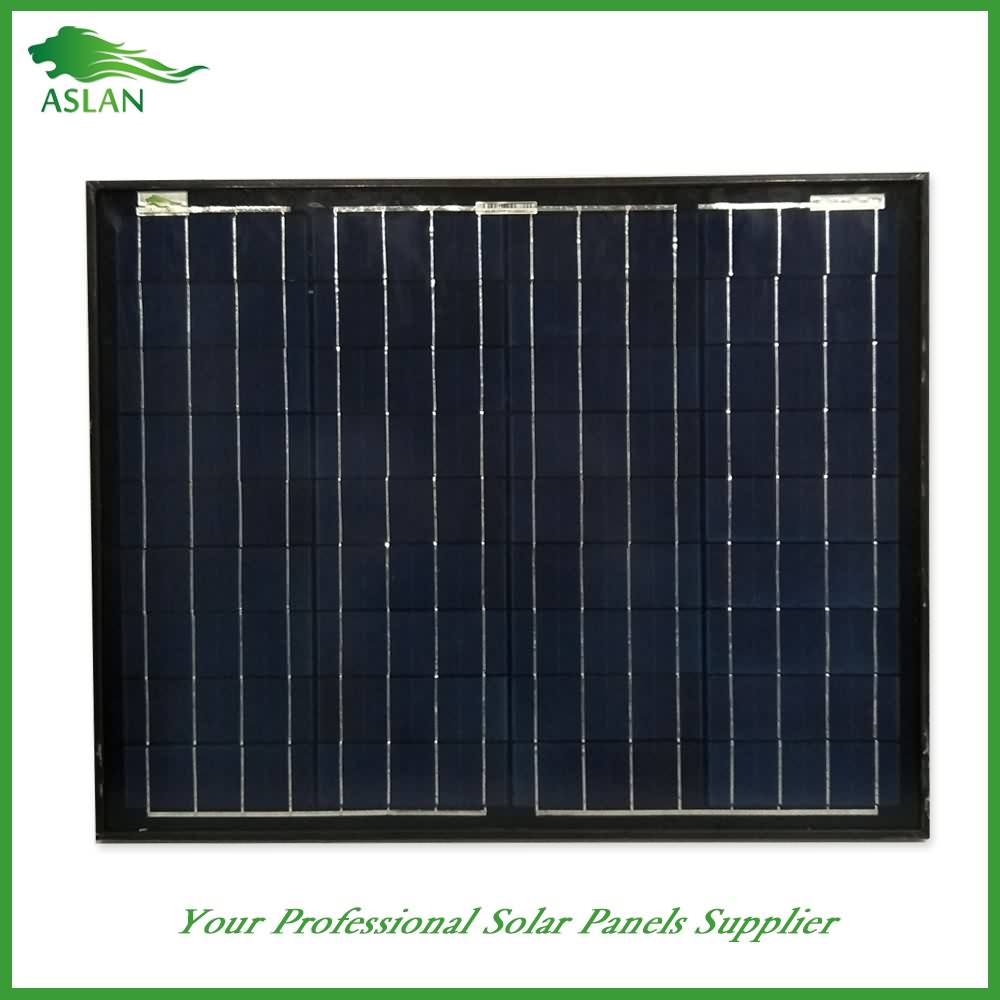
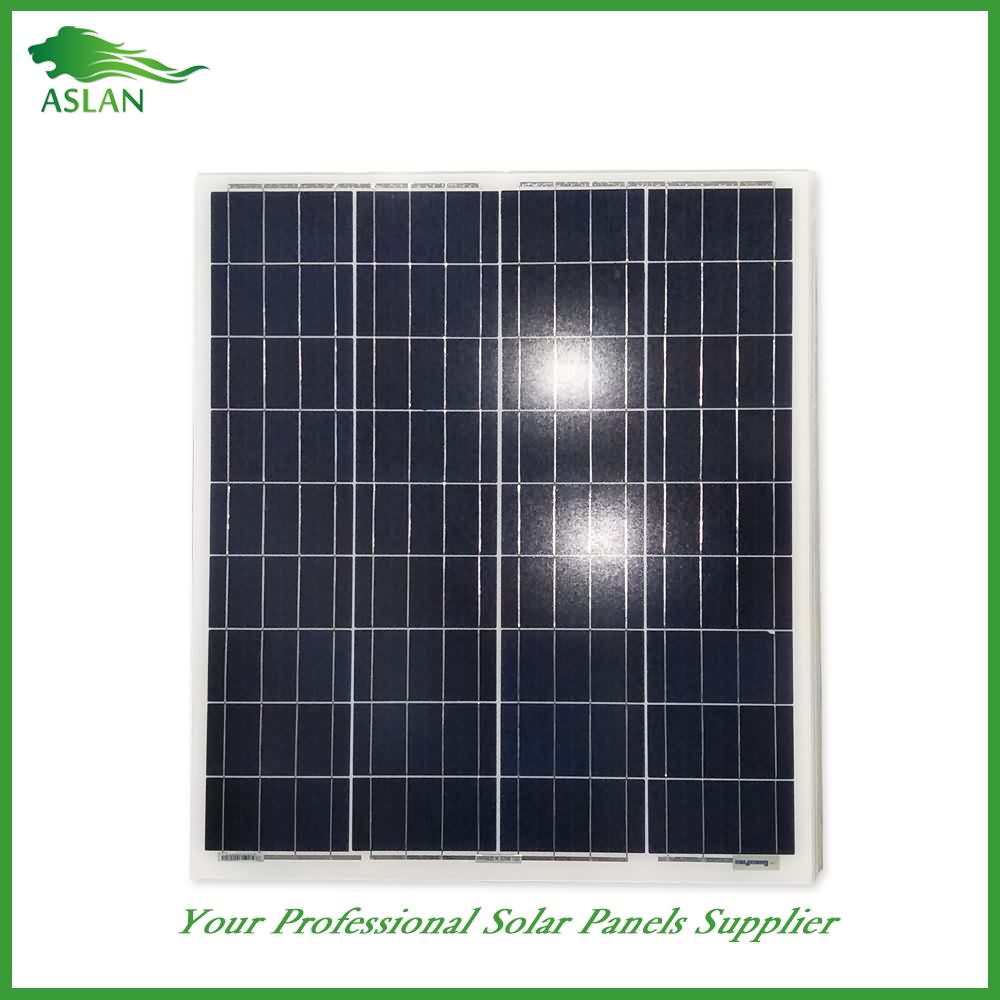
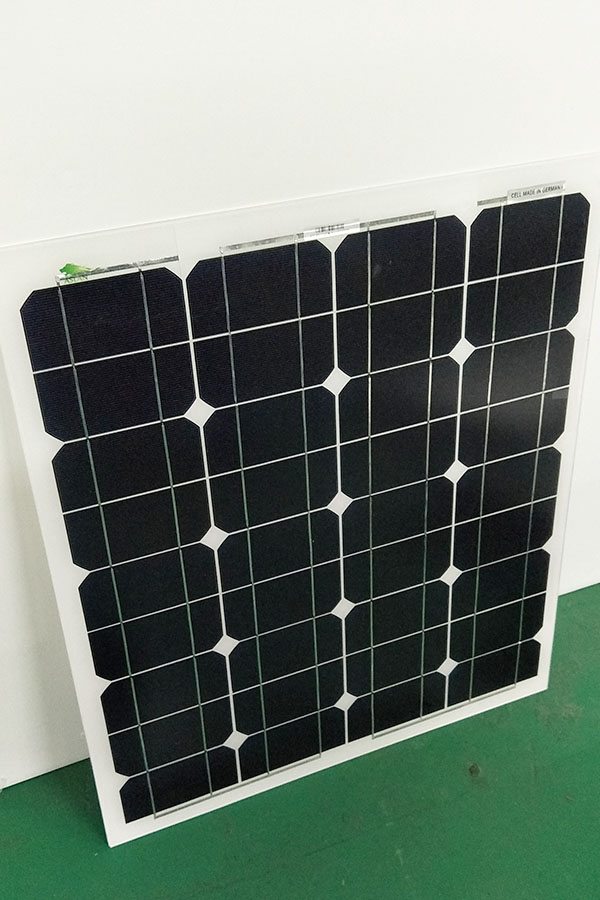
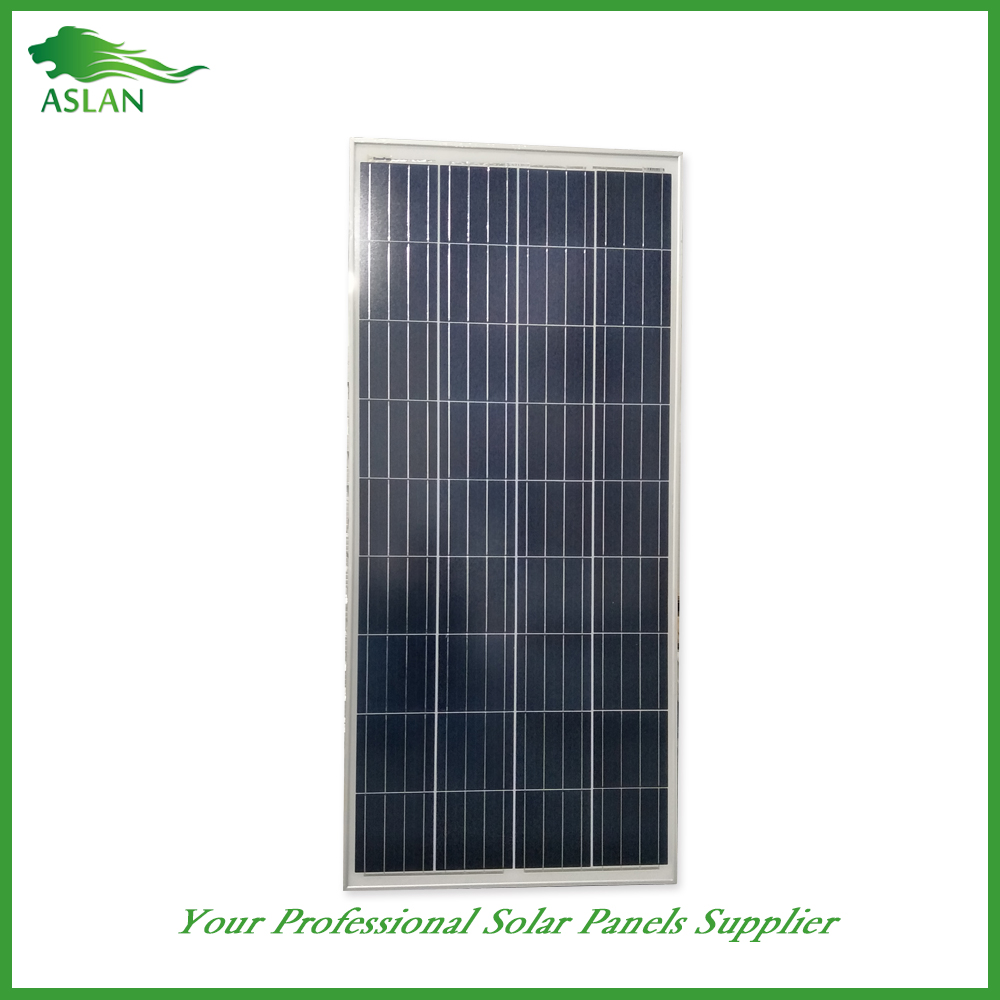
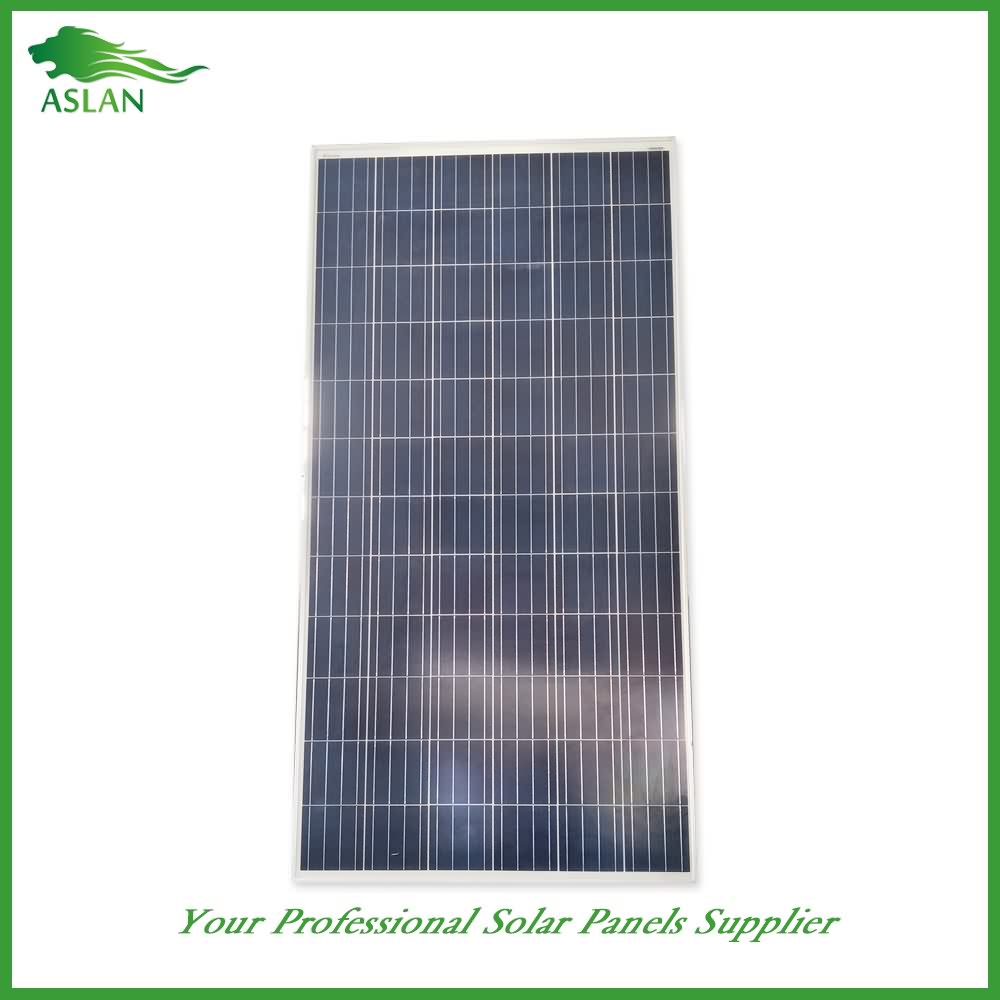
13 Years Manufacturer Mono-Crystalline 40W Solar Panel Porto Manufacturer
Short Description:
Fast and good quotations, informed advisers to help you choose the correct product that suits all your needs, a short production time, responsible quality control and different services for paying and shipping affairs for 13 Years Manufacturer Mono-Crystalline 40W Solar Panel Porto Manufacturer, Welcome your visiting and any your inquires,sincerely hope we can have chance to cooperate with you and we can build up long well business relationship with you.
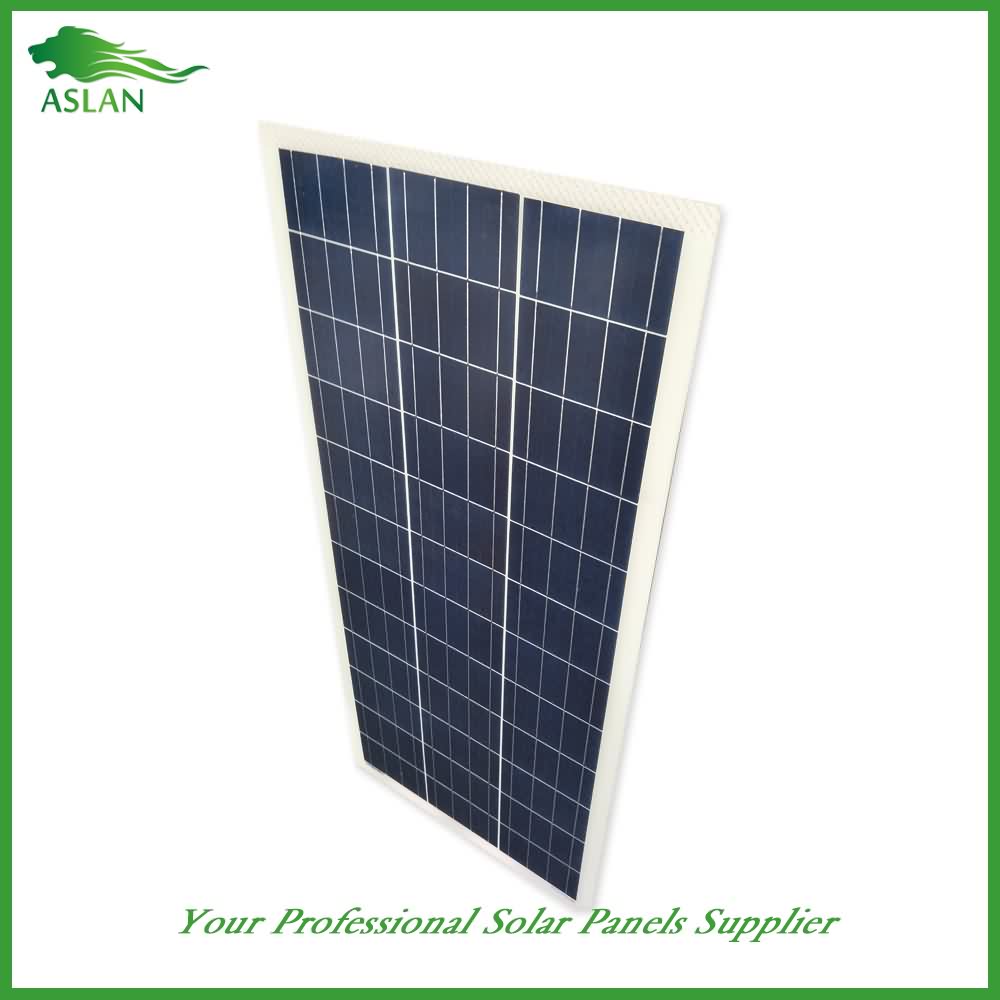
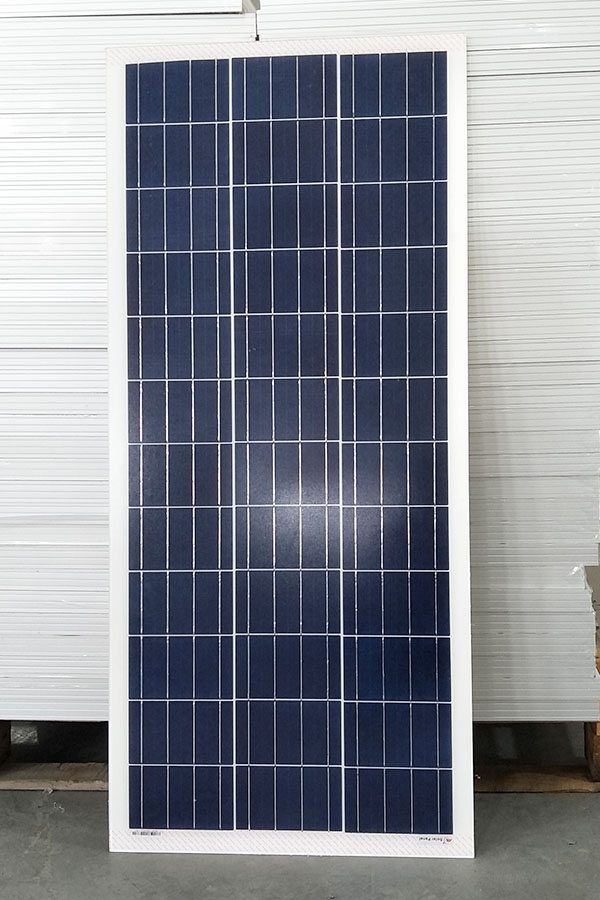
Mono-Crystalline 40W Solar Panel
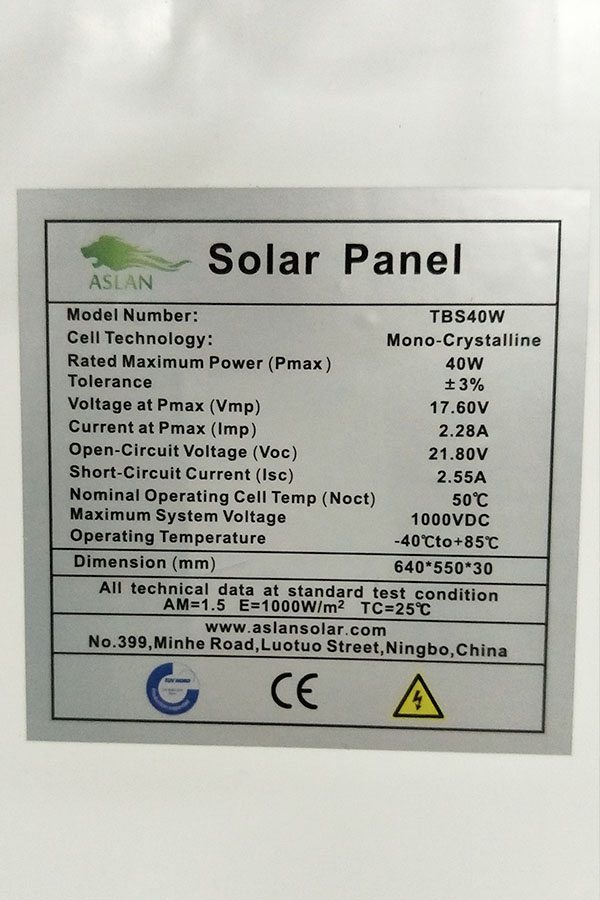
Technical parameter
Maximum Power(W) 40W
Optimum Power Voltage(Vmp) 18.21V
Optimum Operating Current(Imp) 2.20A
Open Circuit Voltage(Voc) 21.83V
Short Circuit Current(Isc) 2.40A
Mechanical Characteristics
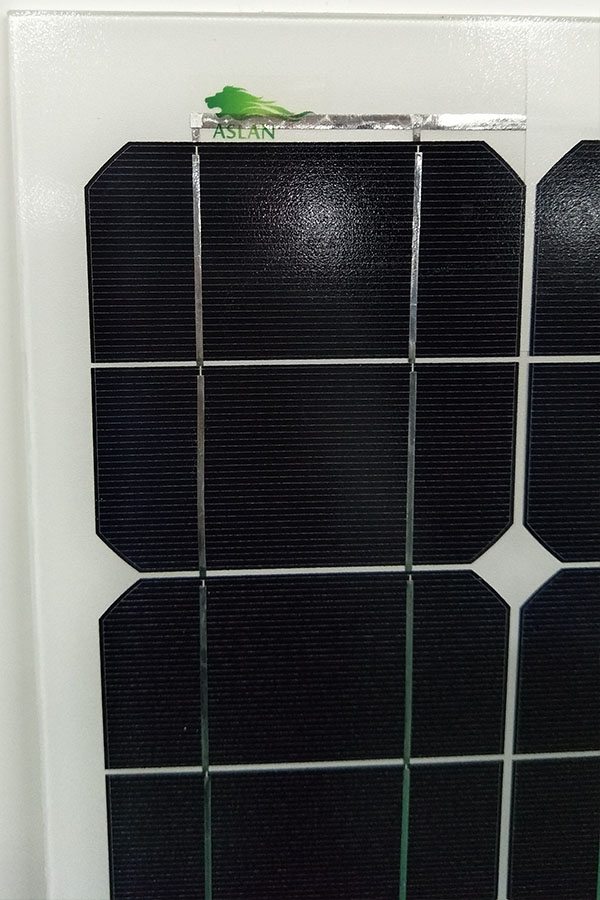
Cell Type Mono-crystalline 125×62.5mm
No of Cell 36 (4x9pcs)
Dimensions 636x554x25mm
Weight 4.2Kg
Front Glass 3.5mm,High Transmission, Low Iron,Tempered Glass
Junction box IP65 Rated
Output Cable TUV 1×4.0mm2/UL12AWG,Length:900mm
Temperature and Coefficients
Operating Temperature(°C): -40°C ~ + 85°C
Maximum System Voltage: 600V(UL)/1000V(IEC) DC
Maximum Rated Current Series: 15A
Temperature Coefficients of Pmax: -0.47%
Temperature Coefficients of Voc: -0.389%
Temperature Coefficients of Isc: 0.057%
Nominal Operationg Cell Temperature (NOCT): 47+/-2°C
Materials of solar panel
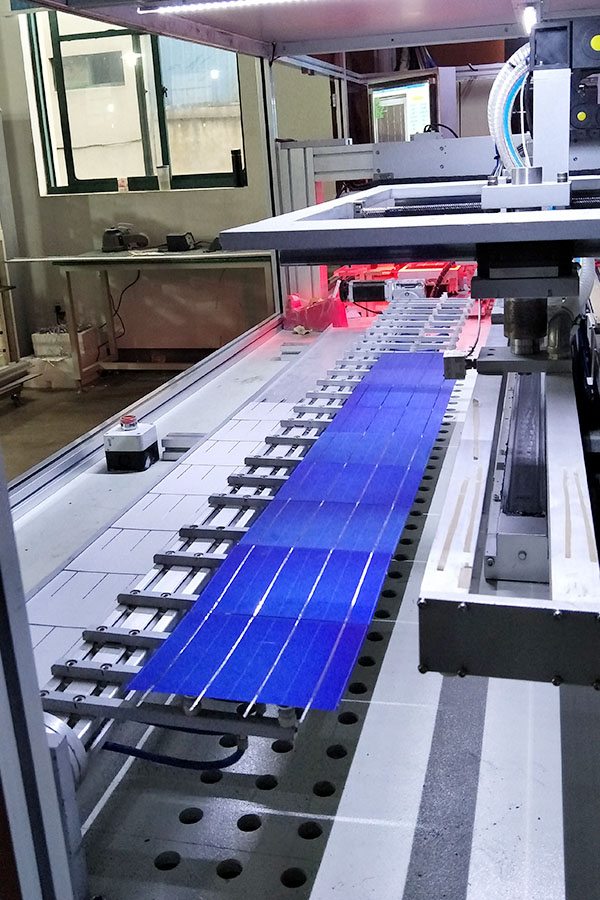
1).Solar Cell——Mono-crystalline solar cell 125*62.5mm
2).Front Glass——-3.2mm, high transmission, low iron, tempered glass
3).EVA——-excellent anti-aging EVA
4).TPT——-TPT hot seal made of flame resistance
5).Frame——anodized aluminum profile
6).Junction Box——-IP65 rated, high quality, with diode protection
Superiority: high quality anodized aluminum frame, high efficiency long life, easy installation, strong wind resistance, strong hail resistance.
Features
1. High cell efficiency with quality silicon materials for long term output stability
2. Strictly quality control ensure the stability and reliability, totally 23 QC procedures
3. High transmittance low iron tempered glass with enhanced stiffness and impact resistance
4. Both Poly-crystalline and Mono-crystalline
5. Excellent performance in harsh weather
6. Outstanding electrical performance under high temperature and low irradiance
Quality assurance testing
Thermal cycling test
Thermal shock test
Thermal/Freezing and high humidity cycling test
Electrical isolation test
Hail impact test
Mechanical, wind and twist loading test
Salt mist test
Light and water-exposure test
Moist carbon dioxide/sulphur dioxide
This video is about how to add a Mini DC Voltmeter to an inexpensive Solar Charge Controller
I purchased this solar charge controller from Amazon mostly because it was the least expensive one that I thought would do the job.
When checking it out I discovered that the ‘charging LED’ would light up whenever voltage was applied to the terminals regardless of whether the voltage was too low to actually charge the batter.
I decided I needed a way to monitor the voltage coming from the solar panel to be sure it was actually enough.
I had a mini DC voltmeter and decided to see if I could figure out a way to use it to measure the solar panel voltage. I open the case on the charge controller and found I could fit the the meter inside the case.
It was a simple matter to scribe and then cut the opening with a sharp knife. I used hot melt glue on the inside to secure the voltmeter in place. Then soldered the to meter leads to the underside of the circuit board.
Obviously you can get charge controllers that have a voltmeter built in for not much more money and if I had to do it again I would spend the few extra dollars.
But it was a quick, easy and fun project and now I can see when my solar panel is actually charging.
Thanks for watching and if you liked the video please give it a thumbs up and share it.
Este proyecto tiene como objetivo primordial, mostrar el funcionamiento básico de un inversor y como conectarlo para que funcione como UPS. este tutorial se encuentra en http://construyasuvideorockola.com/proyecto_inversor_01.php
Lean el artículo escrito y al final encontrarán un PDF que podrán descargar gratis para realizar este proyecto.
