11 Years Factory Poly-crystalline Solar Panel 2W to Colombia Factories
Short Description:
We stick to the principle of "quality first, service first, continuous improvement and innovation to meet the customers" for the management and "zero defect, zero complaints" as the quality objective. To perfect our service, we provide the products with the good quality at the reasonable price for 11 Years Factory Poly-crystalline Solar Panel 2W to Colombia Factories, We warmly welcome friends from all walks of life to seek mutual cooperation and create a more brilliant and splendid tomorrow.
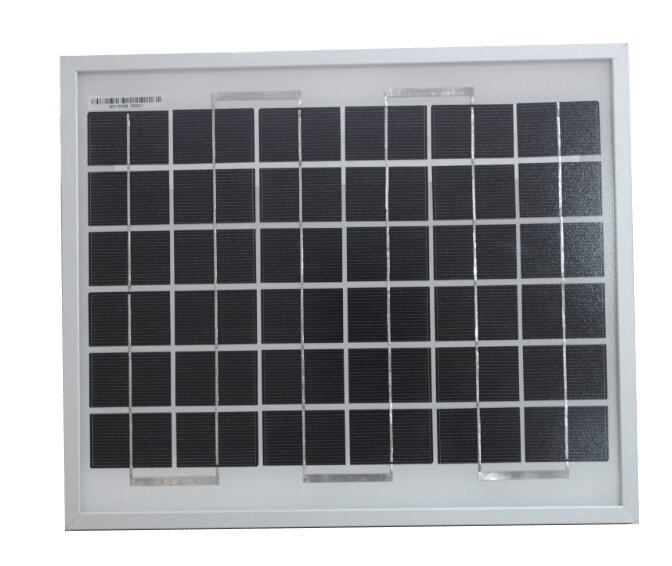
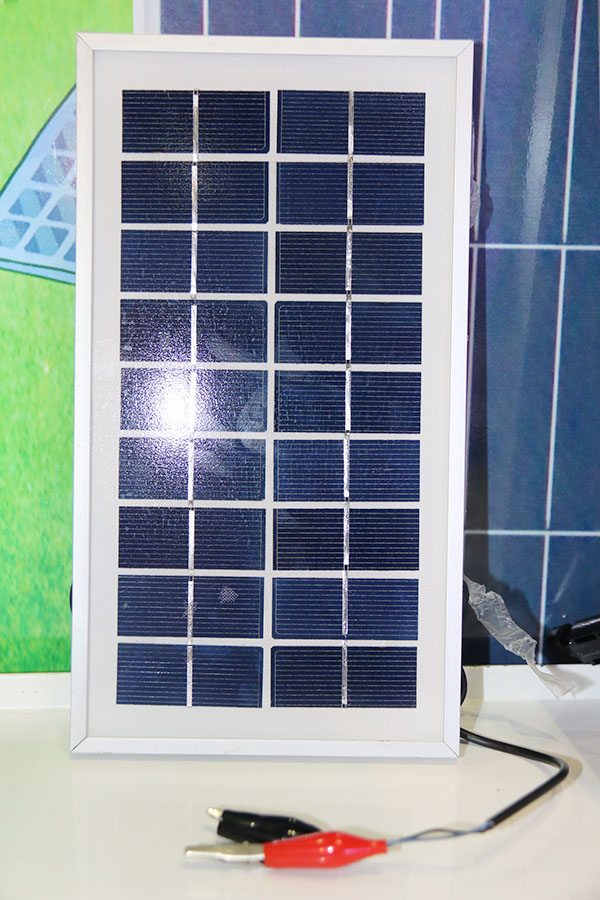
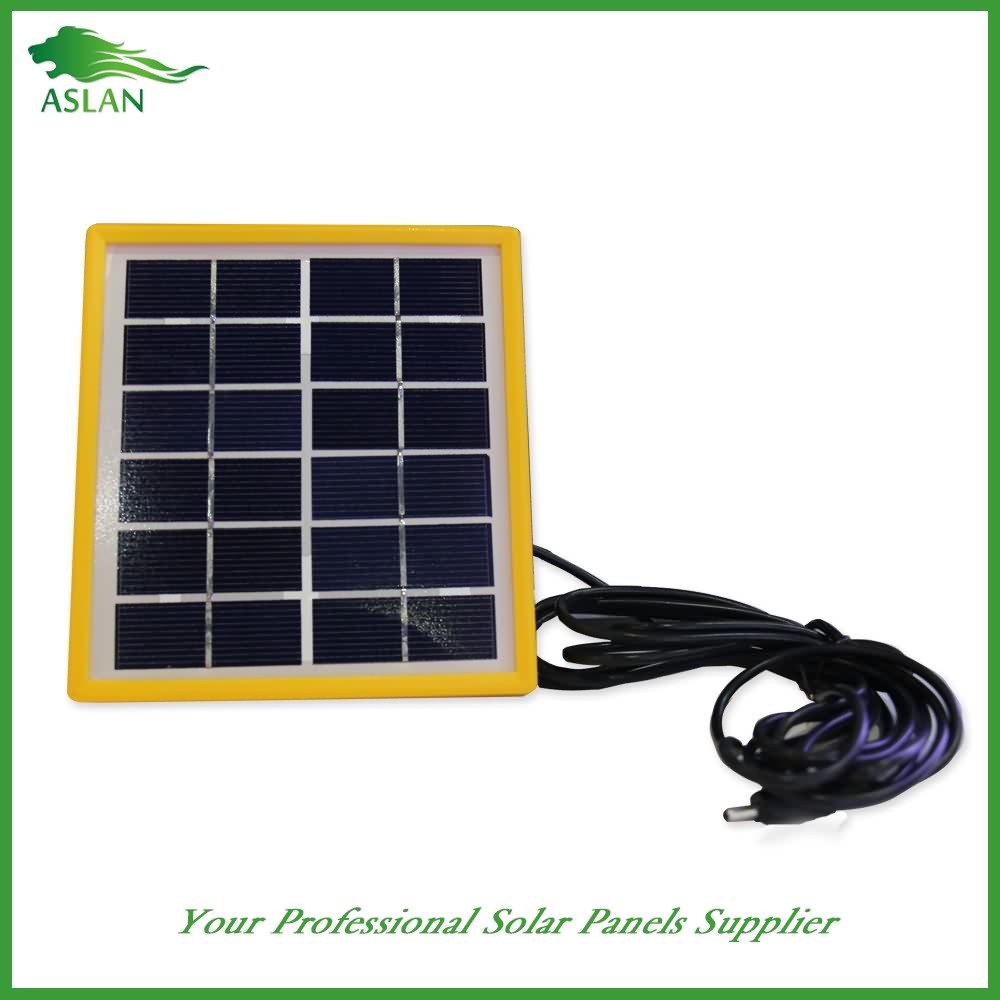
Poly-crystalline Solar Panel 2W
Technical parameter
Maximum Power(W) 2W
Optimum Power Voltage(Vmp) 6V
Optimum Operating Current(Imp) 0.34A
Open Circuit Voltage(Voc) 7.2V
Short Circuit Current(Isc) 0.37A
Mechanical Characteristics
Cell Type Polycrystalline
No of Cell 12 (2x6pcs)
Dimensions 145x145x18mm
Weight 0.4KGS
Front Glass 3.2mm, High Transmission, Low iron, tempered Glass
Temperature and Coefficients
Operating Temperature(°C): -40°C ~ + 85°C
Maximum System Voltage: 600V(UL)/1000V(IEC) DC
Maximum Rated Current Series: 10A
Temperature Coefficients of Pmax: -0.435%
Temperature Coefficients of Voc: -0.35%
Temperature Coefficients of Isc: 0.043%
Nominal Operating Cell Temperature (NOCT): 47+/-2°C
Materials of solar panel
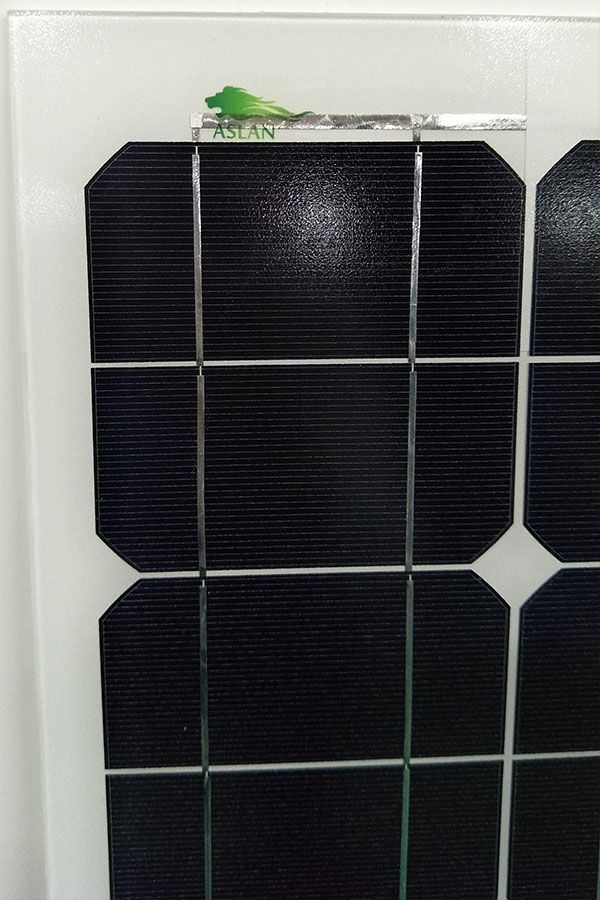
1).Solar Cell——Polycrystalline solar cell 156*156mm
2).Front Glass——-3.2mm, high transmission, low iron, tempered glass
3).EVA——-excellent anti-aging EVA
4).TPT——-TPT hot seal made of flame resistance
5).Frame——anodized aluminum profile
6).Junction Box——-IP65 rated, high quality, with diode protection
Superiority: high quality anodized aluminum frame, high efficiency long life, easy installation, strong wind resistance, strong hail resistance.
Features
1. High cell efficiency with quality silicon materials for long term output stability
2. Strictly quality control ensure the stability and reliability, totally 23 QC procedures
3. High transmittance low iron tempered glass with enhanced stiffness and impact resistance
4. Both Poly-crystalline and Mono-crystalline
5. Excellent performance in harsh weather
6. Outstanding electrical performance under high temperature and low irradiance
Quality assurance testing
Thermal cycling test
Thermal shock test
Thermal/Freezing and high humidity cycling test
Electrical isolation test
Hail impact test
Mechanical, wind and twist loading test
Salt mist test
Light and water-exposure test
Moist carbon dioxide/sulphur dioxide
How to Build a Solar Panel
00:00:32 Part 1 Assembling the Pieces
00:00:39 1 – Purchase the cells
00:01:13 2 – Measure and cut a board
00:01:47 3 – Measure and cut all of your tabbing wire
00:02:28 4 – Use the flux pen on each of the three squares (or strip) of each line (usually 2 or 3 lines) on the back of the cell
00:02:44 5 – Melt a thin coat of solder on the squares/strips of the back of cells
00:03:09 6 – Heat the first half of a tabbing wire on top of the soldered squares/strip to bond it to the cell
00:03:27 Part 2 Connecting the Cells
00:03:34 1 – Glue the cells to the board
00:04:31 2 – Solder the cells together
00:05:03 3 – Connect the first row using bus wire
00:05:39 4 – Connect the second row
00:06:15 5 – Continue connecting the rows
00:06:34 Part 3 Building Your Panel Box
00:06:41 1 – Measure your cell panel
00:07:19 2 – Cut the flat back
00:07:42 3 – Form the sides
00:08:09 4 – Attach the sides
00:08:35 5 – Paint the box
00:09:06 6 – Attach the solar panel
00:09:26 Part 4 Wiring Your Panel
00:09:33 1 – Connect the final bus wire to a diode
00:10:13 2 – Connect the wires
00:10:36 3 – Connect your panel to a charge controller
00:11:16 4 – Connect the charge controller to your batteries
00:11:38 5 – Use the batteries
00:12:01 Part 5 Sealing the Box
00:12:08 1 – Get a piece of plexiglass
00:12:40 2 – Attach block stops for the glass
00:13:11 3 – Insert your plexiglass
00:13:32 4 – Seal the box
00:13:57 Part 6 Mounting Your Panels
00:14:04 1 – You can mount your panels in different ways
00:14:38 Tips
00:19:06 Warnings
00:19:20 Things
Content taken from WikiHow http://www.wikihow.com/Build-a-Solar-Panel
http://www.nordsonefd.com/optimum
Nordson EFD Optimum components set the standard for quality, consistency and reliability within the fluid dispensing industry. Each patented Optimum dispensing component has been designed as part of a complete, integrated system that improves yields and reduces costs by producing the most accurate, repeatable results possible.